Simon Button Game

Each year the Dublin Maker festival comes around and our members Jeffrey Roe and Christian Kortenhorst want to take part. They have been to many maker festivals and collaborated over the years.

Christian likes to make big things with tools and Jeffrey likes to make things with technology and electronics. They tend to come together on their love of interactive games. While wandering around EMF camp last year they came across the work of We Throw Switches and their flux game

The goals of the project:

  • Two-person interactive game
  • Fit on a table
  • Be portable
  • Simple game with no need for instructions
  • Be ready in three weeks

Eary on, it came clear we would be using arcade style buttons, and addressable LEDs to meet the project deadline of only a few weeks.

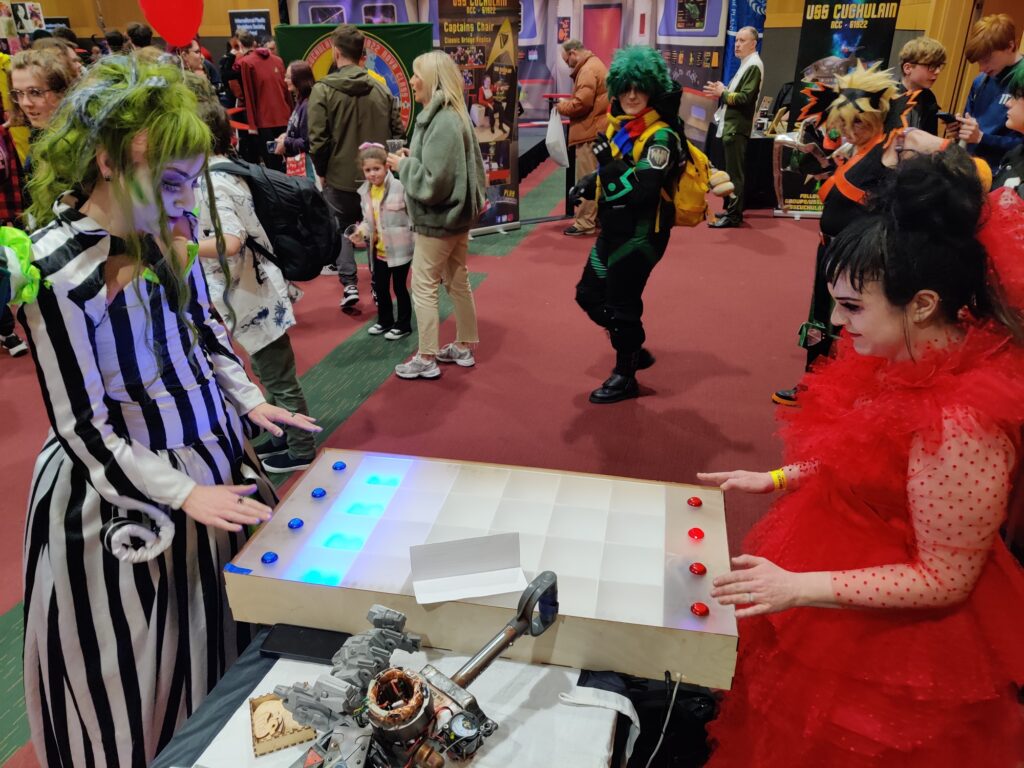
Christian got started working on the box. He create an LED display that was 4 by 6 “pixels”. Each pixel would be made up of 4 addressable LEDs. Two stripes of 50 LEDs would be used and due to the wiring layout, some would be hiddle and just covered in tape.
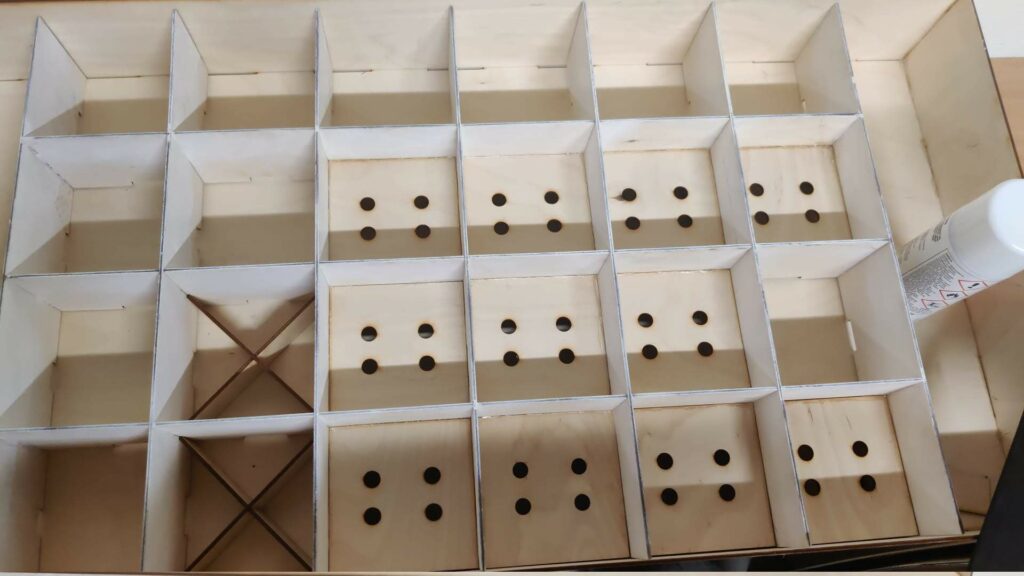
Doubts started to come to the project team. Would these LEDs work in direct sunlight? Remember the goal is to use the game in an outdoor daytime festival. Christian came up with the idea to paint everything white and Jeffrey said let’s bump up the current to make the LEDs brighter.

Now for the brain of the game. Jeffrey started out with the idea of using the USB controller that comes with buttons. How hard could it be to use a Raspberry Pi Pico and a USB host library?
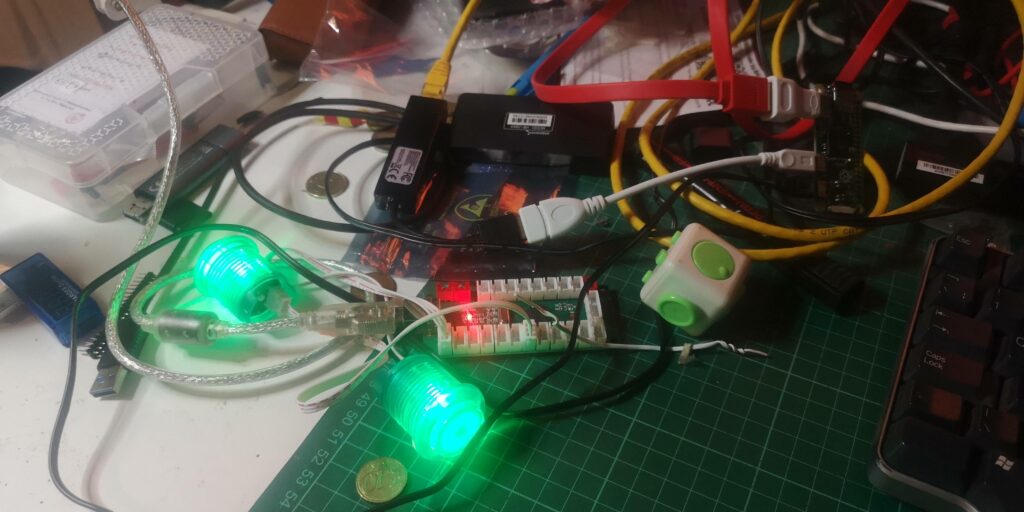
It turns out that with Jeffrey on the team running Dublin Maker there is not enough time to learn new things for projects. We quickly switched back to using the reliable and known Arduino. In order to make the game responsive all eight buttons would be required to have their own hardware interrupt.
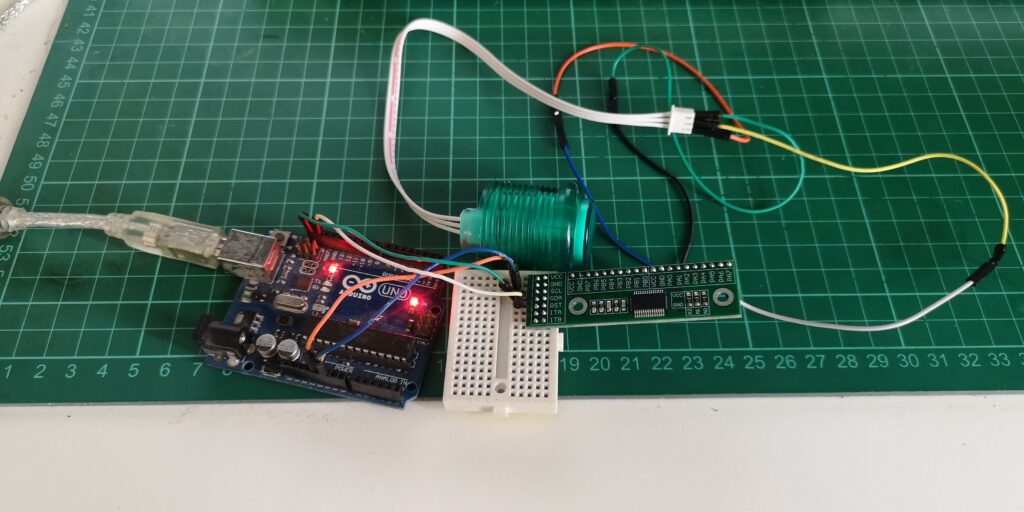
He started to use an GPIO expainder over I2C. This device allows for lots of interrupts. We started to build out a little board that would take the connector from the buttons and power the LEDs strips. The video below shows testing an interrupt to turn on the LED in the button when the button is pressed.

The code started to come together with a few late-night sessions but the interrupts didn’t seem to work as expected. Due to the way, the buttons are wired, the LED and the button share a pin and it’s only controlled by three pins. This causes the interrupts not to trigger when the LED is turned on.
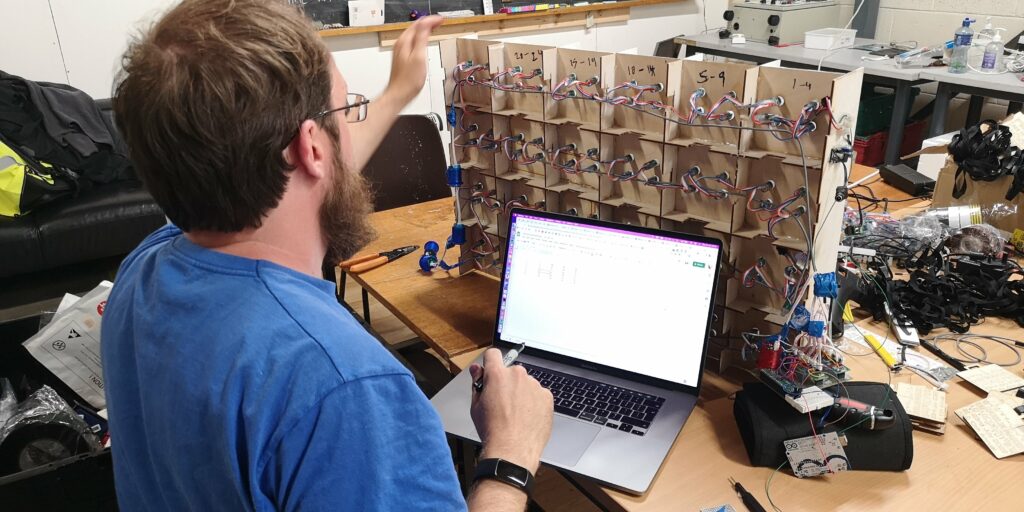
Unfortunately, we did not meet the deadline of the event and never fixed the problem before the Dublin Maker event. We coded up a bit of a demo on the LED display but was not interactive.
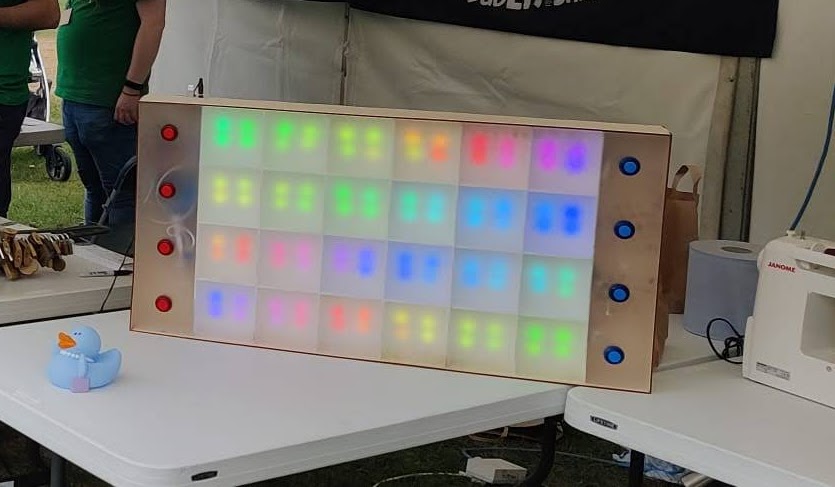
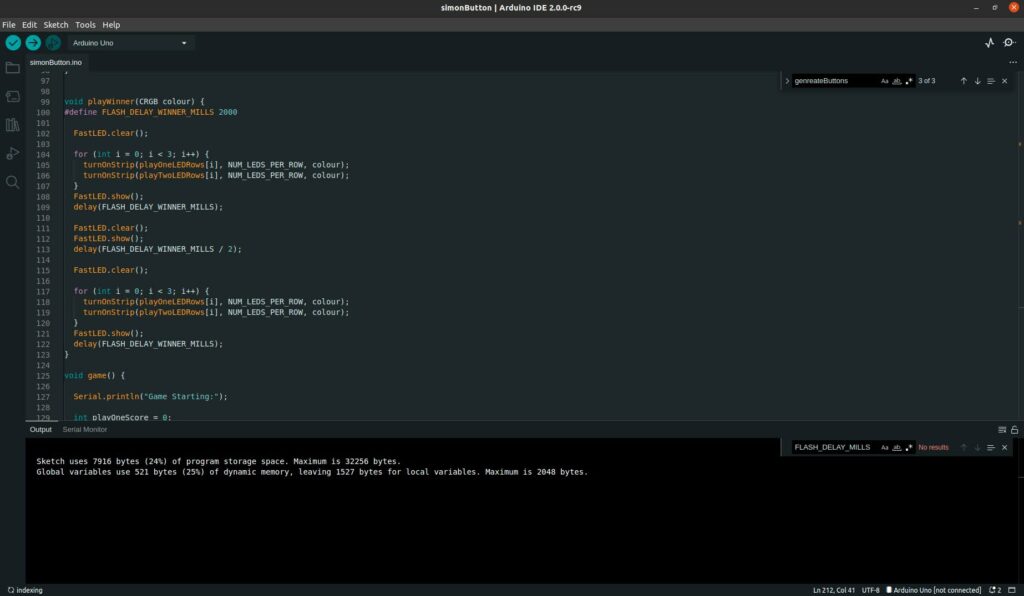
The project did not end there. Another big public event was only a few weeks with Dublin Comic Con Summer edition. During a few late-night coding sessions, Jeffrey came up with a new way to check the inputs of the buttons without using hardware interrupts but still be reactive. The code just checks the status of the expected two buttons to be pressed over and over so there is little delay.
The game was unleashed to the visitors of comic con, it was a hit. People loved playing it once they got going. We did kind of miss the other goal of making the game portable as it ended up a little big.

You can check out more f the photos from the build in our gallery.

Lathe Class For Members

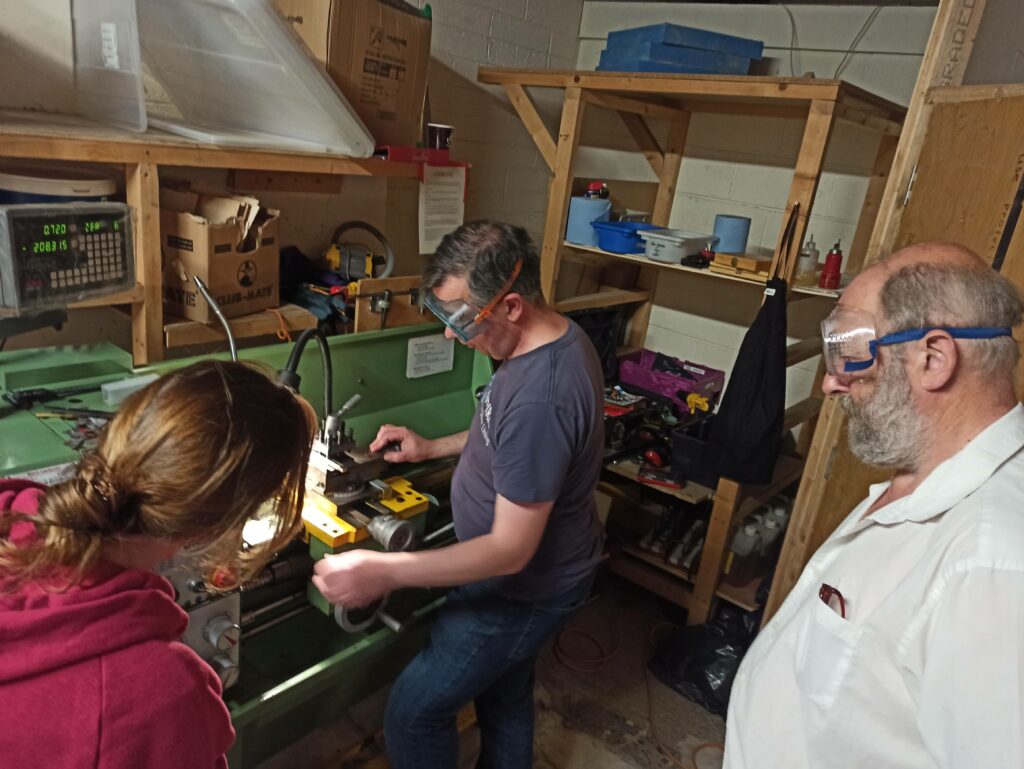
Some of our events and classes are members-only. Sadly this is due to insurance and class size capacity. Our recent Lathe skills workshop was one example. Below is Marcelo’s experience of taking the lathe skills workshop.

I found the training very interesting and complete.

We started the training by checking the safety matters. For example, we should always wear the glasses protector, or in case there is an emergency we can stop the machine safely, and also few other ways to deal with an emergency. Then, we talked about the variety of materials we can use for shaping and the kind of tools we have at TOG for using with the machine.


After everybody was trained, we individually tested our skills using the machine on David’s support. At the end of the course everybody had their doubts clarified, and as soon as David answered everyone, we concluded the training.

I had never had an experience with a lathe before, now I know the complexity of using it, and David explained very well with many details about many tools we can use with the machine and how we can manage that.

I hope I can use the lathe in my next projects 🙂

Consider joining and supporting the space by becoming a member to gain access to these restricted events.

Welding Workshop Night

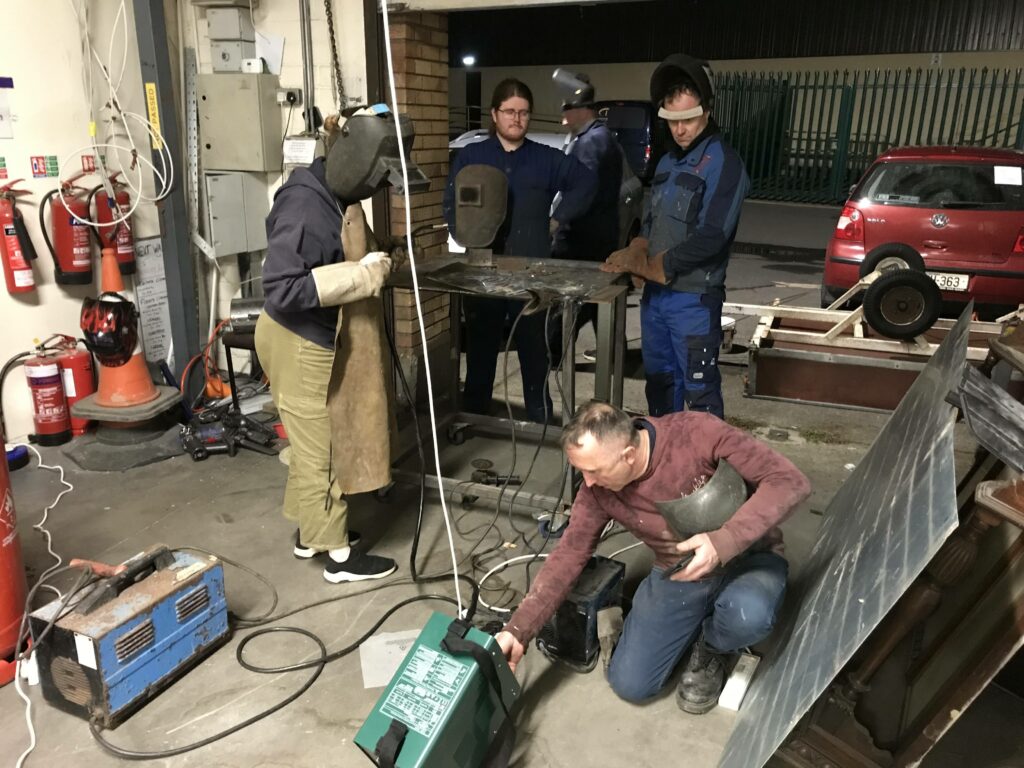
Below is a report from Sophie on a recent Welding workshop night in Tog.

“ I am a new TOG member. I have been interested in learning to weld for a while, so I sent out an email to the member’s list. I asked if there were any proficient welders that would be interested in teaching me the basics. 

Patrick responded, offering to teach me. A few more members followed up requesting to join and it became a workshop.

Patrick is a great teacher and we had loads of fun learning and practising together. Thanks again!

This is what I love about Tog. If you want to learn something, you’re guaranteed to have someone that has done it before and is willing to help you. It’s a great community of makers and curious brains.”

We are always open for new members to join. Pop along to one of our open nights to learn more.

A journey of repair – Dynatron SRX 26

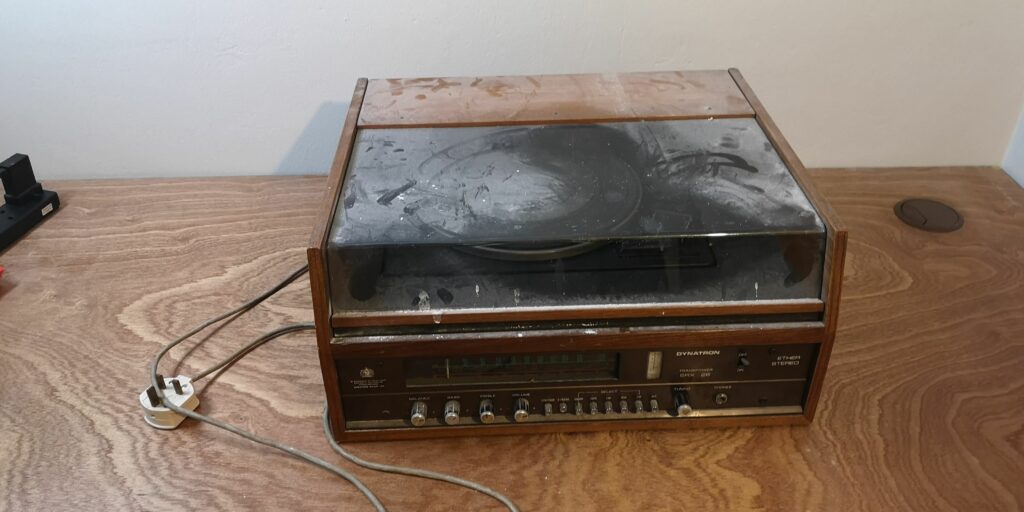
Let’s go on a journey of repair with Jeffrey. We have a Dynatron radio model SRX 26. I think it’s from the 1970s. The radio came from Henry which has been in his family since it was new. Unfortunately it has been waiting on me to repair it since September 2020.

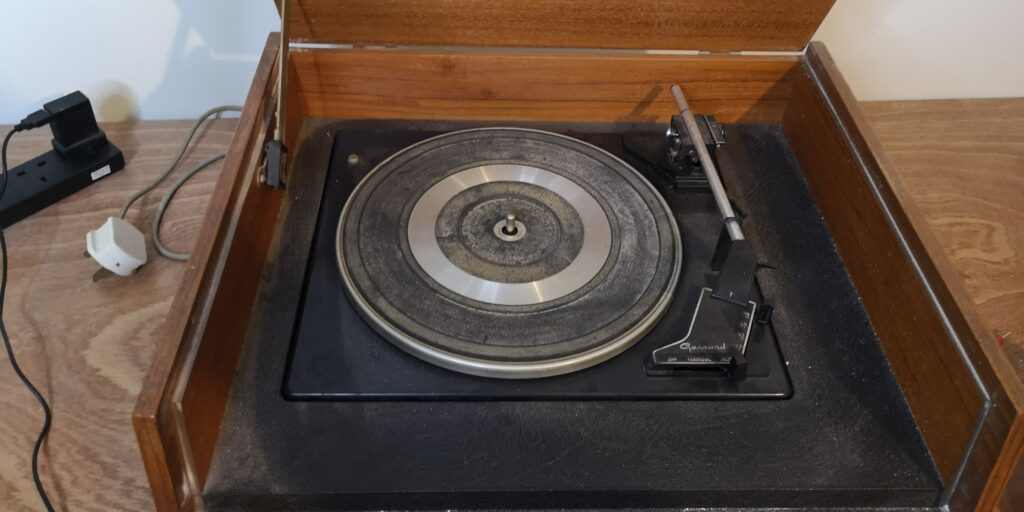
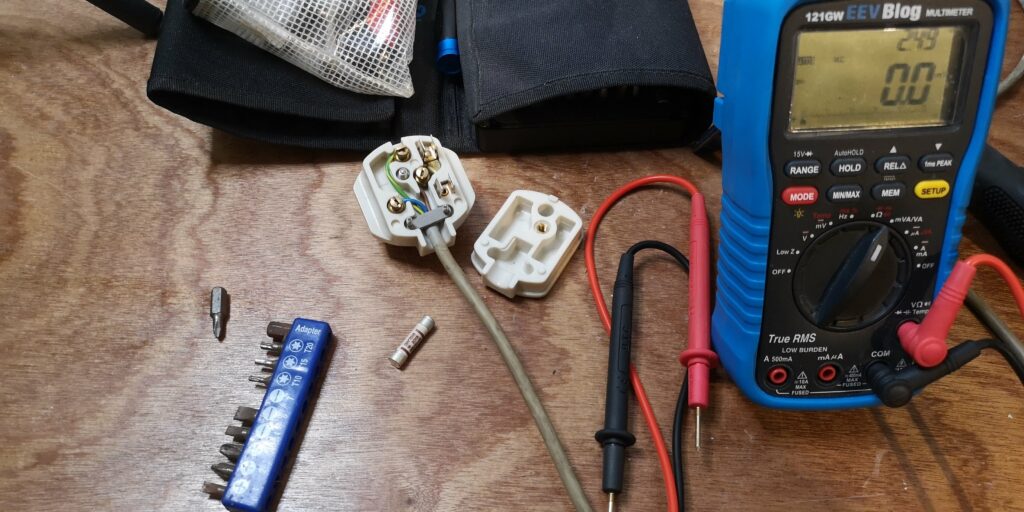
I started off by wiping all the dust I have let fall on it. It is a crazy heavy thing. The best way to start is to have a good look over the radio. The point is to find any problems with the cable and to check it is safe before ever plugging it in. It also seems to be missing its record player cartridge (the needle).

The radio lead and fuse are the next places to check. It is using an older style of plug that should be replaced at some point. The fuse and lead are fine. Now for a power-on test. the unit is not showing any signs of life.

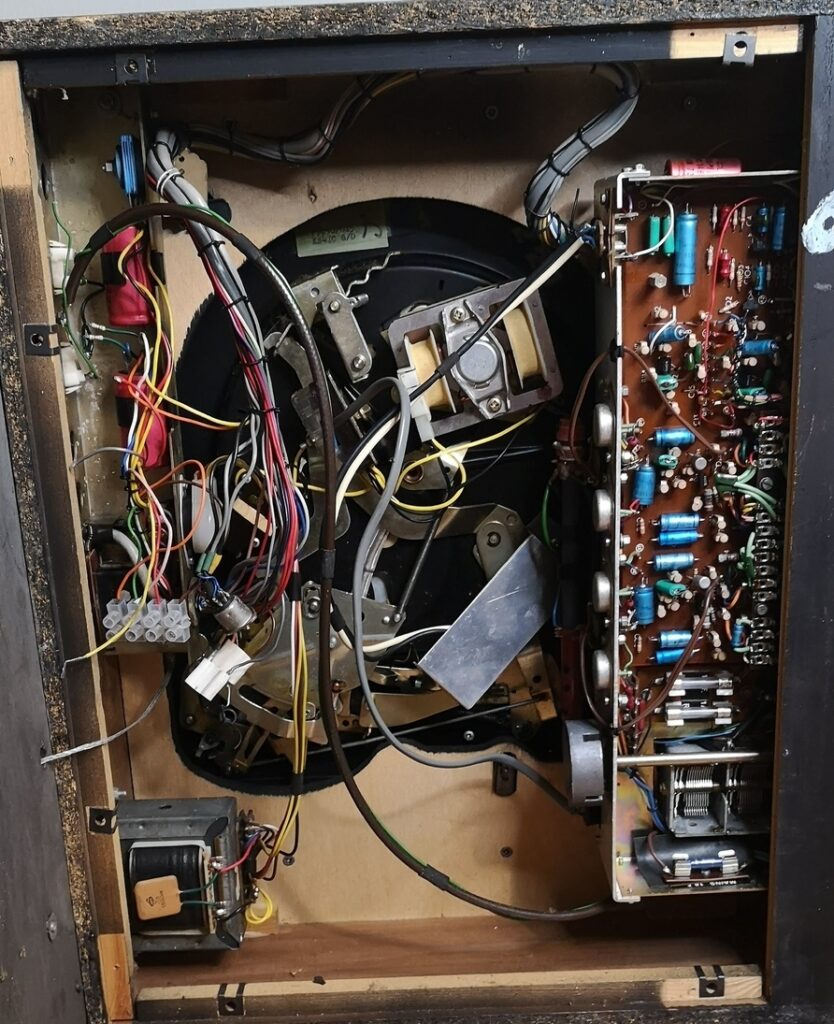
Now to take it apart and show everyone’s favourite part the insides. There looks to be other historical repairs carried out. If you look at the above image on the left-hand side.

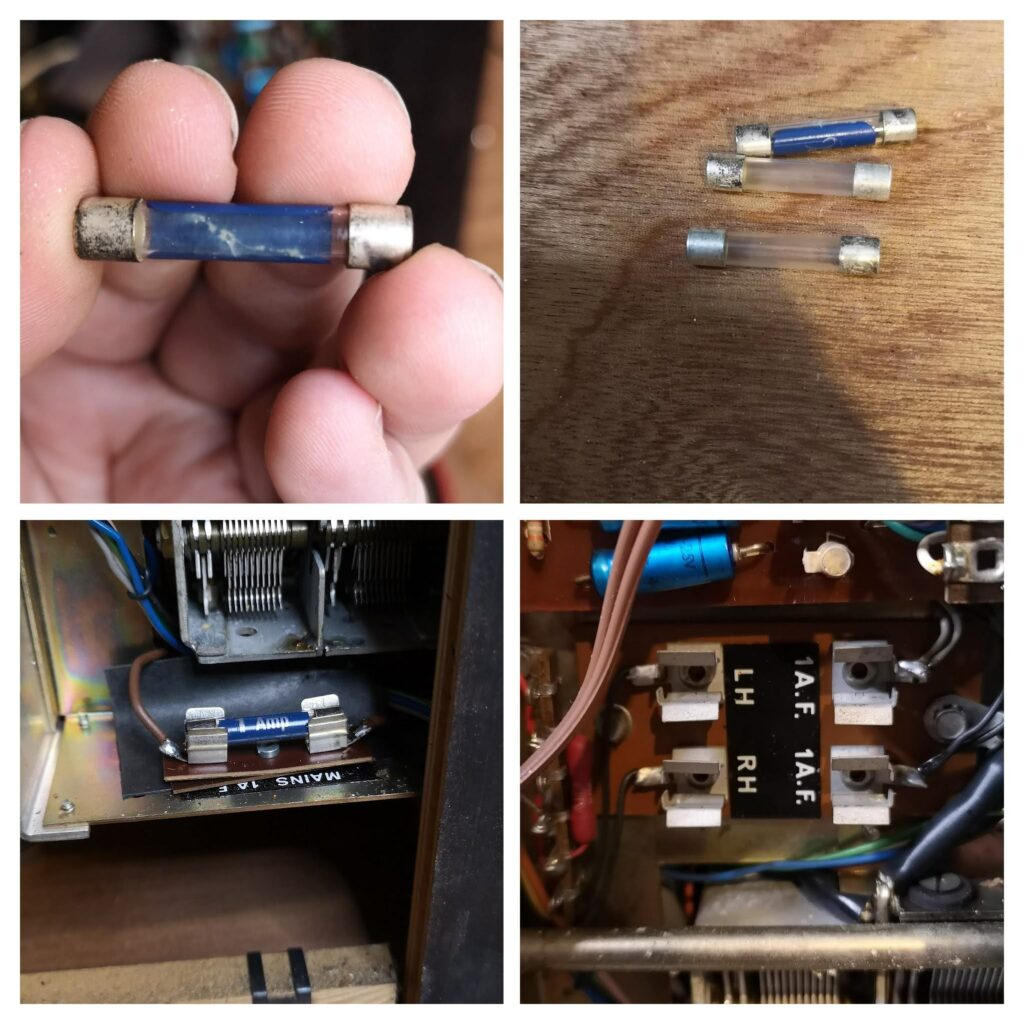
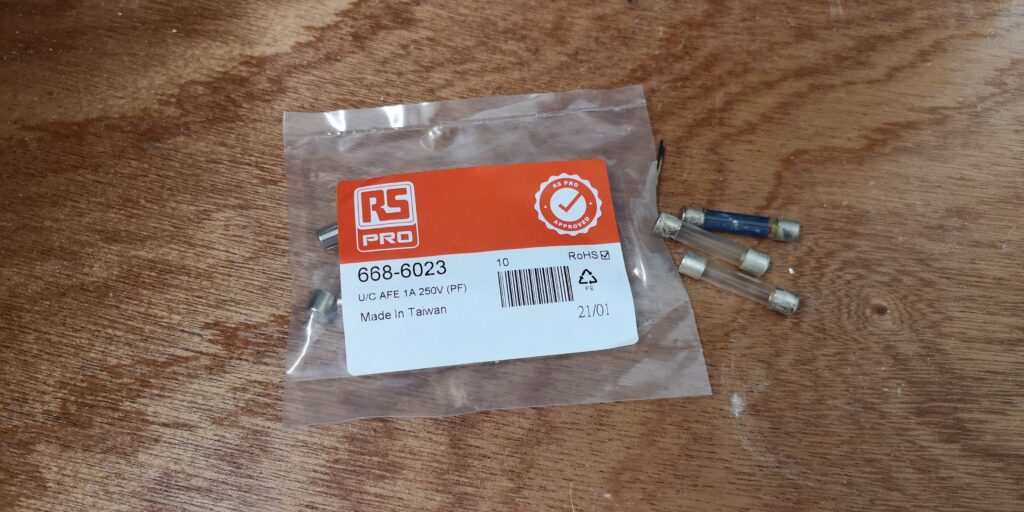
An internal mains fuse looks very “crusty”. After taking it out it’s clearly blown. There are also two more fuses that are blown. The type of fuse is nicely labelled on the radio but I had none in stock. A short walk down to RS and picked up a bag of replacement fuses.

It came alive! Well it turns on anyway. The next step to try and find some suitable audio leads to test the sound. I only had a headphone adaptor but soon was getting sound from the radio but with a lot of hisses.

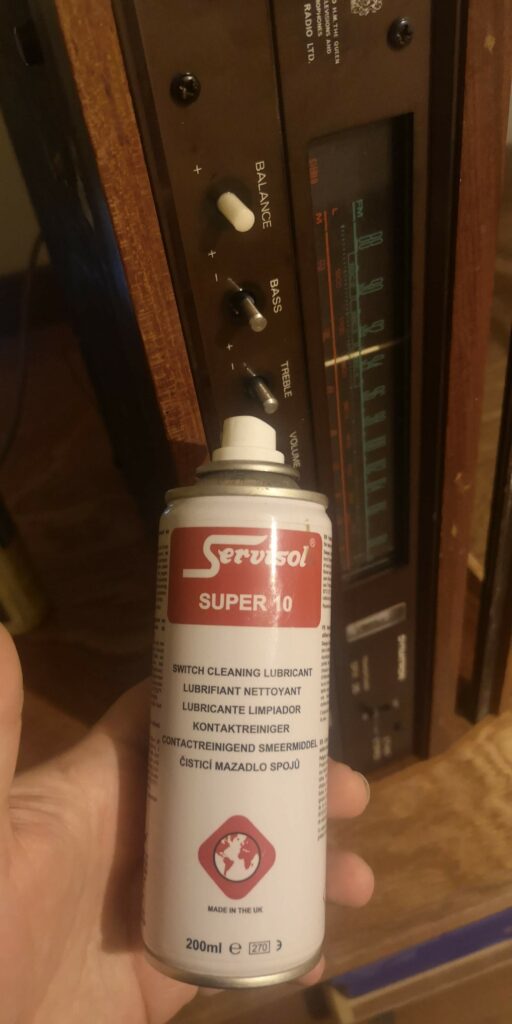
To overcome the hiss, I attacked all the knobs with some switch cleaner. You take off all the knobs and spray in the fluid. Give the knobs a good turn, backwards and forwards to work in the cleaner.

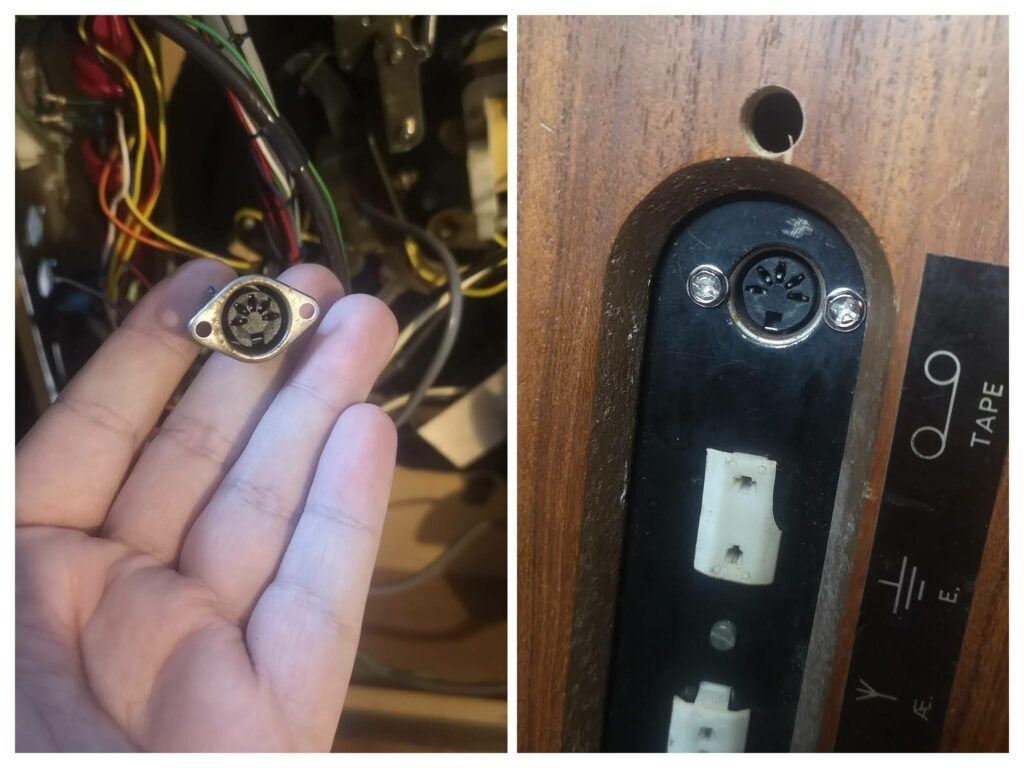
The last job was to mount the speaker port that was loose in the cabinet. Unfortunately without that type of lead, I could not test it. 

Check out the radio in action in the video above. The radio seems to work fine with headphones. The turntable needs a cartridge but that is a job for the radio owner. If you would like to see more photos of the repair check out our gallery.

Fitout Update – Doors & Fobs

We will be opening our doors in just a few weeks. Our first event will be the return of our lock picking group. Be sure to check out our meetup page for updates.

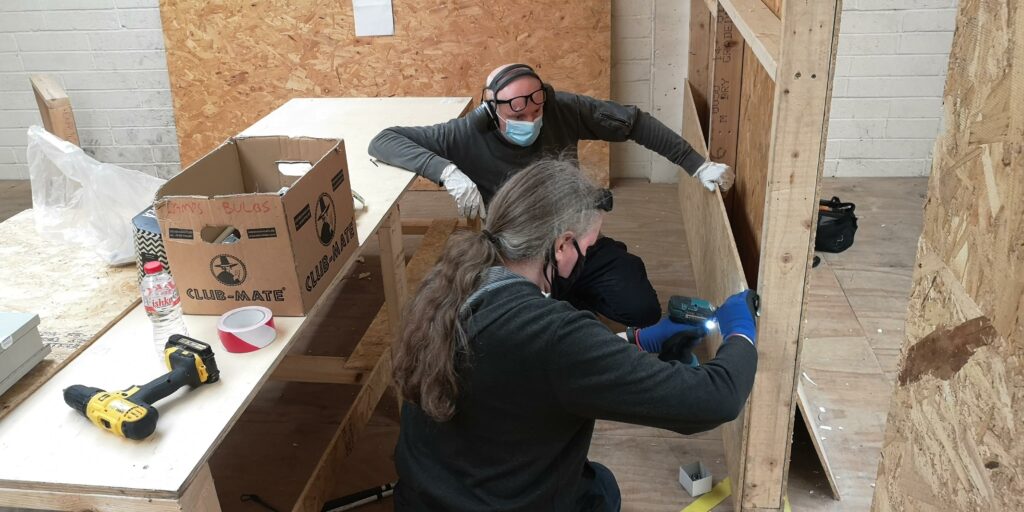
In the mean time we have been adding more walls and last weekend doors. Did you know all the wood panelling and doors have come from our old space. We are doing our best to reuse building materials as much as possible. It certainly creates a lot more work for our volunteers but we think its good to strive for reuse as much as possible.

We are also glad to say our new access control system is in place. Members can now once again the space 24/7. It is an importance part of our space being able to support the different available of our members and being a fully 24/7 space for our members.

As always there are plenty more photos on our gallery.