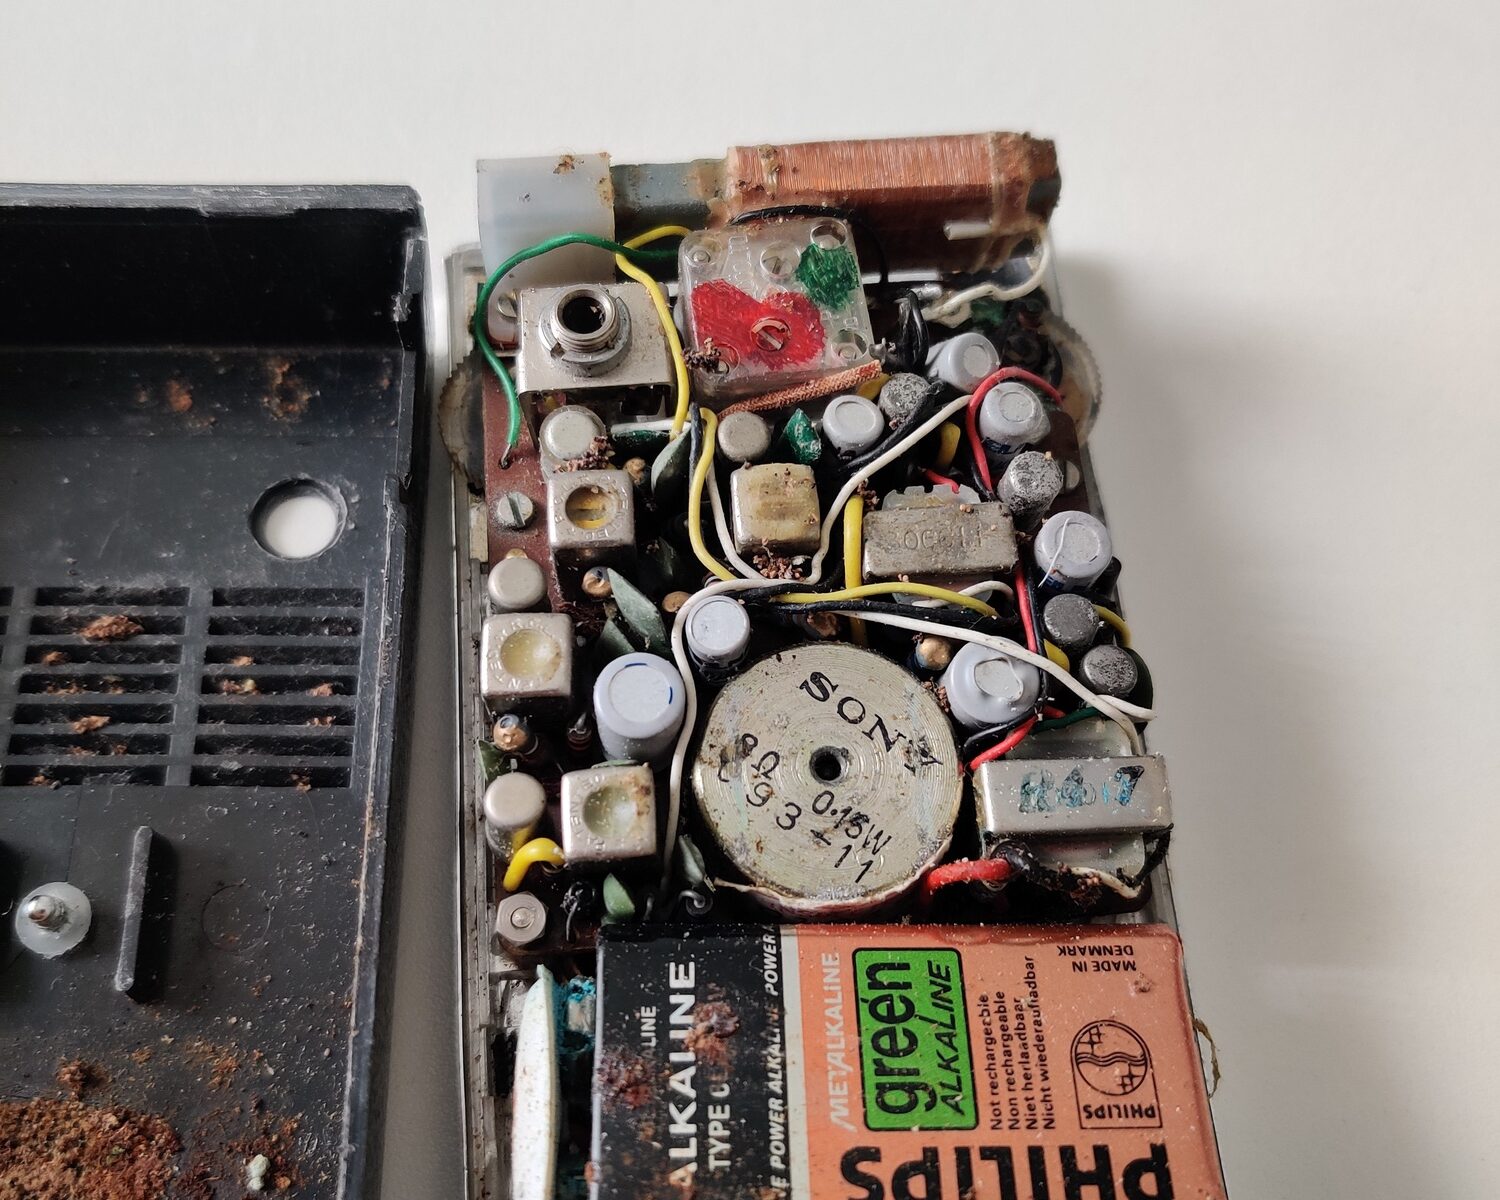
We love old tech and keeping things going around here. Our own Jeffrey Roe chatted to Henry McKean on Newstalk about keeping old technology alive and well. It ranged from old radios, French Minitel and our repair cafes. Listen back on the following link.
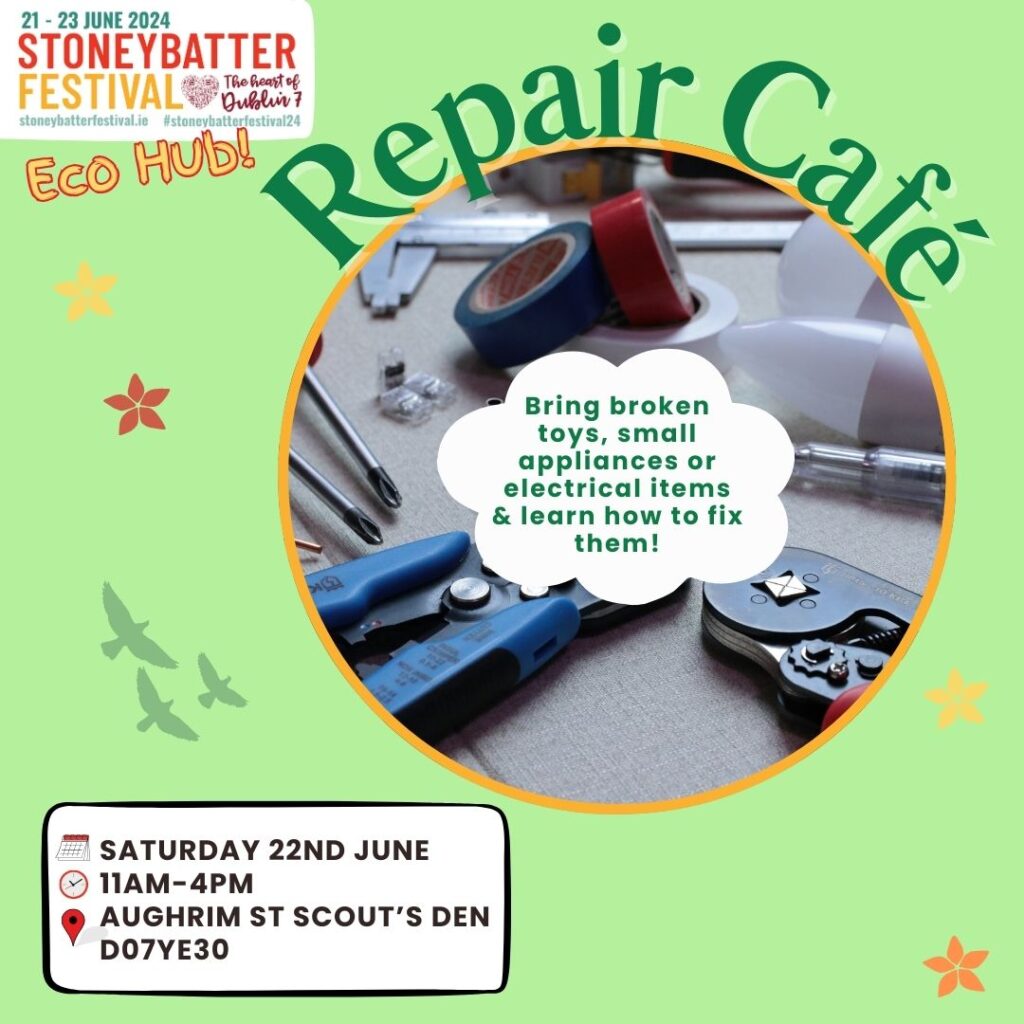
Repair Cafe At The Stoneybatter Festival
The Stoneybatter Festival is a 3-day neighbourhood festival in the heart of Dublin 7 from June 21-23 June, 2024.
There will be many events over the 3 days in locations throughout Stoneybatter with an Eco Hub, Clothes Swap, Book Swap, Organic Gardening and lunch more. We are joining the festival with a Repair Cafe.
Do you have broken items at-home – small appliances, toys, household items, electronics?
No need to throw them away!
Save your things from the landfill and your wallet from having to replace them.
Bring them to our repair café and learn how to fix them together with our volunteers. We have tools, materials, space to work on your item, and repair experts who will help you with your repair.
Join us in Tog on Saturday 22nd of June from 11am – 4pm in the Aughrim Street Scout Group, D07YE30.
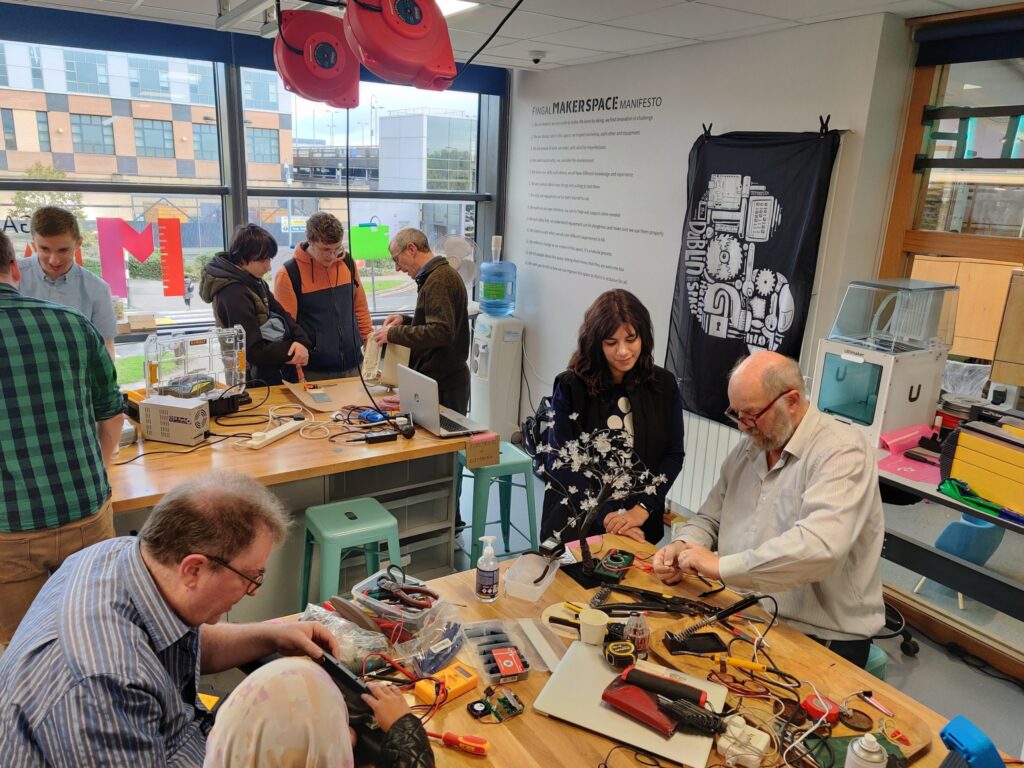
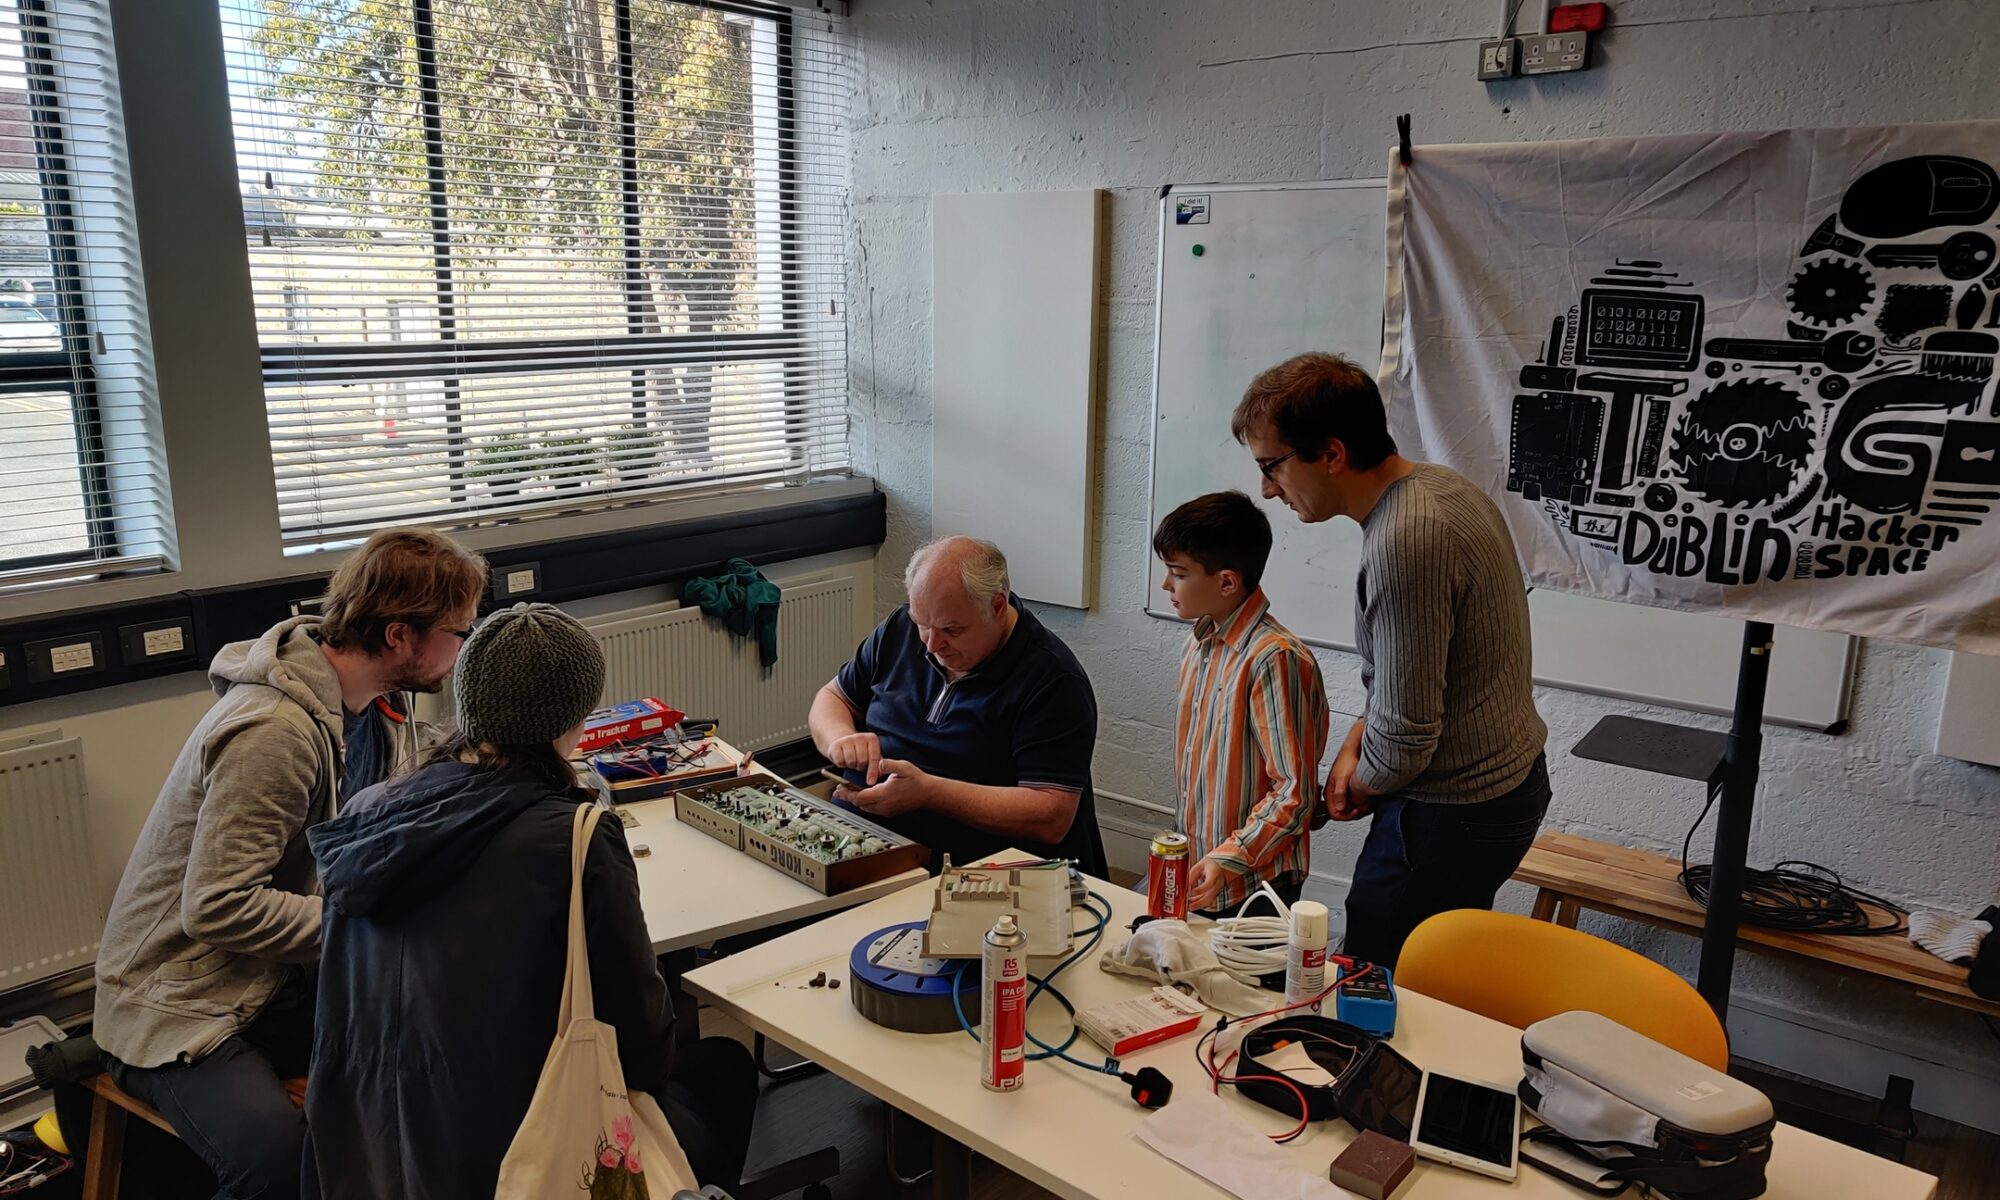
A repair cafe is a community gathering place where people can bring their broken items, such as appliances, household items, or electronics, to be repaired by skilled volunteers for free. The idea behind repair cafes is to promote sustainability and reduce waste by encouraging people to repair and reuse their belongings instead of throwing them away.
At a repair cafe, visitors can learn how to repair their items themselves or watch and learn from the volunteers. Repair cafes also offer a social atmosphere where people can connect with others who share their interest in repairing, reducing waste, and promoting sustainability.
Our passionate team of skilled volunteers will be on hand to help you fix everything from electronics and appliances to furniture, all while sharing valuable repair skills and promoting a sustainable lifestyle.
At our Repair Café , you can:
- Learn essential repair techniques from our expert makers and volunteers
- Discover the joy of fixing things and reducing waste in a collaborative, community-focused environment
- Connect with like-minded individuals who are passionate about sustainability and the maker movement
So grab your broken treasures and join us for a day of mending, learning, and connection at Tog Hackerspace Repair Café. Together, we can build a more sustainable future and celebrate the power of repair!
If we can’t fix your items, we will do our best to make suggestions on where to get spare parts or the best recycling options for you to continue your journey of repair.
What objects can you bring in?
- Toys
- Small electrical appliances and electronics
- Household Items
… and many other things!
Safety (PAT) testing for electrical devices will be available.
Where? – 45a Ben Edair Rd, Stoneybatter, Dublin 7, D07 YE30
When? – Saturday, June 22nd, 11 am – 4 pm
Admission is free – all are welcome!
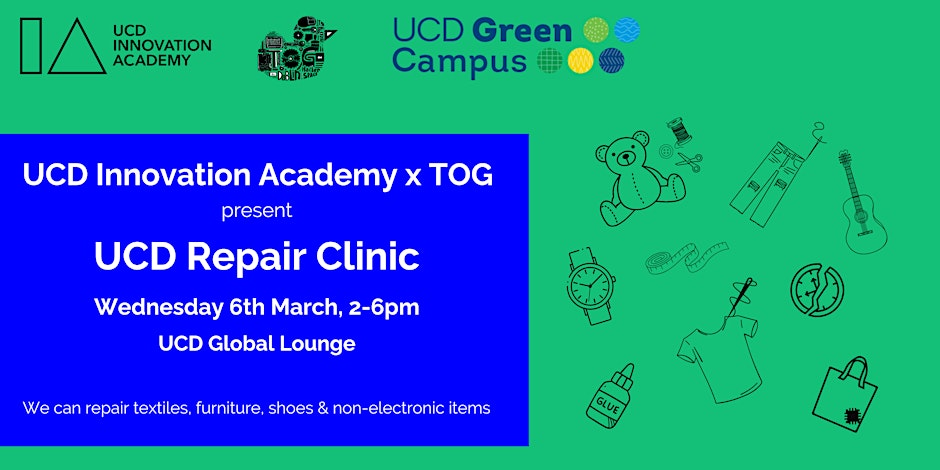
Tog at The UCD Repair Clinic
UCD Innovation Academy, Tog Hackerspace and a team of UCD volunteers will be on hand during this event to give your broken items a new lease of life, from repairing small furnitire items to rejuvenating your favourite pair of jeans.
All UCD staff & students are welcome to attend the repair clinic – bring a broken item or just come and see what it’s all about.
Book Your Place Now!
https://www.eventbrite.ie/e/ucd-innovation-academys-green-week-repair-clinic-tickets-850652032127
Continue reading “Tog at The UCD Repair Clinic”March Repair Cafe
Do you have broken items at-home – clothes, small appliances, toys, electronics?
No need to throw them away!
Save your things from the landfill and your wallet from having to replace them.
Bring them to our repair café and learn how to fix them together with our volunteers. We have tools, materials, space to work on your item, and repair experts who will help you with your repair.
Join us in Tog on Sunday 24th of March from 11am – 4pm.

Repair Cafe at Fingal Makerspace

We are teaming up with Fingal Makerspace and Make Create Innovate to host a Repair Cafe in Blanchardstown. The aim is to bring together skilled volunteers and community members who want to repair their broken household items.
Our passionate team of skilled volunteers will be on hand to help you fix everything from electronics and appliances to furniture and clothing, all while sharing valuable repair skills and promoting a sustainable lifestyle.
At the Repair Café , you can:
- Learn essential repair techniques from our expert makers and volunteers
- Discover the joy of fixing things and reducing waste in a collaborative, community-focused environment
- Connect with like-minded individuals who are passionate about sustainability and the maker movement
So grab your broken treasures and join us for a day of mending, learning, and connection at Fingal Makerspace Repair Café. Together, we can build a more sustainable future and celebrate the power of repair!
Date: Saturday 24th February
Time: 11am – 3pm
Location: Fingal Makerspace
More info & Tickets : https://www.eventbrite.ie/e/fingal-makerspace-repair-cafe-all-ages-tickets-788219364337
WeRepair Documentary
You might remember a while ago we wrote about our own Jeffrey Roe taking part in a maker-in residency program to Buinho, a fablab in rural Portugal. Blog Post This was part of a two-year program called WeRepair. A cooperation with makerspaces in Spain, Portugal and France. More than 50 repair’café were organised during this period and about 12 residencies happened over this project. Check out the below documentary about the project.
