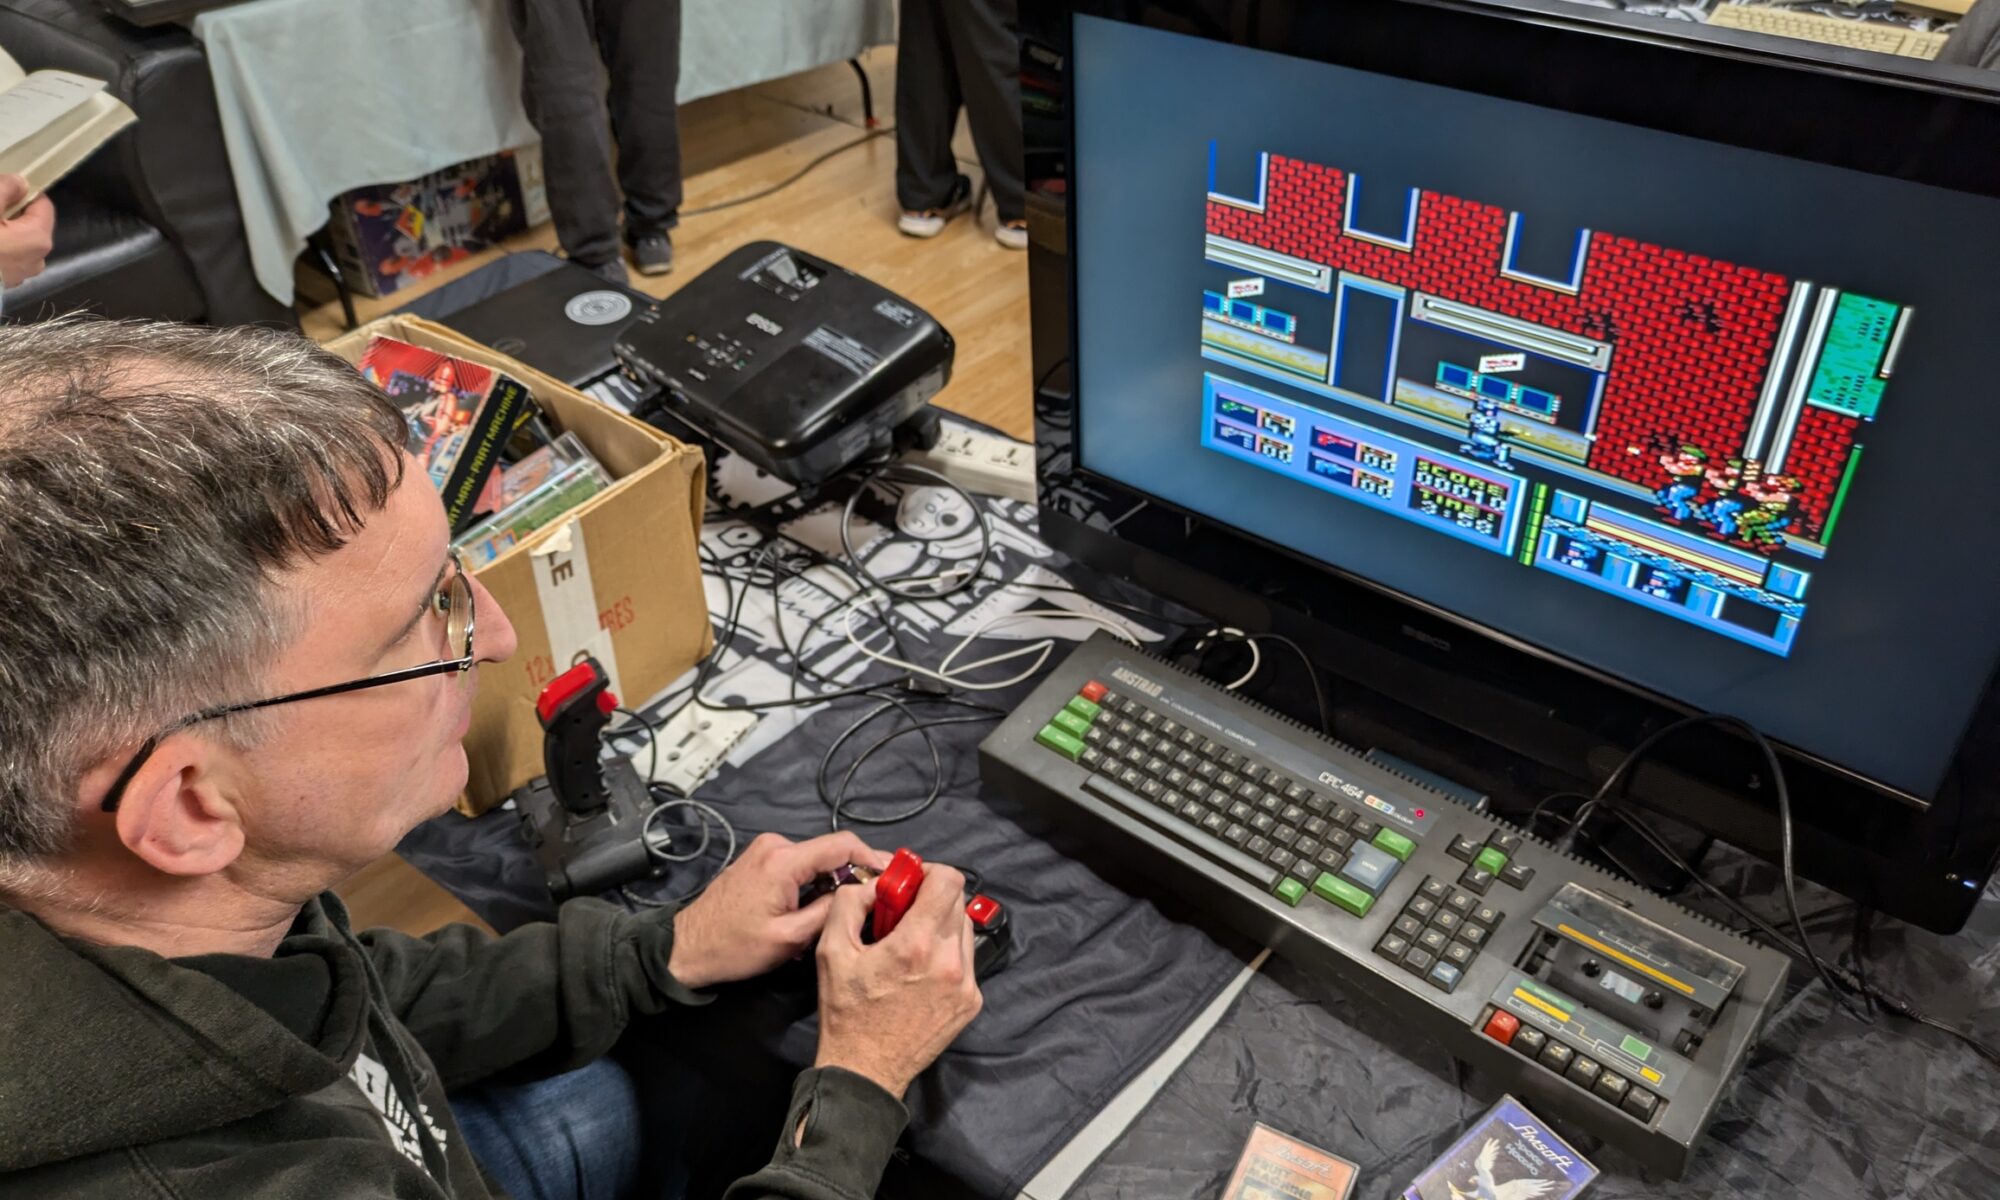
The Reverse Hammer Machine – A Pull of Strength at Dublin Maker

When you think of fairgrounds or arcades, you often picture the classic “hammer strength” game – swing a mallet, ring the bell, prove your power. For Dublin Maker this year, I wanted to flip that idea on its head – literally. Instead of smashing something down, players pull upwards against a resistance. That’s how the Reverse Hammer Machine was born.

It’s part carnival attraction, part engineering challenge, and part community experiment in building something a little quirky, a little geeky, and a lot of fun.


The Concept

The idea was simple:

  • Replace the hammer strike with a pulling action.
  • Use a Bluetooth-enabled crane scale to measure how much weight someone can pull.
  • Display the results on a big screen so everyone around can see the outcome.

Rather than brute force through a mallet, the machine measures grip and pull strength. It’s surprising how competitive people get once the numbers are up in lights!


How It Works

The machine looks like a cross between a fairground attraction and a maker project gone wild. Here’s what’s inside:

  • Bluetooth Crane Scales – these are normally used in warehouses or for weighing heavy loads. I hacked one into the system to register the pull force. Aliexpress special
  • ESP32 Controller – a small but mighty microcontroller that handles the Bluetooth connection, reads the data, and passes it on.
  • LED Strip – mounted along the board to give a visual indicator of how much force is being applied. The harder you pull, the higher the light climbs.
  • Display Screen – the live weight reading is shown on a large monitor, complete with a fun duck mascot illustration for a playful touch.

Players grab the rope, pull upwards, and watch their strength measured in real time. The numbers shoot up on screen while the LED strip glows higher and brighter – instant feedback, instant bragging rights.


The Build

I built the frame tall and sturdy, with enough presence to attract attention across the room. The whiteboard-style front not only holds the LED strip but also doubles as a canvas for signatures and doodles from players.

For more photos of the build, check out our gallery.

oplus_3145730

Some key features of the build:

  • Mechanical setup: The rope feeds through a pulley at the top so players can get a good pulling grip.
  • Electronics box: A control panel with a button and a microcontroller sits neatly to the side.
  • Data display: The Bluetooth scale readings are processed by custom code and displayed on the big screen with graphics.

The artwork – a cheerful duck in a top hat – was added to keep things light-hearted and tie in with the playful Dublin Maker spirit.


On Show at Dublin Maker

The Reverse Hammer Machine made its public debut at Dublin Maker, where visitors of all ages lined up to test their pulling power.

oplus_11534368

Lessons Learned

As with any maker project, there were a few quirks and challenges along the way:

  • Bluetooth quirks – the crane scale wasn’t exactly designed to be hacked, so getting stable data required persistence.
  • User safety – people can pull harder than expected, so making sure the frame was strong enough was a priority.
  • Showmanship – it’s not just about the electronics, it’s about making it fun and inviting to play and the competition of competing against family and friends.

By the end of the day, the board was covered in names, the LED strip had seen plenty of action, and the duck mascot had overseen countless strength contests.


Why Build It?

The whole point of Dublin Maker is to share creativity, curiosity, and the joy of making. The Reverse Hammer Machine isn’t just about strength – it’s about turning an idea into something physical that makes people smile.

It blends hardware hacking, coding, design, and a touch of carnival silliness into one interactive exhibit. Best of all, it gets people talking, laughing, and competing in the spirit of fun.

oplus_11534368

What’s Next?

I’d love to refine the project further:

  • Add a leaderboard system that stores top scores during the day.
  • Integrate sound effects for dramatic impact when someone hits a new record.
  • Maybe even design multiple “difficulty modes” with adjustable resistance.

The great thing about projects like this is they never really finish – there’s always another upgrade waiting to happen.


Bringing It All Together

The Reverse Hammer Machine shows what can happen when you take a familiar idea and twist it. By hacking together a Bluetooth crane scale, some microcontrollers, and a splash of creativity, you end up with something that feels both retro and futuristic.

It’s a reminder that engineering doesn’t have to be serious – sometimes the best projects are the ones that make people grin.

oplus_11534368

Aquarium Automation

Check out this cool aquarium project by our member Hussam. This is an aquaponics project called ”PIPONIC”. The system can be monitored and controlled remotely. Aquaponics combines fish and plants in one self-sustaining setup. In this case, the fish and plants are goldfish and mint.


The system runs on a Raspberry Pi 3, with a few key components:
• A light sensor that turns on LEDs in the dark
• A 12V water pump that cycles on/off to keep the water moving;
• A MAX31865 sensor that monitors water temperature for the fish (16–24°C);
The system logs data to a CSV file and sends it to Hussams website via an API for real-time monitoring. A camera connected to the Pi allows a visual check the water level.


You can view the live system status here https://hussamalhayek.com/aquaponics-status/
View the full code + WordPress integration and more details here https://github.com/Hussam424/Piponics


Hussam is currently working on automating the water level and would love to team up with others to explore new ways to expand the system and make it even more sustainable and smart. TOG has been the perfect place to experiment, learn and share creative ideas about projects like this. The aquarium is in our kitchen in the space. You can usually find Hussam at Electronics Night on Mondays. Feel free to drop by if you’d like to chat, share ideas, or collaborate on improving the system!

Retro Computing & Gaming Day at TOG

Join us for an afternoon of retro computing and classic gaming as we celebrate the golden age of vintage systems and consoles! Whether you’re a long-time collector, a retro gaming enthusiast, or just curious about the technology of the past, this event is the perfect opportunity to explore and relive the magic of classic computing and gaming.

What to Expect:

Neo Geo Pocket Color: Experience the vibrant world of SNK’s handheld console, known for its rich library of 2D fighting games and unique clicky thumbstick.

Sega Saturn & Dreamcast: Immerse yourself in the legendary Sega Saturn and Dreamcast, two consoles that pushed the boundaries of gaming with innovative 3D graphics and online capabilities.

Vintage Computing Systems: A variety of classic machines will be available to explore, offering a hands-on look at the evolution of computing and gaming from the 80s and 90s.

Activities:

  • Hands-on Demonstrations: Get up close with vintage computers and consoles, testing out classic games and software.
  • Show and Tell: Bring along your own retro systems, share their history, and connect with fellow enthusiasts.

Event Details:

  • Date: Saturday, 5th April 2025
  • Time: 2:00 PM – 6:00 PM
  • Location: TOG Hackerspace
  • Cost: Free (Donations welcome via Eventbrite)

https://www.eventbrite.ie/e/retro-computing-gaming-day-at-tog-tickets-1299309201799?aff=oddtdtcreator

Want to showcase your own system? Email us to reserve a table!

Also happening at TOG: Earlier in the day, we’re hosting a Soldering Workshop! If you’re interested in learning or improving your soldering skills, check out the details and register here: https://www.tog.ie/2025/03/soldering-workshop-3/

Hack Challenge Redo (part3)

We had a small break with our hacking challenges Redo. The format of the Meetup required a change, to accommodate for less experienced visitors. And as much as I love the SANS Institute Challenges, they tend to be quite a puzzle, especially later one. So for now, we are going to focus on couple other Hacking Challenges that are available online. And hopefully in December, when new 2022 SANS Hack Challenge starts, we will have a group ready to battle it together 🙂

Let’s start from Over the Wire. There are plenty games there, we will start with the Bandit, as most suitable to get used to the platform. Bandit offers 33 levels to play, it teaches Linux commands and tools. In each level your goal is identical, find a password to the next level, but let’s start from the beginning.

Over the Wire artwork

To play Bandit you will need to establish SSH connection to the Over the Wire lab server, all details of connection are given in Level 0.

So, what is SSH?

Secure Shell, sometimes referred to as Secure Socket Shell, is a protocol which allows you to connect securely to a remote computer or a server by using a text-based interface. When a secure SSH connection is established, a shell session will be started, and you will be able to manipulate the server by typing commands within the client on your local computer. System and network administrators use this protocol the most, as well as anyone who needs to manage a computer remotely in a highly secure manner.

How to use SSH on Windows?

Most common ways of using SSH on Windows is by using one of the clients. Most popular clients are: PuTTY, BitwiseSSH and OpenSSH. Windows 10 users have now the option to use build-in OpenSSH client. Just follow the installation details of your choose client.

How to use SSH on Mac?

Mac’s have build-in Terminal feature, that provides SSH client.

How do we do it on Linux?

That shouldn’t be a problem for any regular Linux users, but in case you are just starting with Linux. Go to your terminal and type:

ssh

This should list all ssh details and commands. If that’s not the case, just use the following command to install OpenSSH:

sudo apt-get install openssh-client

Full list of common SSH flags can be found here.

This should get everyone started and ready for this week challenge 🙂

One more thing, you may need to use Vim and couple Linux commands.

See you @ 5-7pm today @ our dedicated Discord channel.

Project: Fun with Smart Plugs and Tasmota

This project is by our member Jeffrey Roe and is about saying goodbye to the default firmware on this smart plug.

The project started with a request from an artist for a device to turn on/off up to eight devices that are mains powered with a custom timing sequence. I decided to try out smart plugs as they have come down in price. It would also save building a circuit of relays as I have done in the past. Most smart plugs come with a firmware that connects the device to a private server and requires the internet to control it. The use case called for this unit to be used without the internet.

After doing a bit of research, the open firmware Tasmota seemed to have all the features the project needed and would cut down on the need to code up something totally from scratch. To flash the new firmware, some devices allow this to be done wireless but most require soldering wires to the microcontroller. The ease of soldering the wires varies from device to device due to the placement of the chip. The soldering job can be much harder on some devices.

Wireless flashing seemed the easy way to go as it required no soldering, so I purchased two plugs that the internet said worked with the TUYA-CONVERT. I went for two AOFO 4AC + 4USB Power Strip plugs ( Model C379 ).

This is when the problems started.  After hours of work, getting PI ready, installing the flashing tool and nothing happens. It turns out the blog post that recommended this plug combination with using the flashing tool had a comment at the end of the post (Which I did not read before starting out). It warned people that a recent update by the manufacturer fixed the hole that allowed users to flash a new firmware over the air.

Plan B was now in operation and I knew a soldering iron would be involved. https://templates.blakadder.com/index.html is a great website with a list of devices that can be used with Tasmota, which pins to connect to, how to get access to the pins and the template to control all the features Unfortunately the two plugs I now had awkwardly required the chip to be completely removed in order to flash them.

Due to lockdown, all I had at home was a soldering iron, solder and solder braid. No desoldering tools. After some effort, I managed to desolder the chip and connect the five wires required to flash the chip. Using the great tool Tasmotizer, it is straightforward to flash the chip with the wires in place. You can even give the WiFi details and config template.

Then started the job of putting the chip back in the board, soldering it again and putting all the parts back together. With a quick test, all was back working but another plug was still left one to do. In the previous photo above, you might have noticed a black plastic cover on the board that covers each plug. That cover blocks access to a pin required to put the chip into flashing mode and hence the need for all this desoldering. The second time around I checked if I could remove this cover and to my surprise, it came off.

\o/. With the cover off I could just solder wires to all the pins and not remove the chip from the board. This speeded up the whole process and made flashing the chip much much easier. A few crocodile clips, an FTDI programmer and we were in business. Both plugs are now ready to be controlled via WiFi API call.

I have updated the page on https://templates.blakadder.com/aofo_C379.html so anyone else flashing these plugs can know about this shortcut.

The rest of the project involved adventures in writing code for esp32 & esp8266 and problems with WiFi but that is for another time.

If you would like to see more photos from the project check out our gallery.

12 years of TOG – a perfect time to do some hacking :-)

For the last five years I was getting more and more anxious the closer it was till the end of the year. Why so? The answer is very simple – the SANS Hack Challenge (https://holidayhackchallenge.com/2020/index.html) run online by Counter Hack Team (https://www.counterhack.com/expert-pen-testers). I have learnt plenty and had an immeasurable amount of fun while solving hacking challenges. This winter I found myself helping others with their tasks by giving hints and I discovered that I have learnt even more. The best part was seeing others to grow and to learn how to beat the tasks.

Unfortunately, SANS hack challenge is only once a year and I didn’t always managed to find enough spare time to solve all the puzzles. Luckily, there is a way to fix that.

So, this year to celebrate 12th birthday of Tog, there will be a pleasant surprise. A walk through a past SANS Holiday Challenges. We will start on the 23rd of January, all info will be posted online. So, keep an eye on our website and reserve time between 5 pm and 7 pm on the day to join the discussion on a dedicated Discord channel https://discord.gg/322Kw4bkQK.