3D printing has become an incredibly useful tool for household repairs. With a little creativity, you can fix broken items instead of throwing them away. In this post, Christian will share how he used a Prusa 3D printer to repair two everyday items: a toilet roll holder and a window blind clip.
Project 1: Toilet Roll Holder Repair
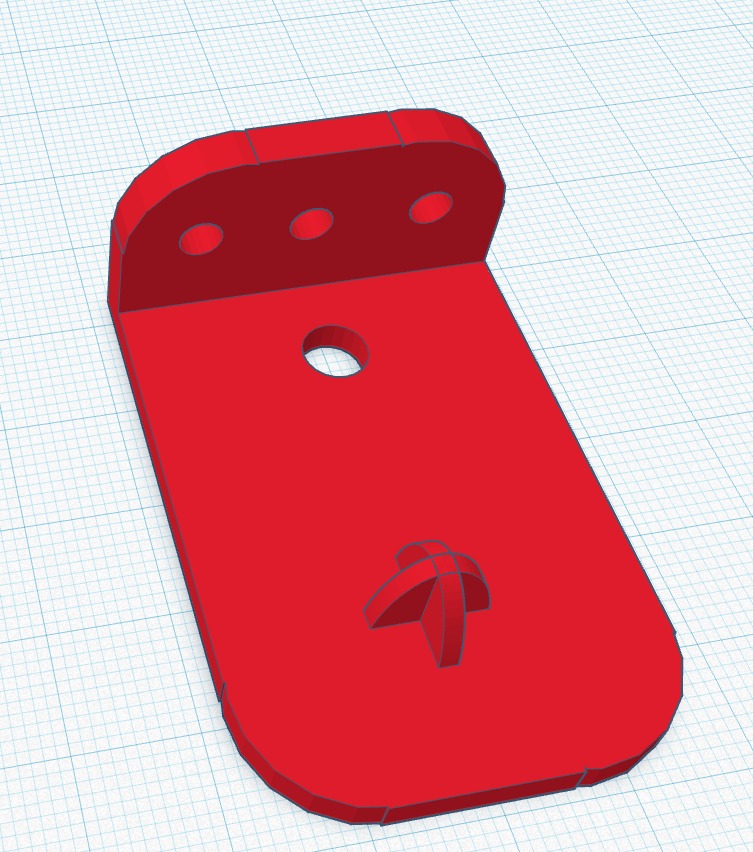
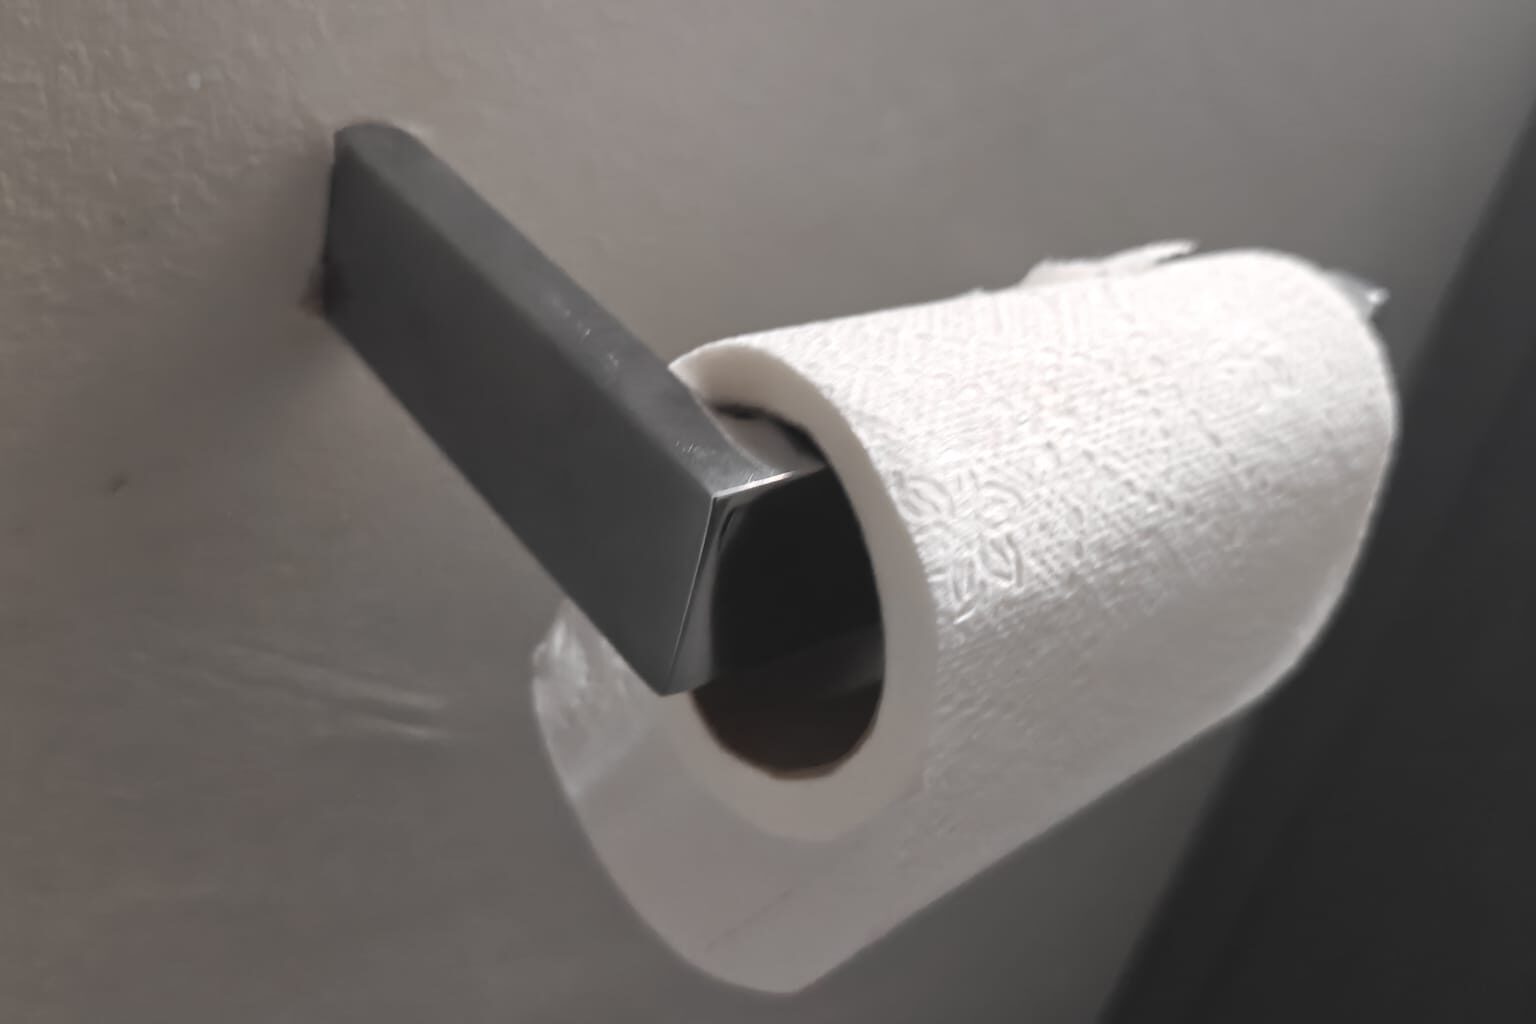
When the mounting bracket of my toilet roll holder broke, I decided to design a custom clip to fix it. Here’s how I did it:
- Problem: The original bracket snapped, making the holder unusable.
- Solution: I measured the dimensions of the broken part and designed a replacement in CAD software.
- Process: I printed the new clip using a Prusa 3D printer, and it fit perfectly. The 3D-printed part is sturdy and works just like the original.
- Materials: PLA filament, 0.2mm layer height.
- Time: Approximately 1 hour to print.
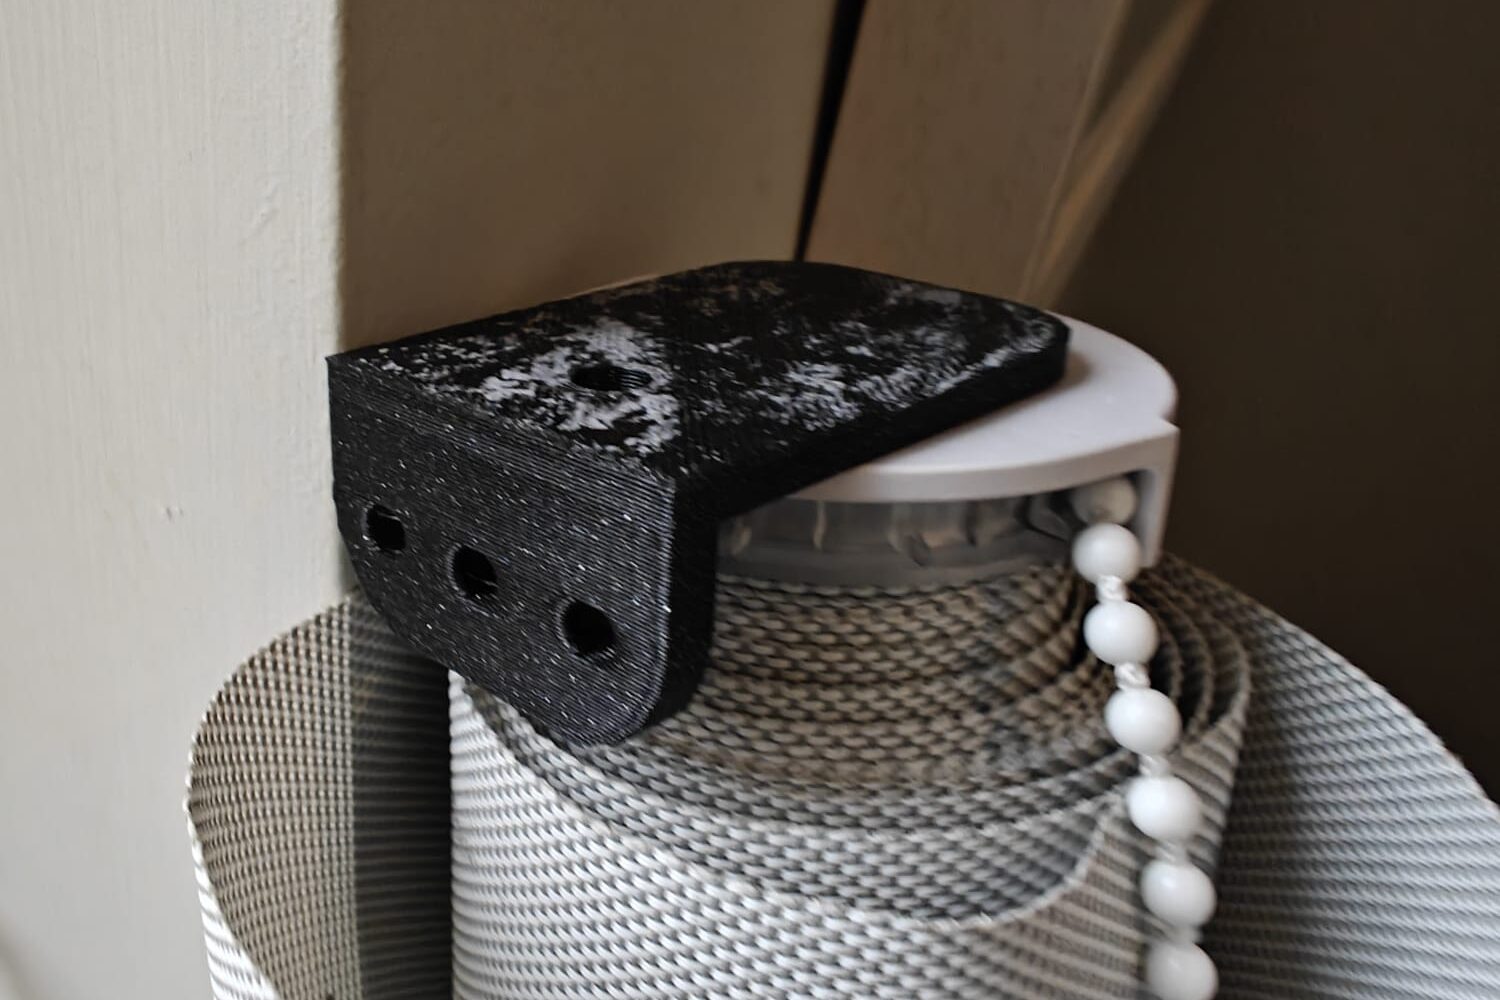
Project 2: Window Blind Clip
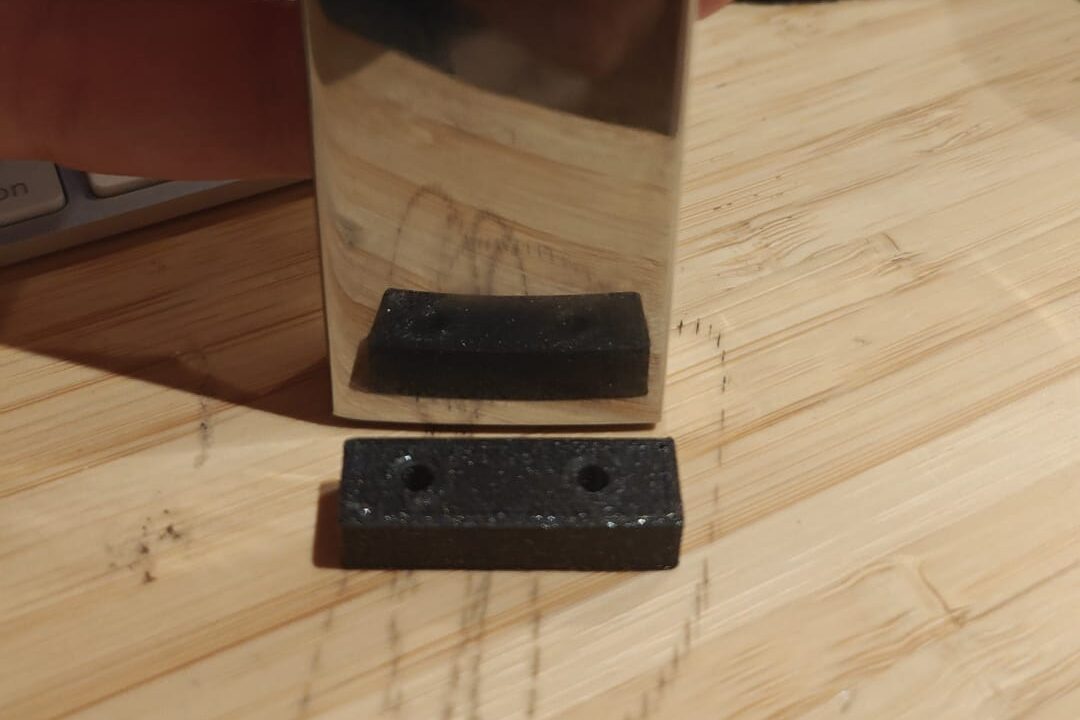
I also had an issue with one of my window blinds. The clip that holds the blind in place had snapped, and buying a replacement was difficult. So, I 3D-printed a solution.
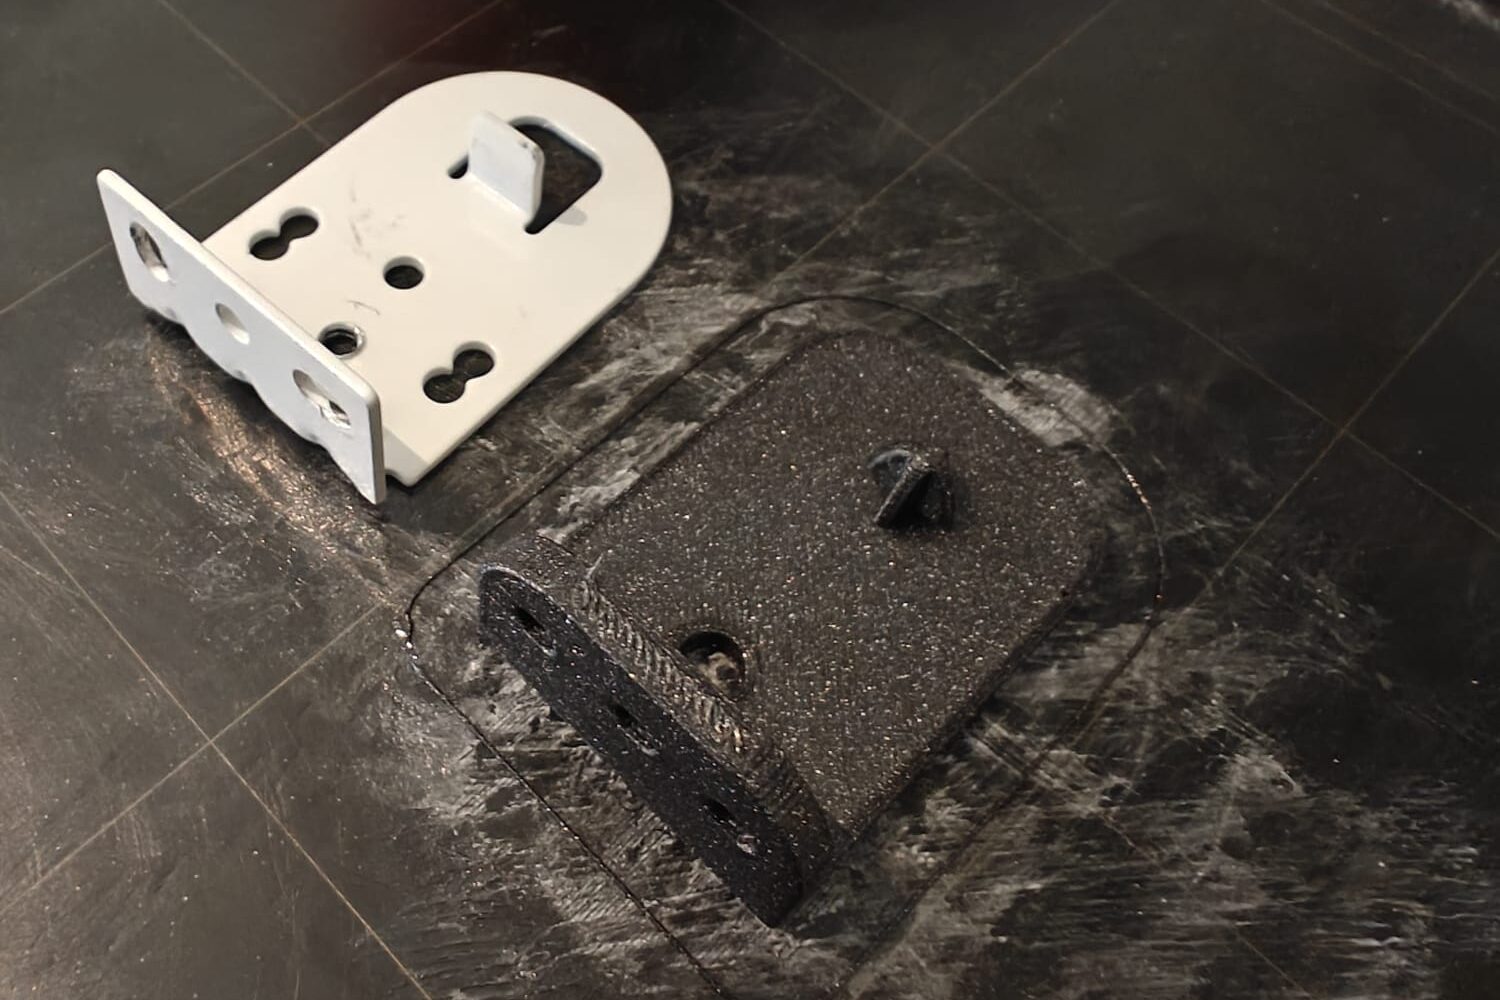
- Problem: The small clip holding the blind in place broke.
- Solution: I designed a new clip in CAD based on the broken part.
- Process: After a couple of test prints, I found the perfect fit. Now, the blind works just like before!
- Materials: PLA filament, 0.15mm layer height for extra precision.
- Time: Around 45 minutes to print.
Conclusion
Both of these repairs were simple but effective, and they saved me from buying new parts or replacing the entire items. With a 3D printer, you can fix a lot of things around the house and extend the life of everyday objects. Plus, it’s a fun way to practice designing and printing custom parts! Check out our gallery for more.