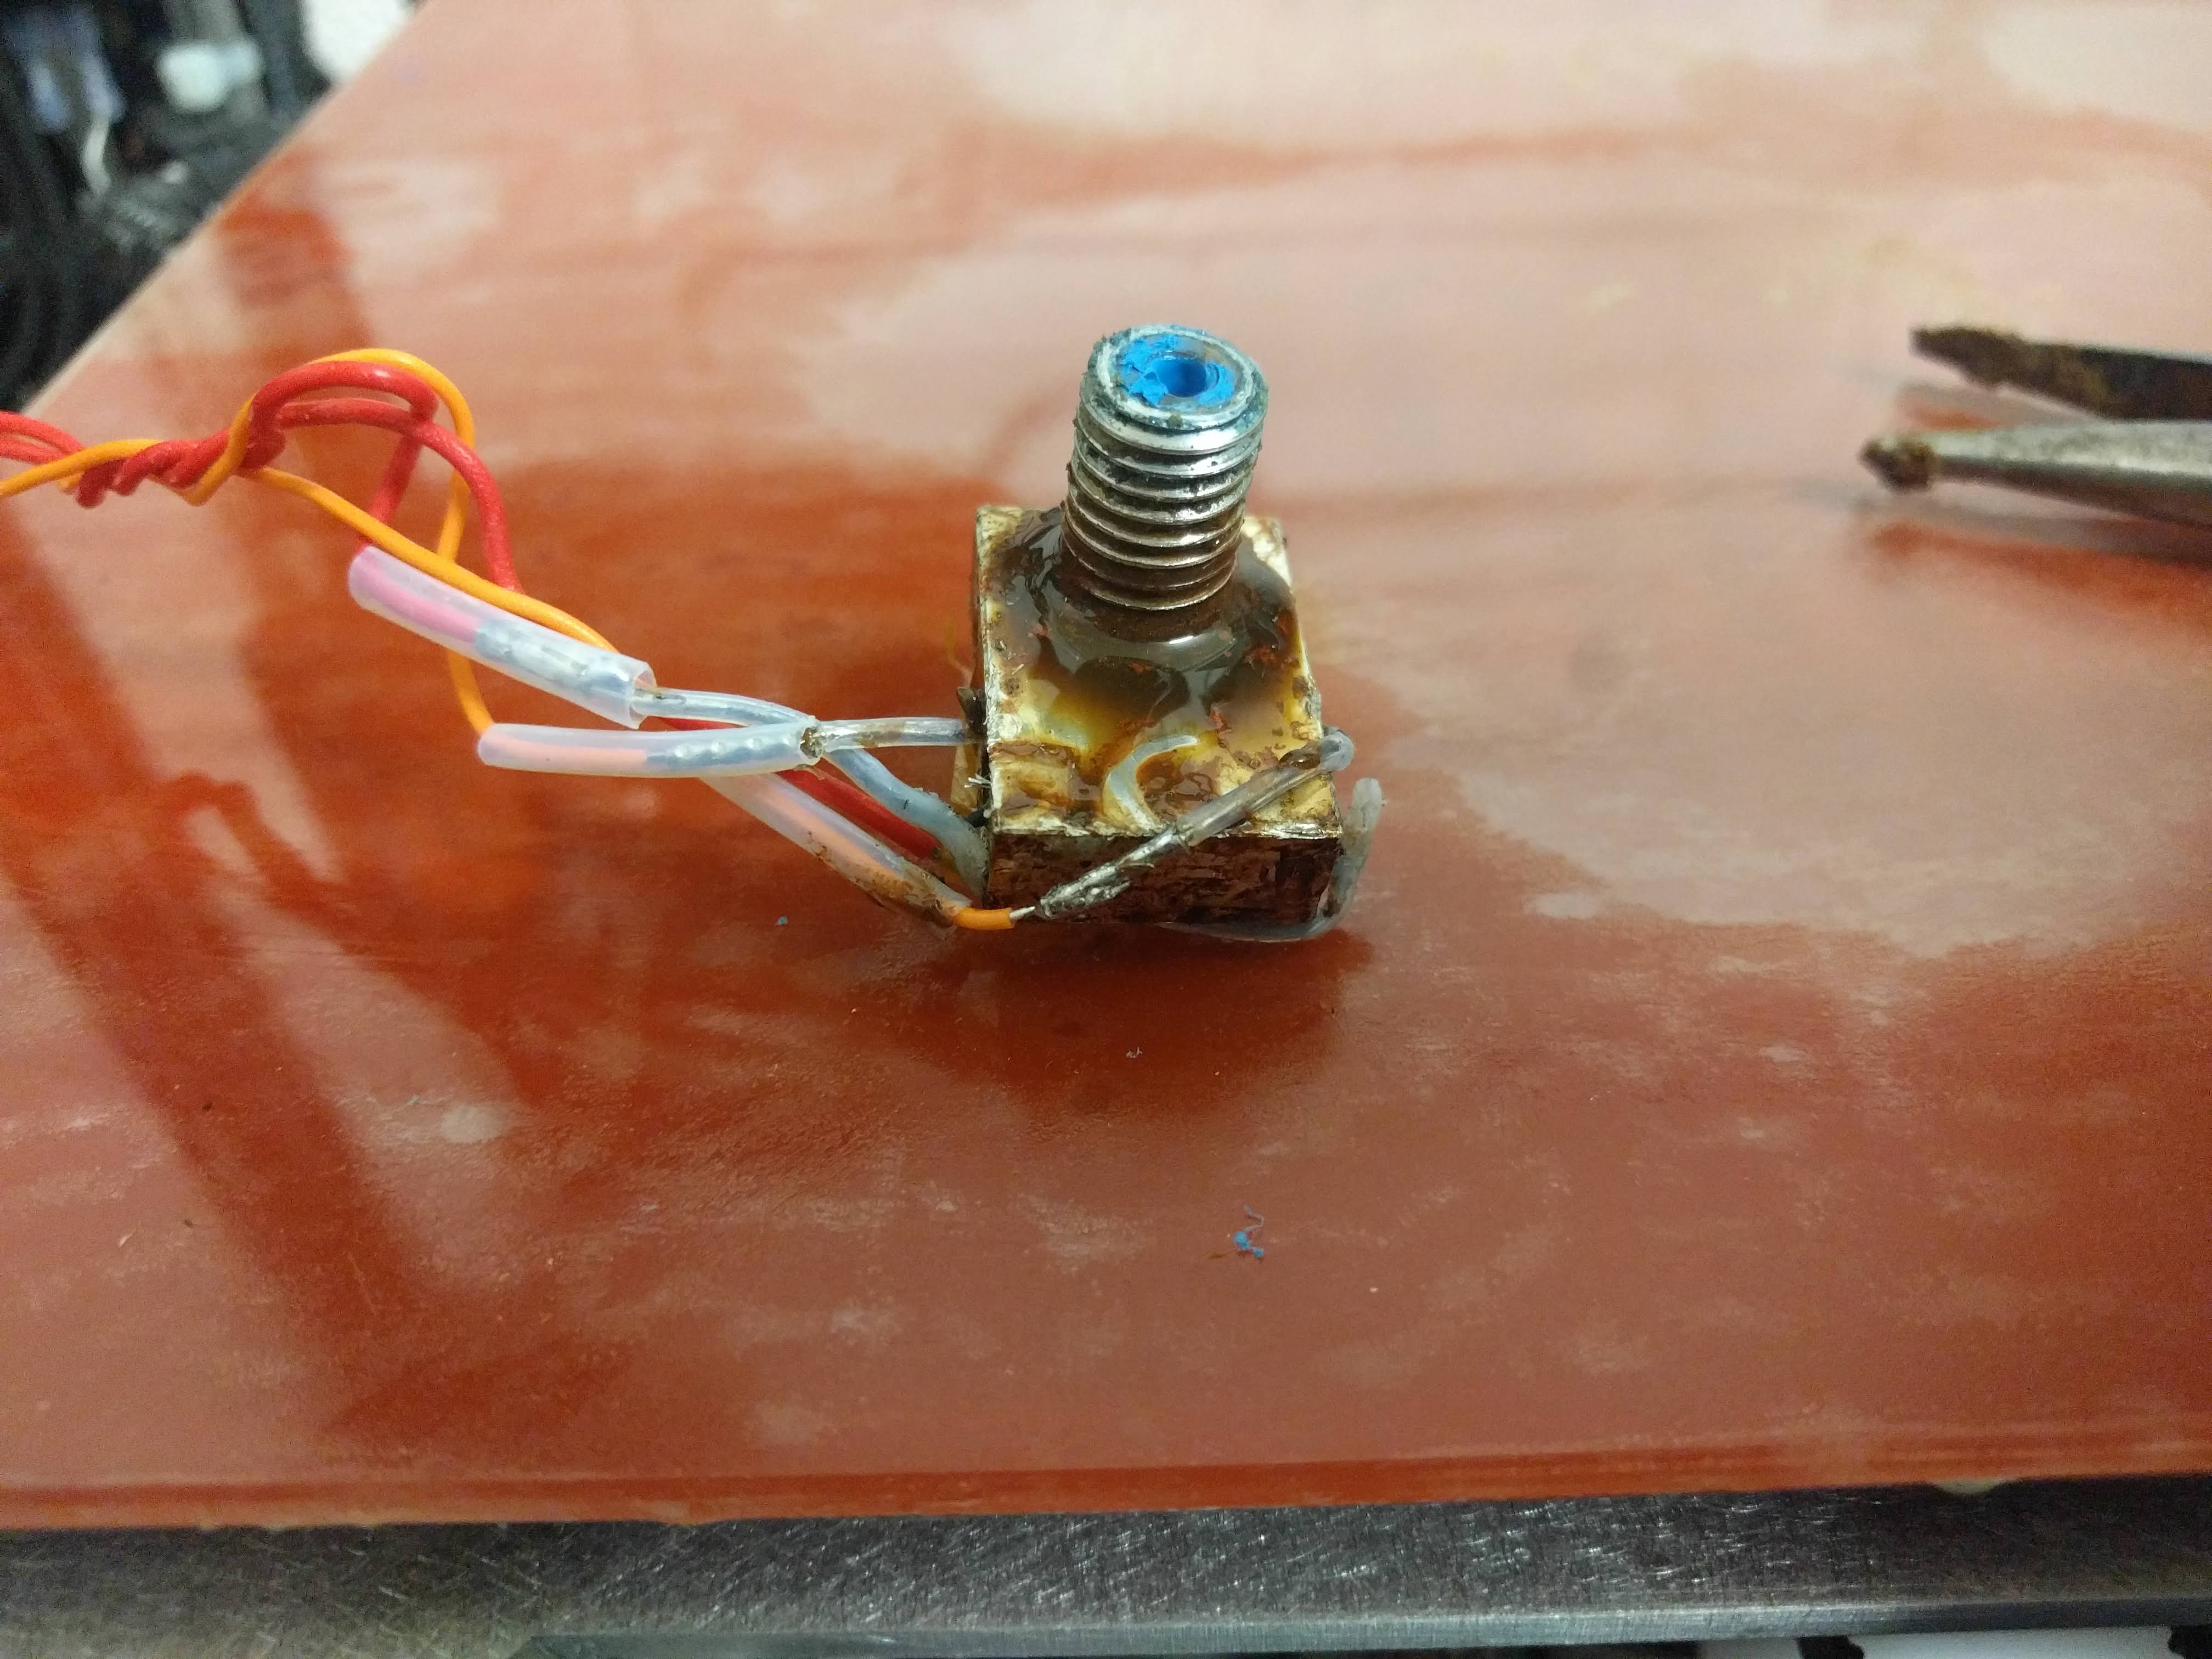
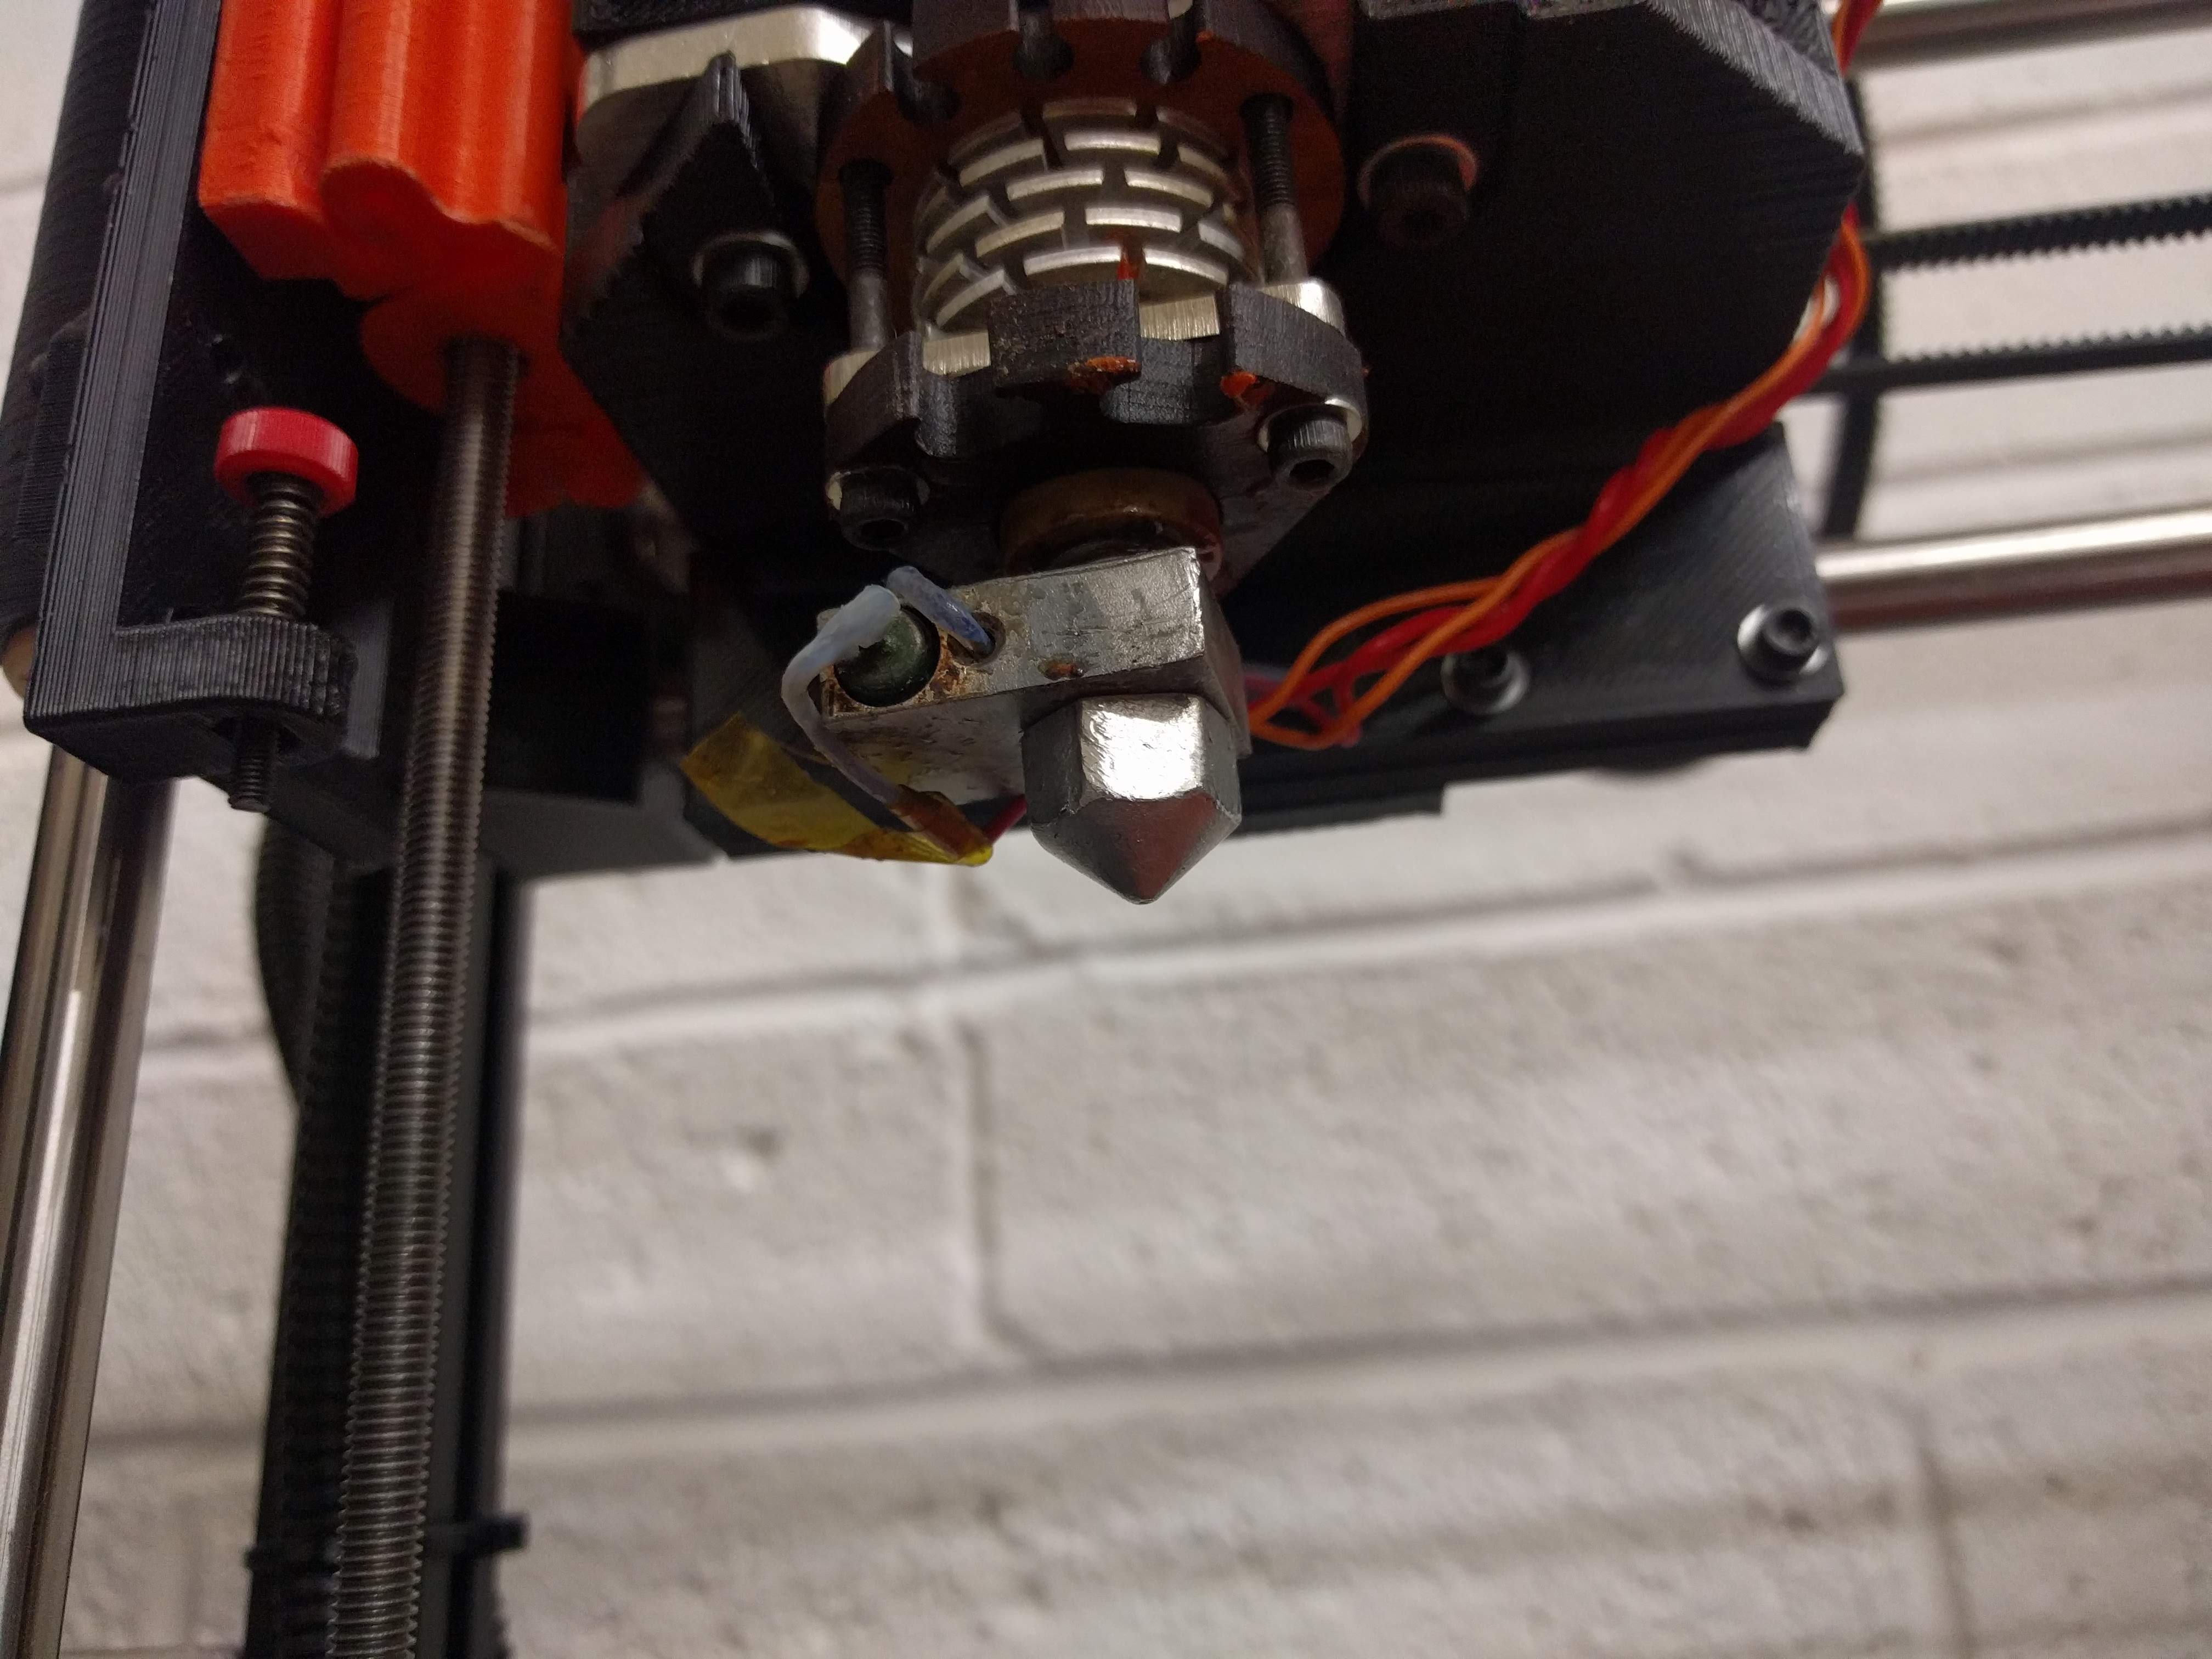
In 2014 Tog won a Lulzbot Taz 3, since then it has been used on and off and mostly off for the past 2 yrs. During this time, there was very little, if any maintenance carried out on the printer. As a result, it had become gunked up with the remains of previous prints. From shavings in the extruder to melted plastic stuck all over the nozzle and heat brake, it was pretty messy.
As I had recently ordered a Prusa i3 MK3 for myself, I thought it was as good an excuse to reintroduce myself to the nitty gritty of 3D printing – by restoring the Tog Lulzbot Taz 3.
The first issue was that because the Lulzbot Taz 3, or at least our version of it, had no endstop switches on one side of the Z Axis (they’re are actually only one for each axis, presumably only used for homing), it was incredibly easy to instruct the 3D Printer to break itself – and that’s precisely what had happened.
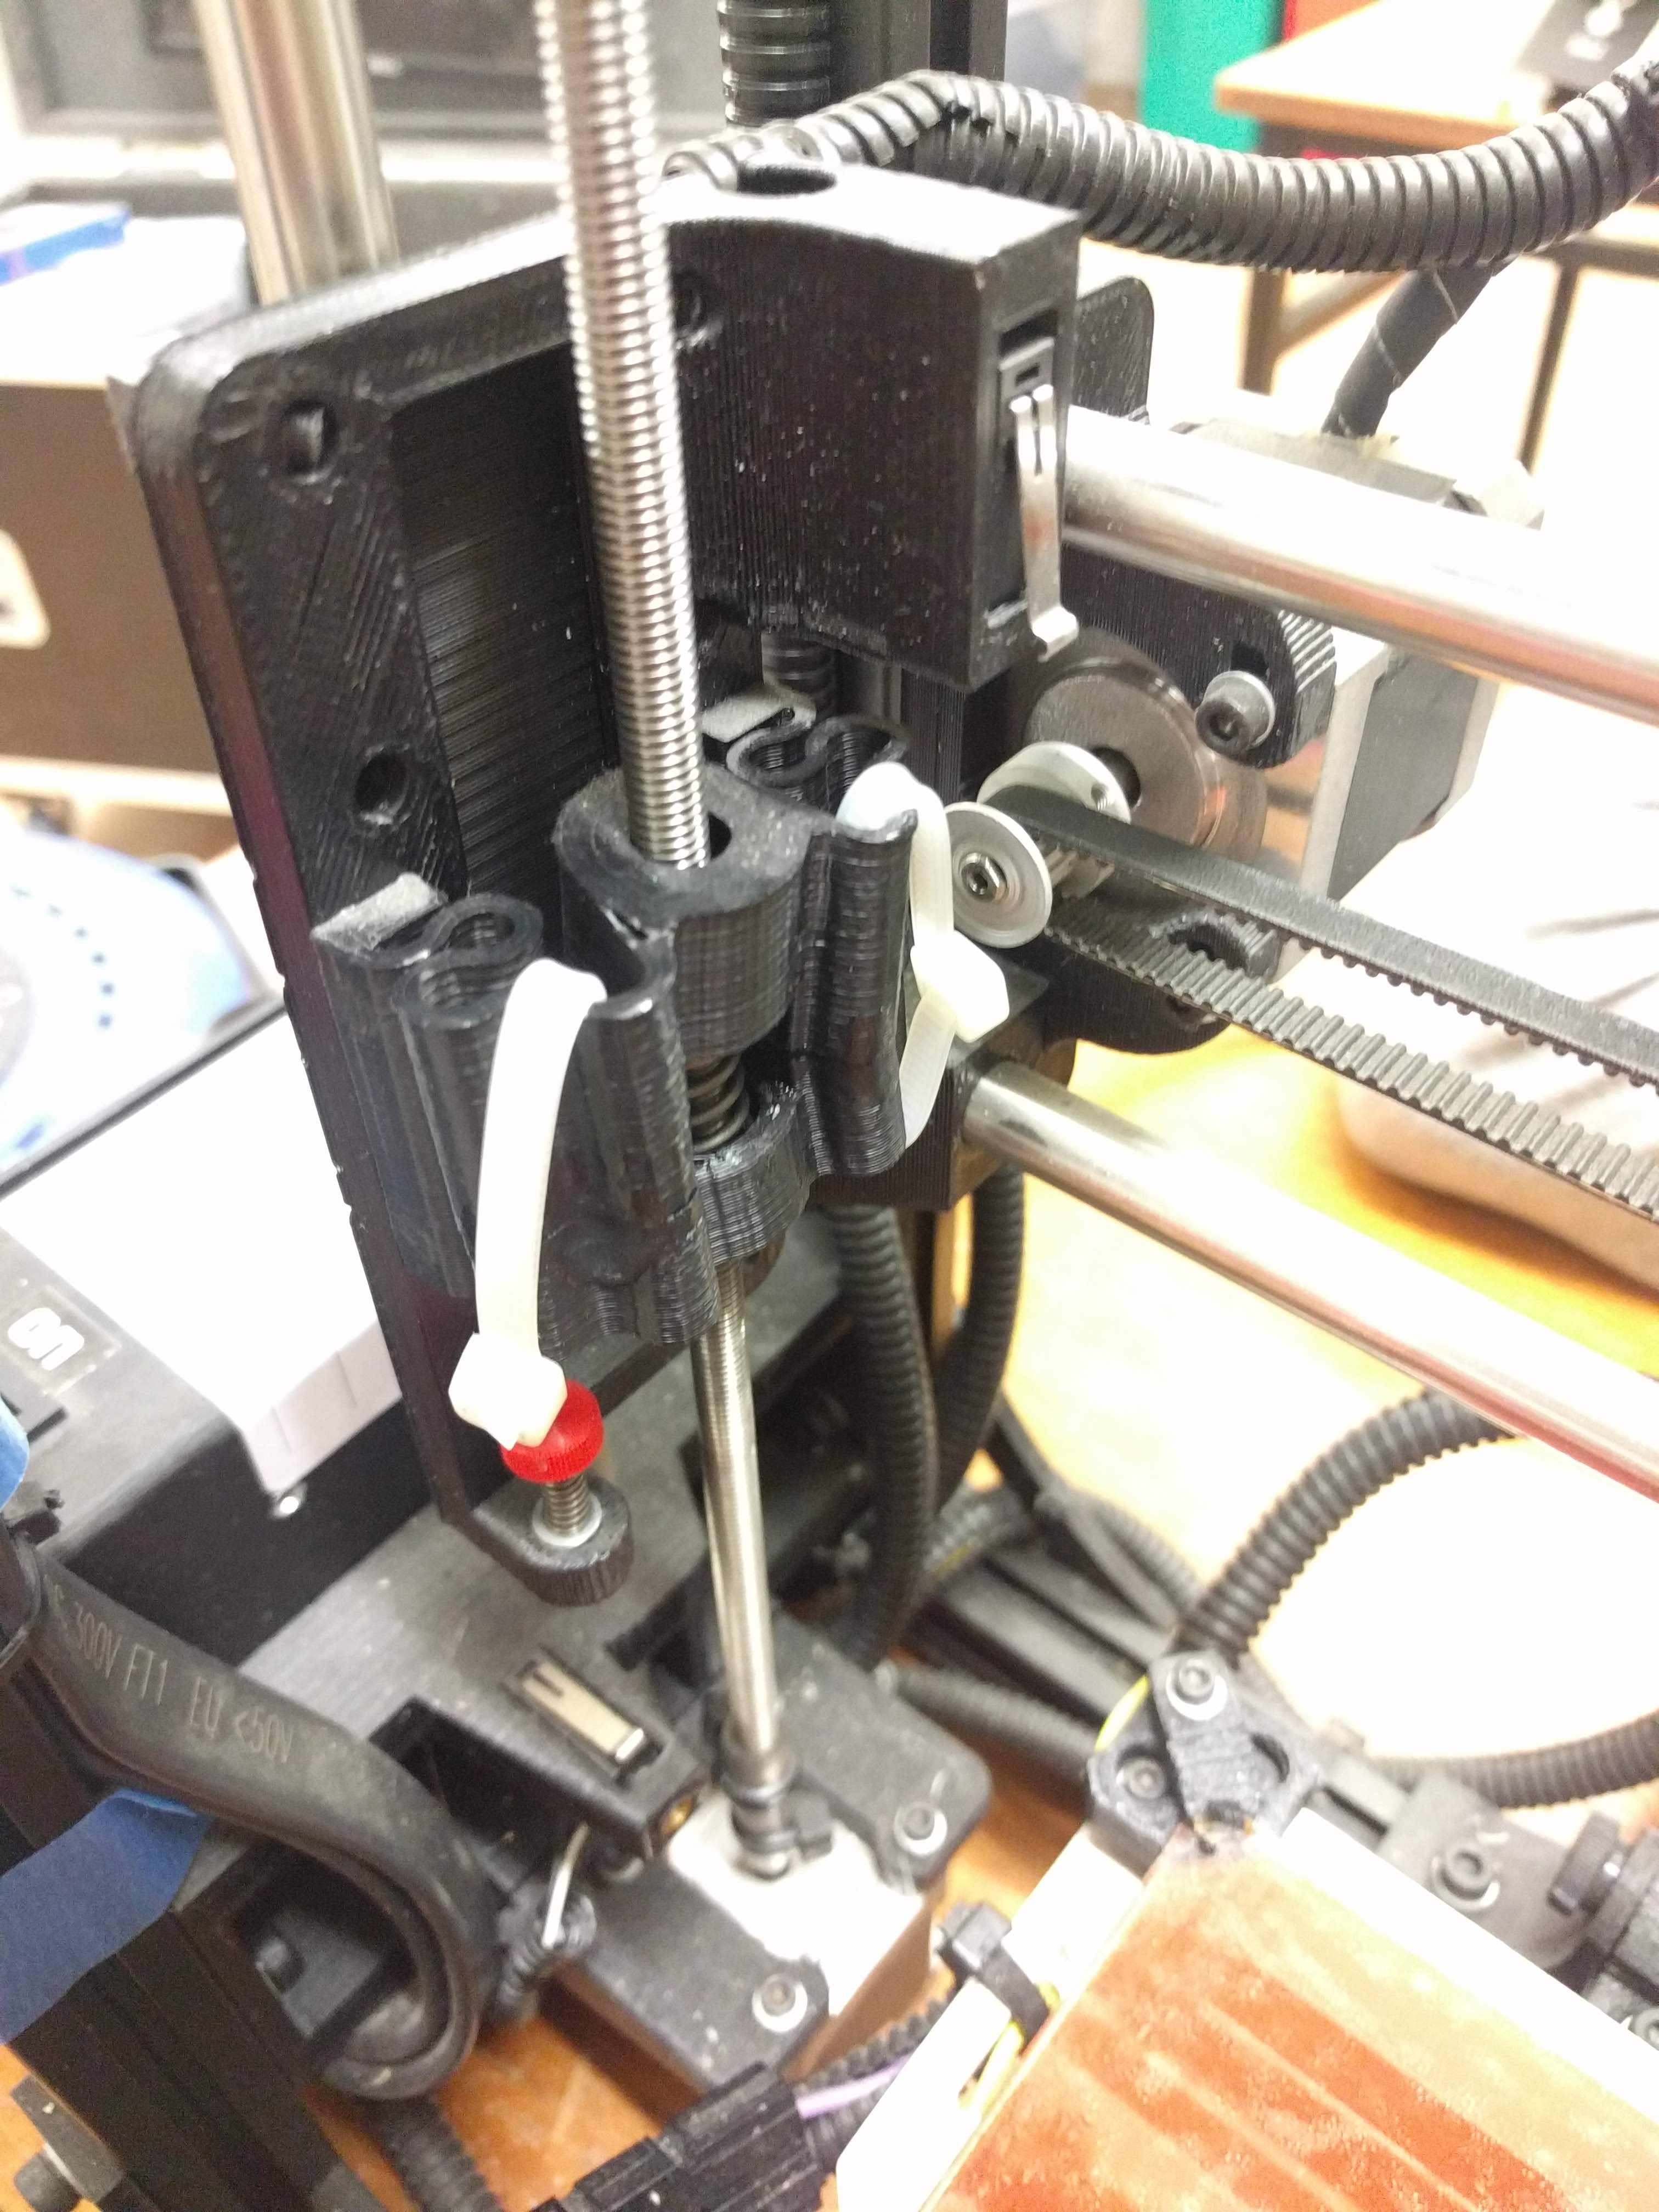
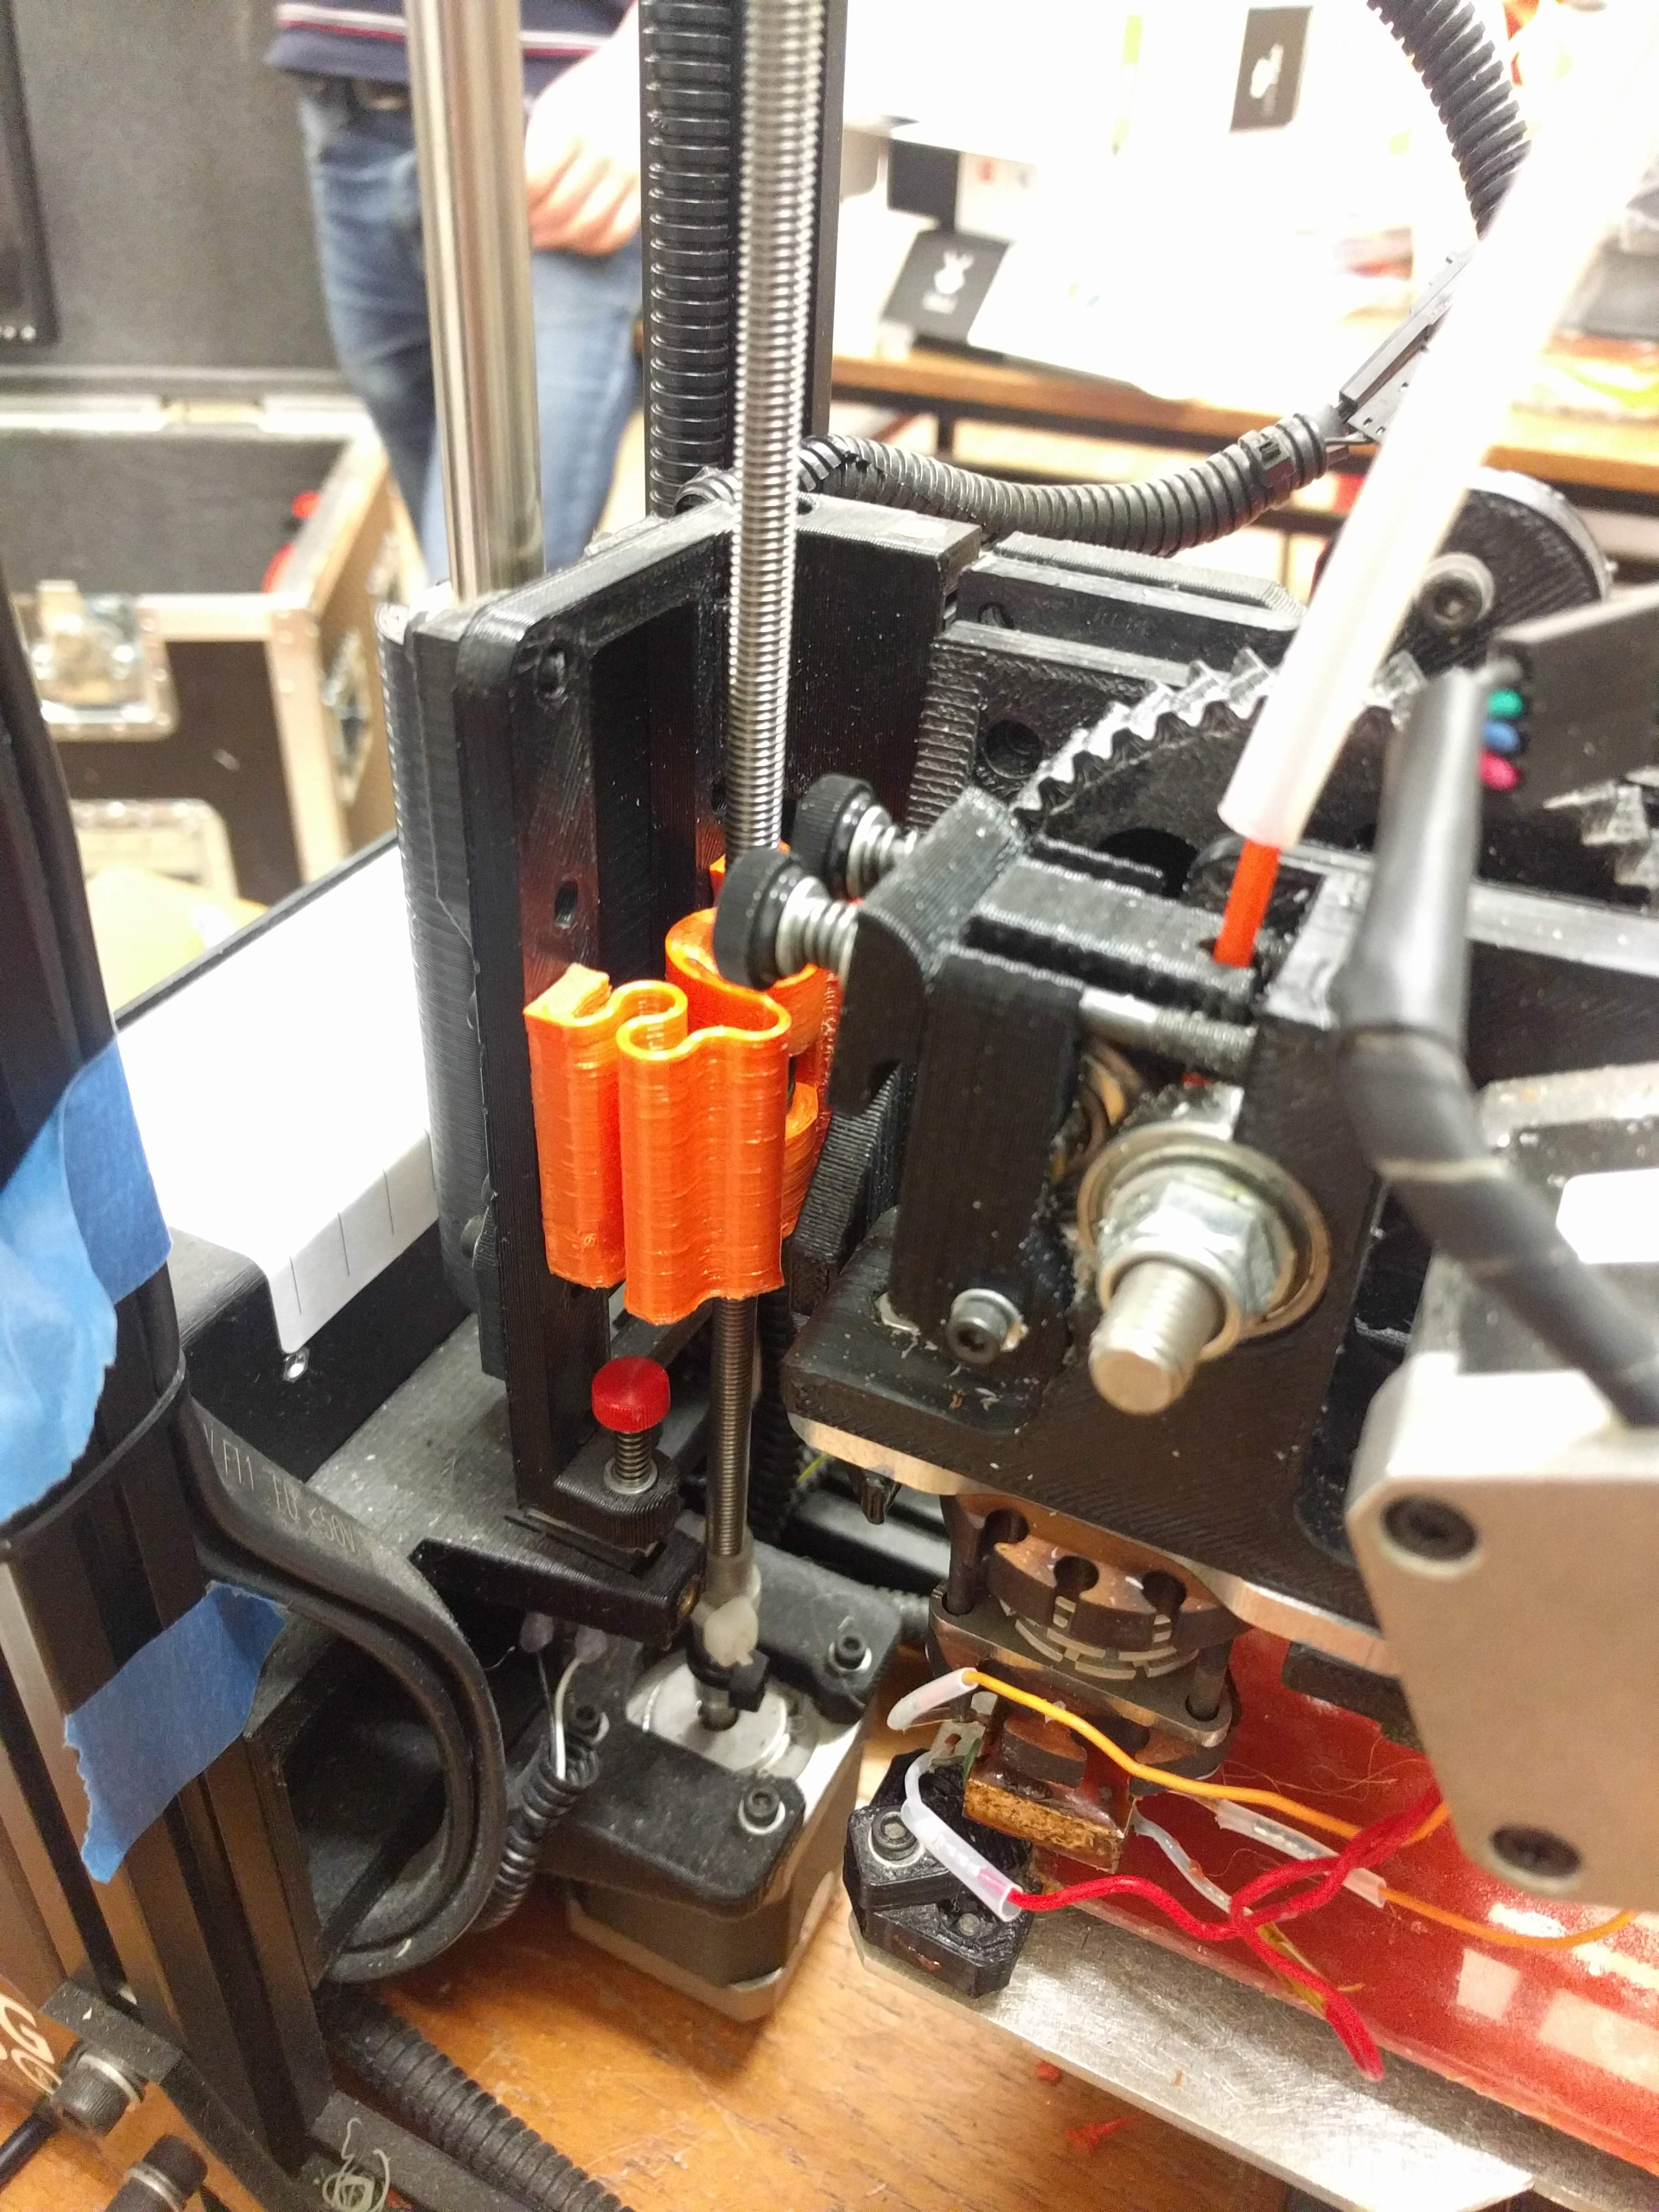
One of the Z-Axis followers had been broken into two while the X-Axis and Extruder assembly was being raised too high and hit into the main frame of the printer. This resulted in a broken part.
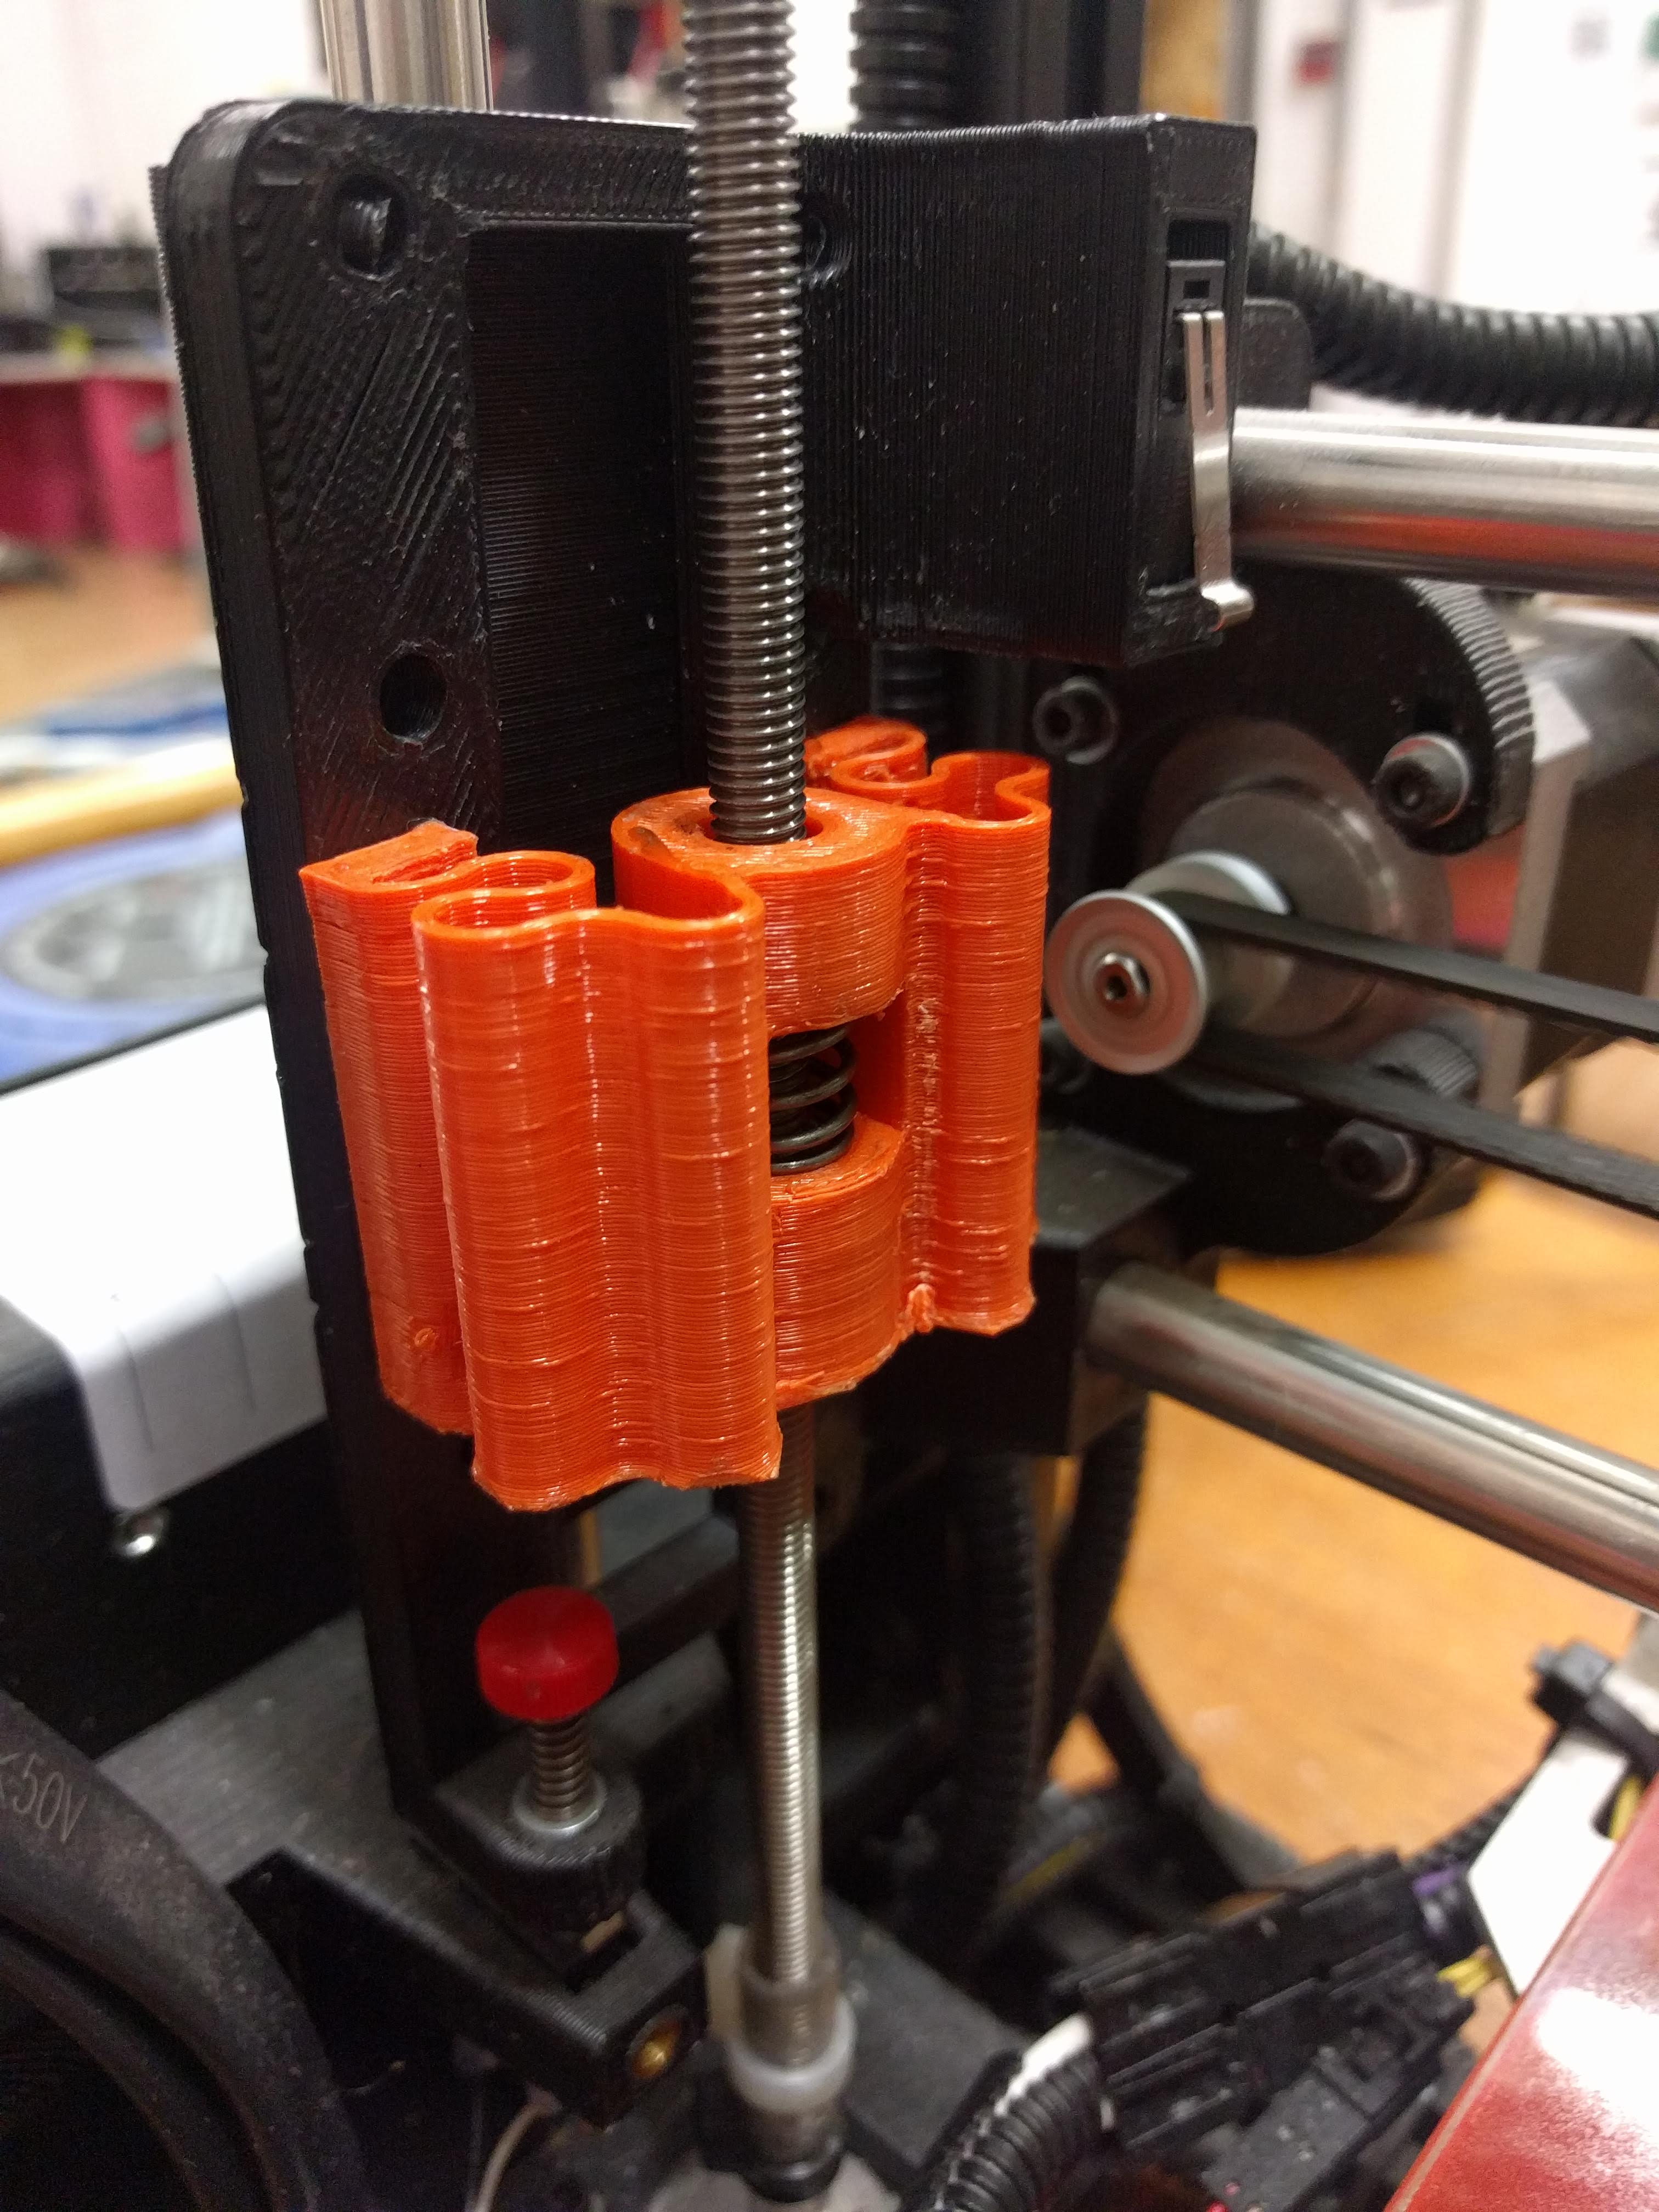
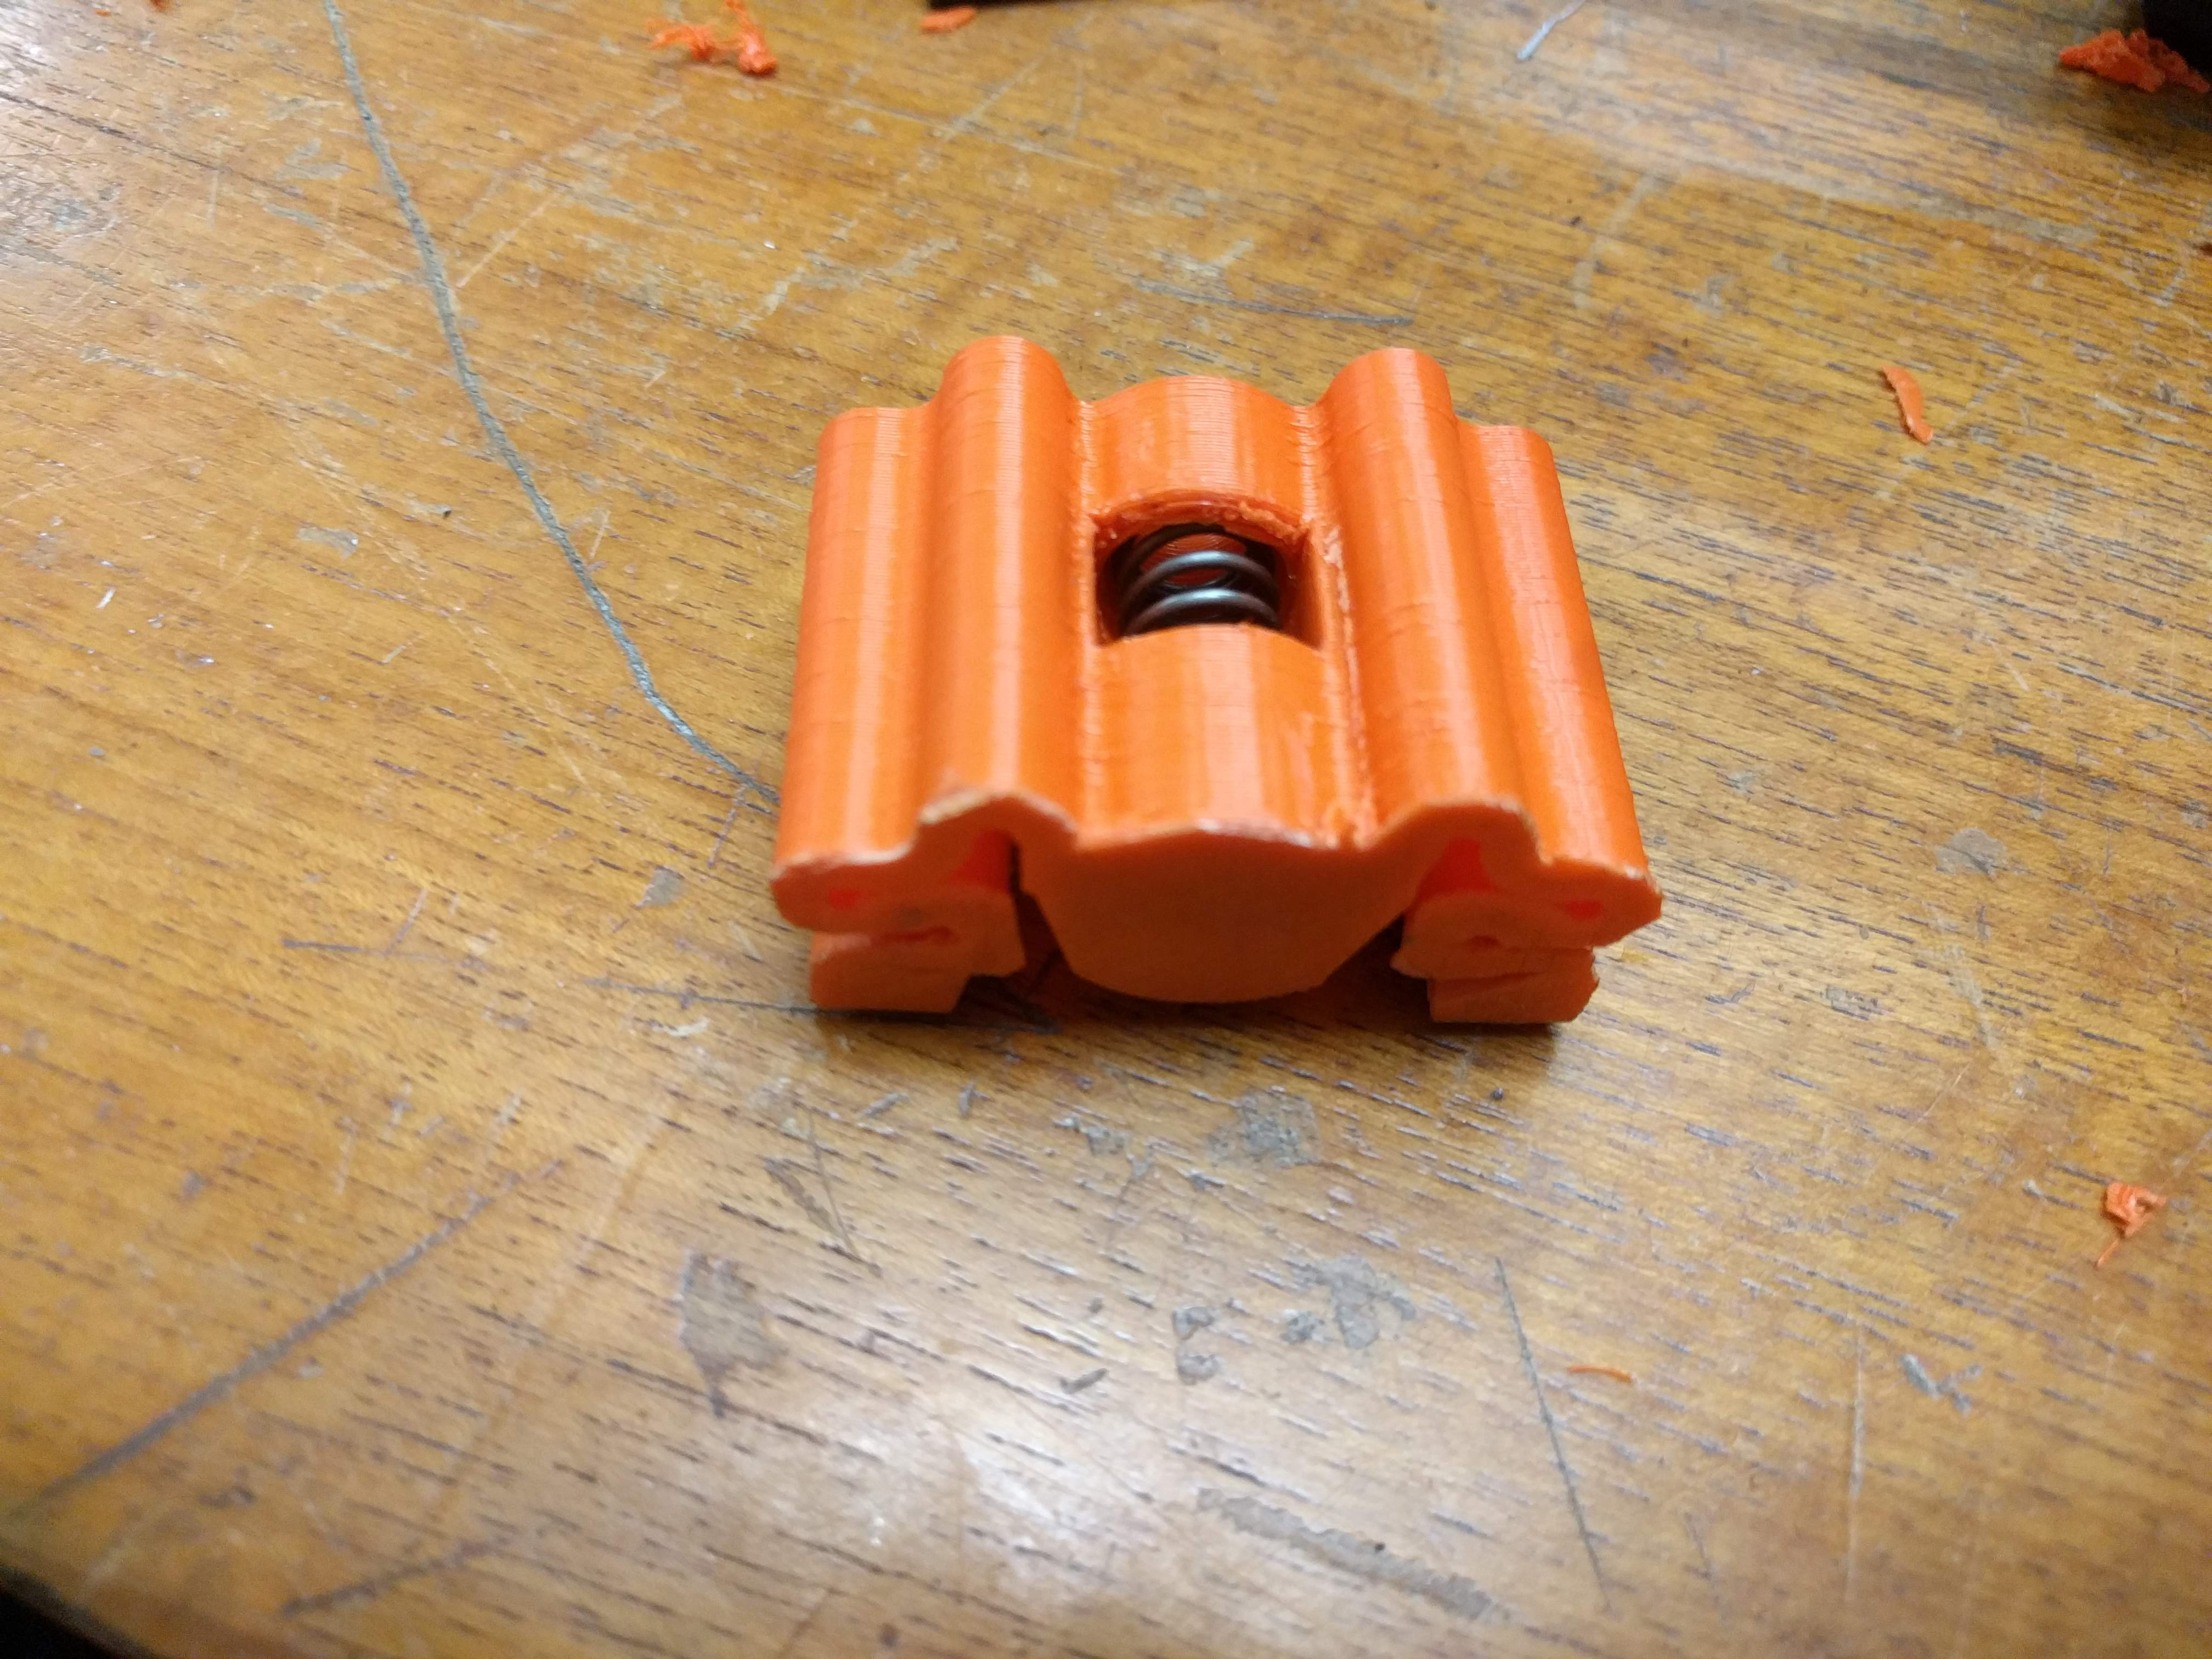
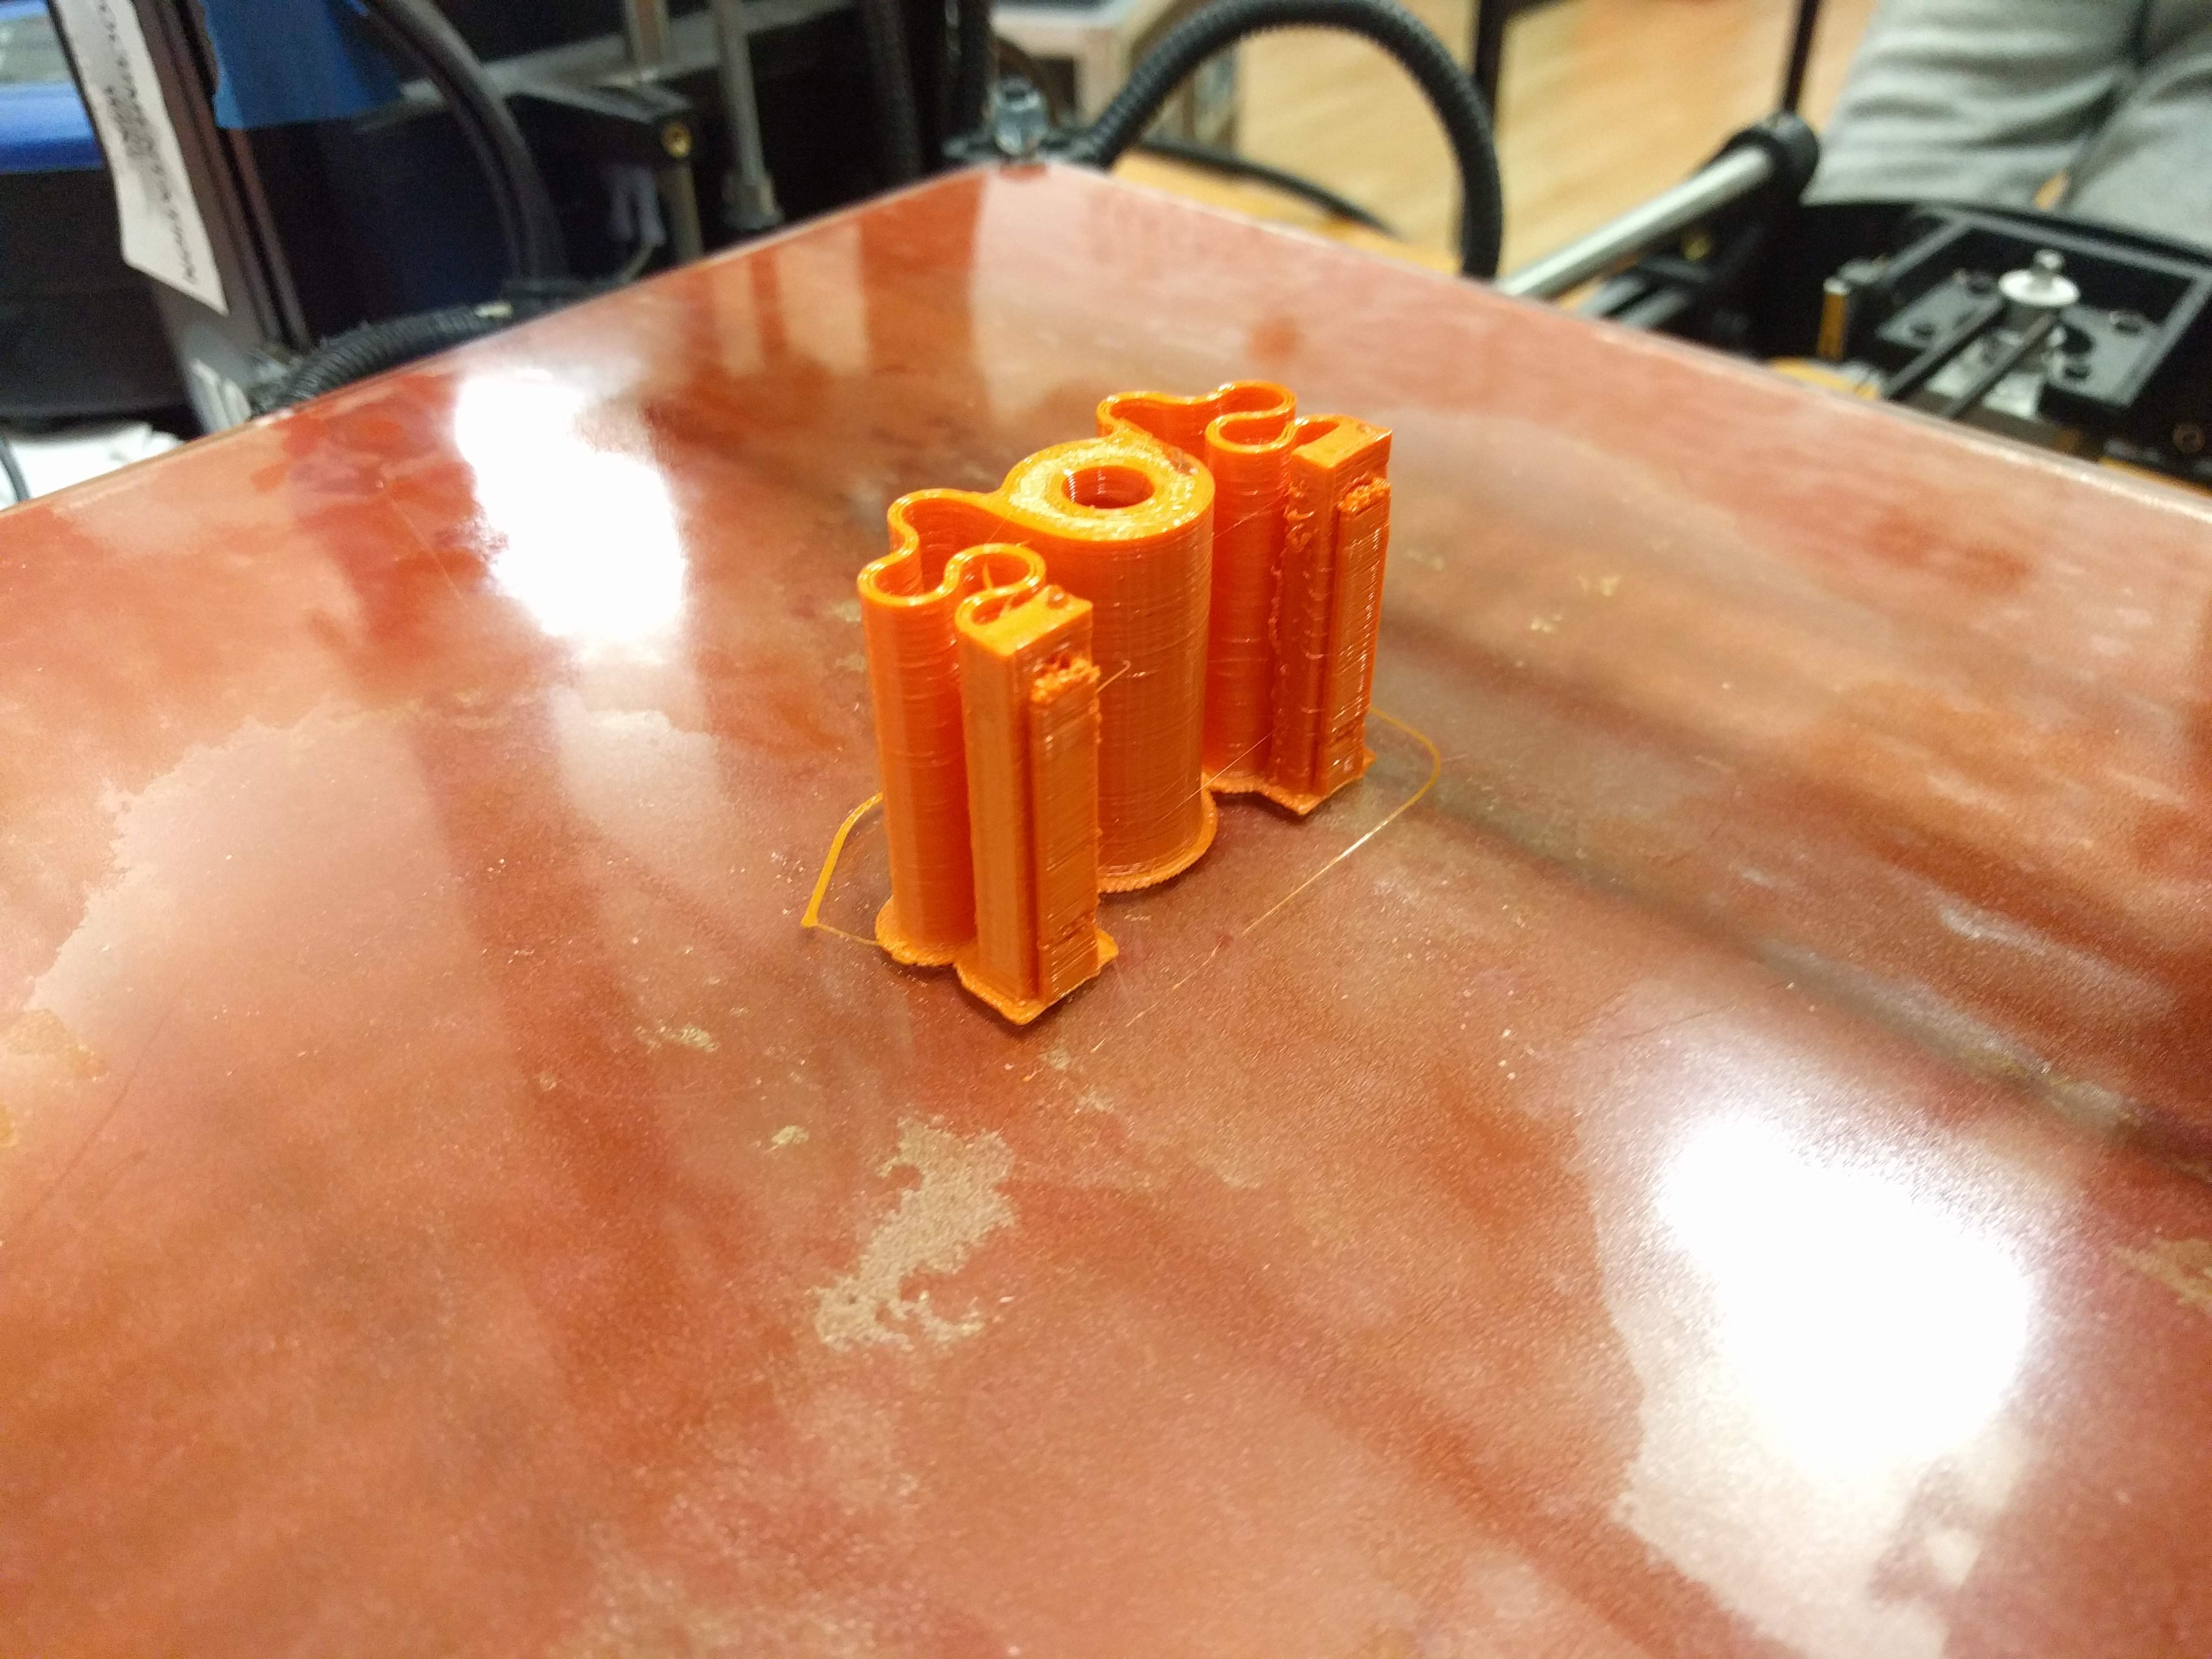
The emergency fix for this was to use zip ties to hold the follower together just long enough to print replacement parts (pictured right). We were actually incredibly lucky that this worked! If it hadn’t there would’ve been no way to fix this part without finding another 3D printer to produce the necessary part – but as it was, the temporary fix worked just long enough for us to do a few test prints and to print an actual working replacement part. Albeit in PLA which is not ideal, but it works!
Once the 3D Printer was back to being somewhat functional, I set to task to begin calibrating and cleaning and doing basic maintenance on it – something which has been sorely missing for the past 4 or so years of its operation.
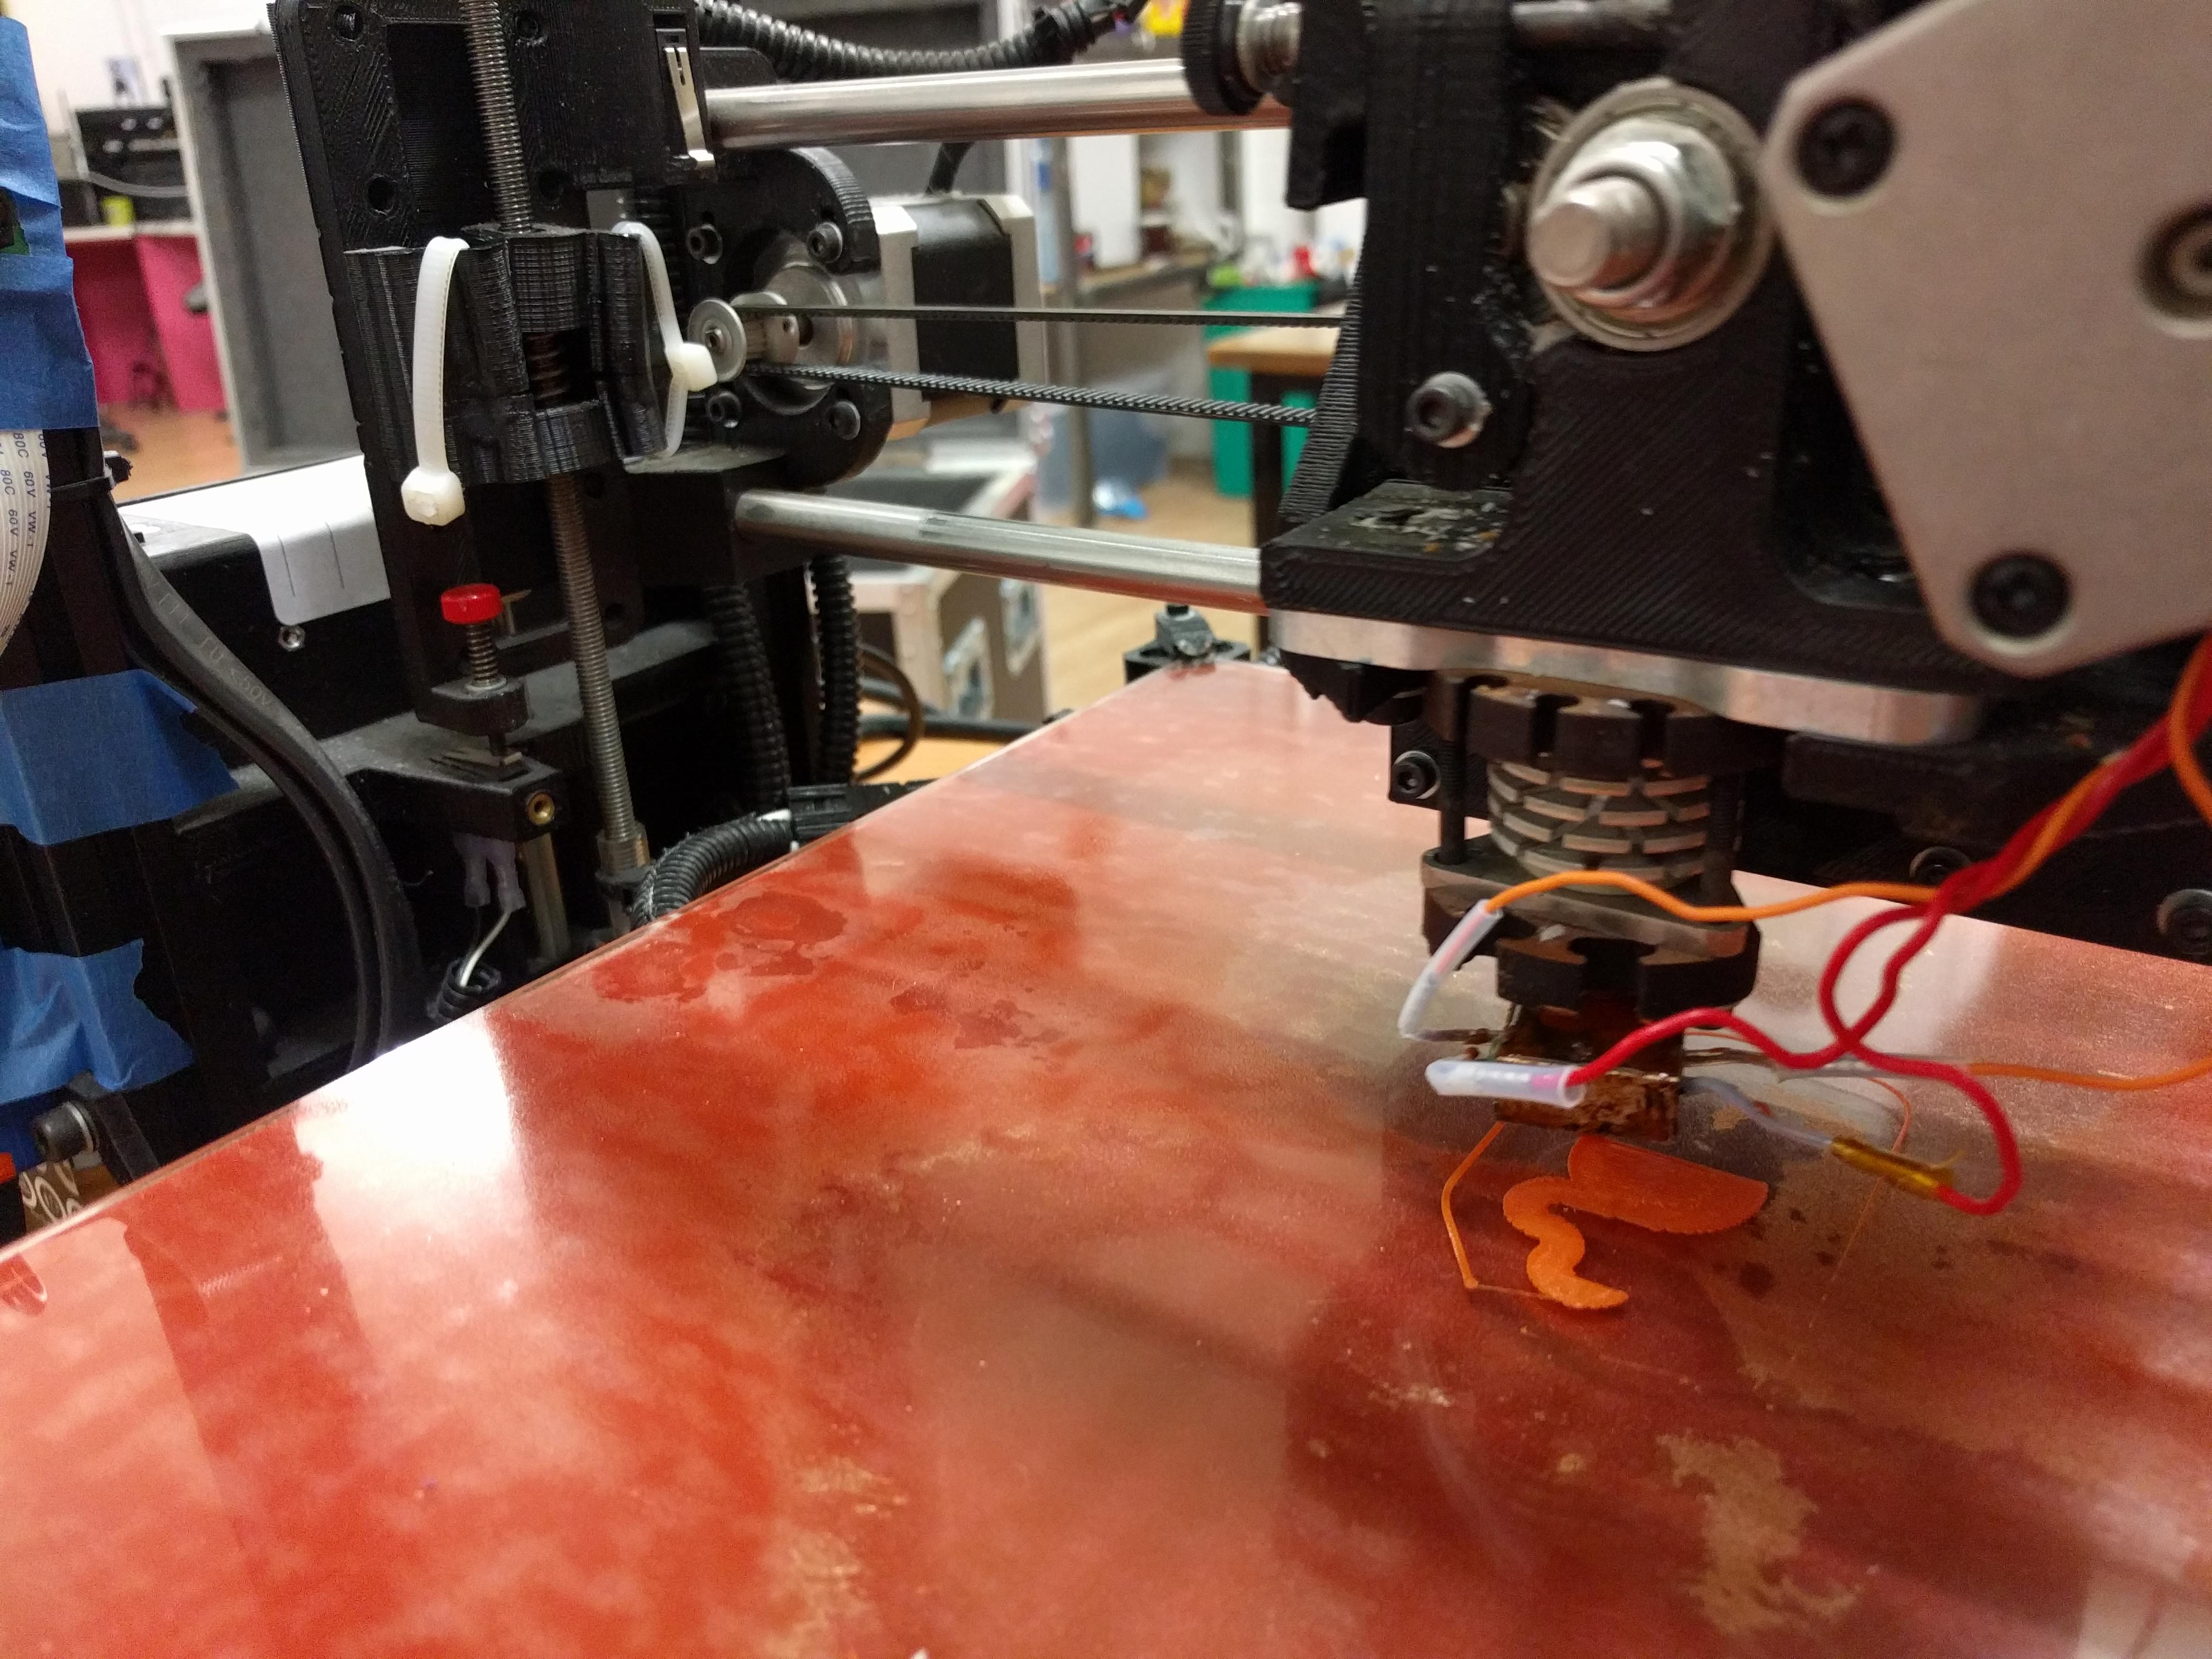
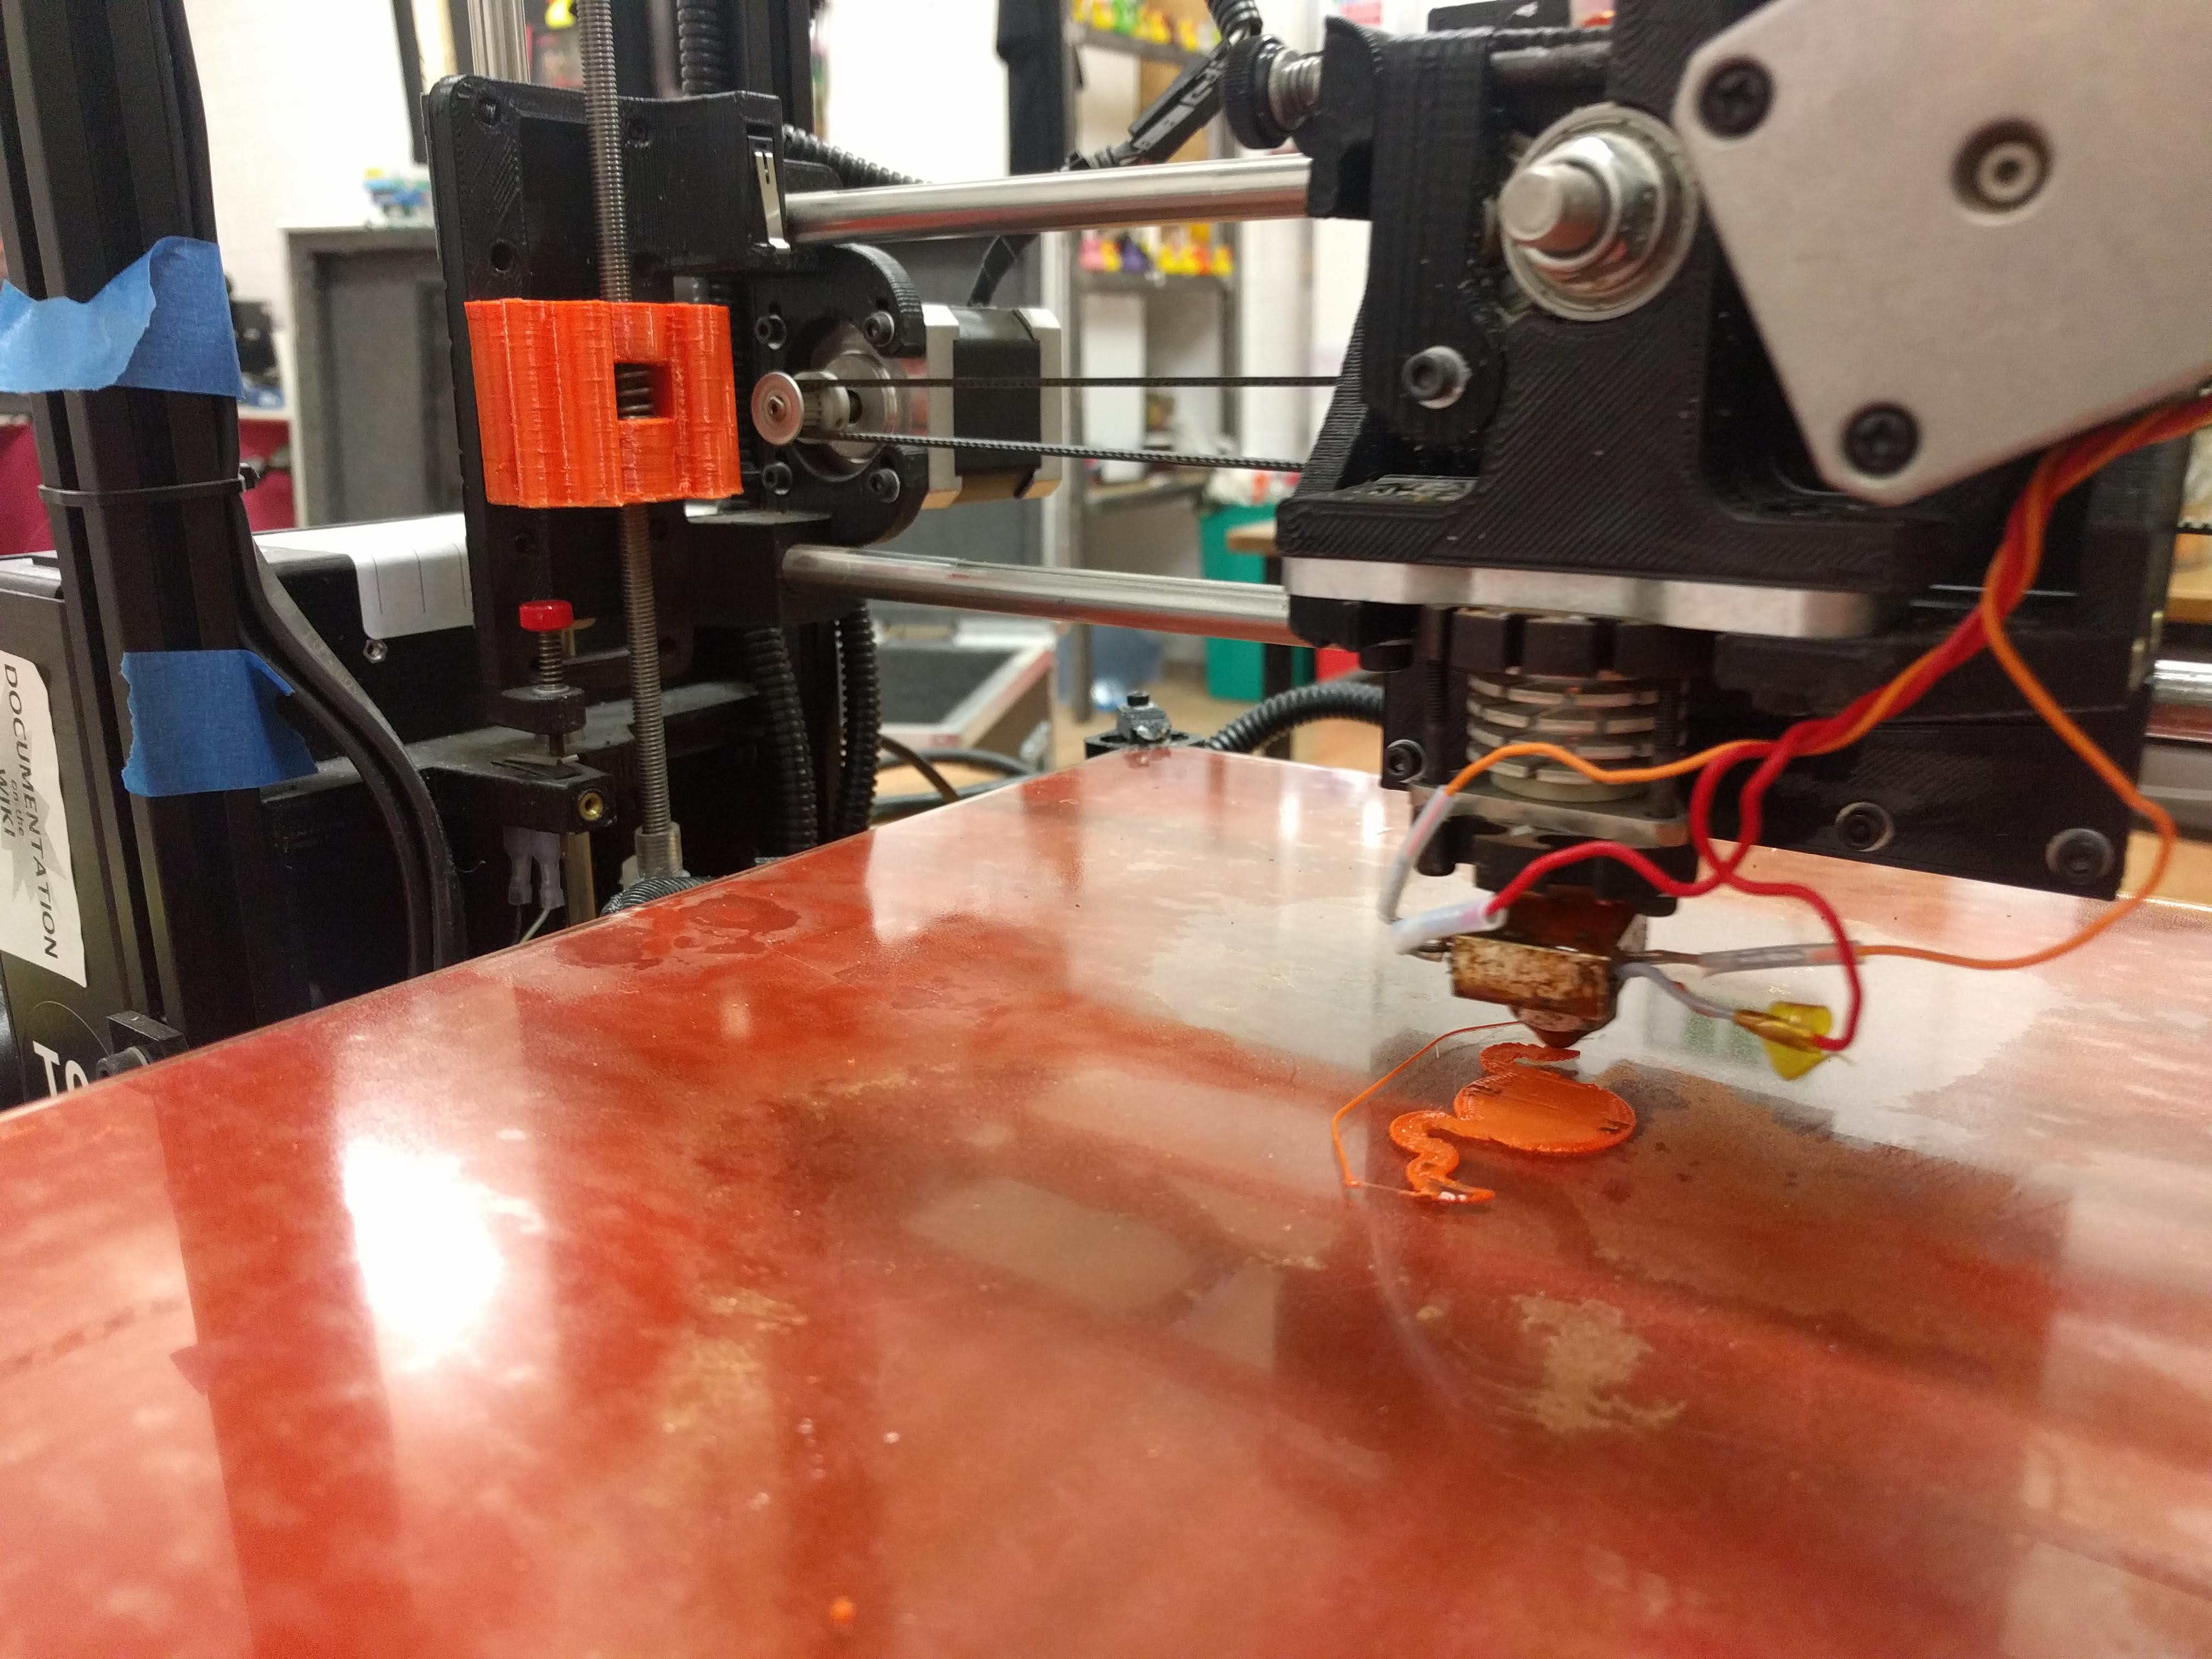
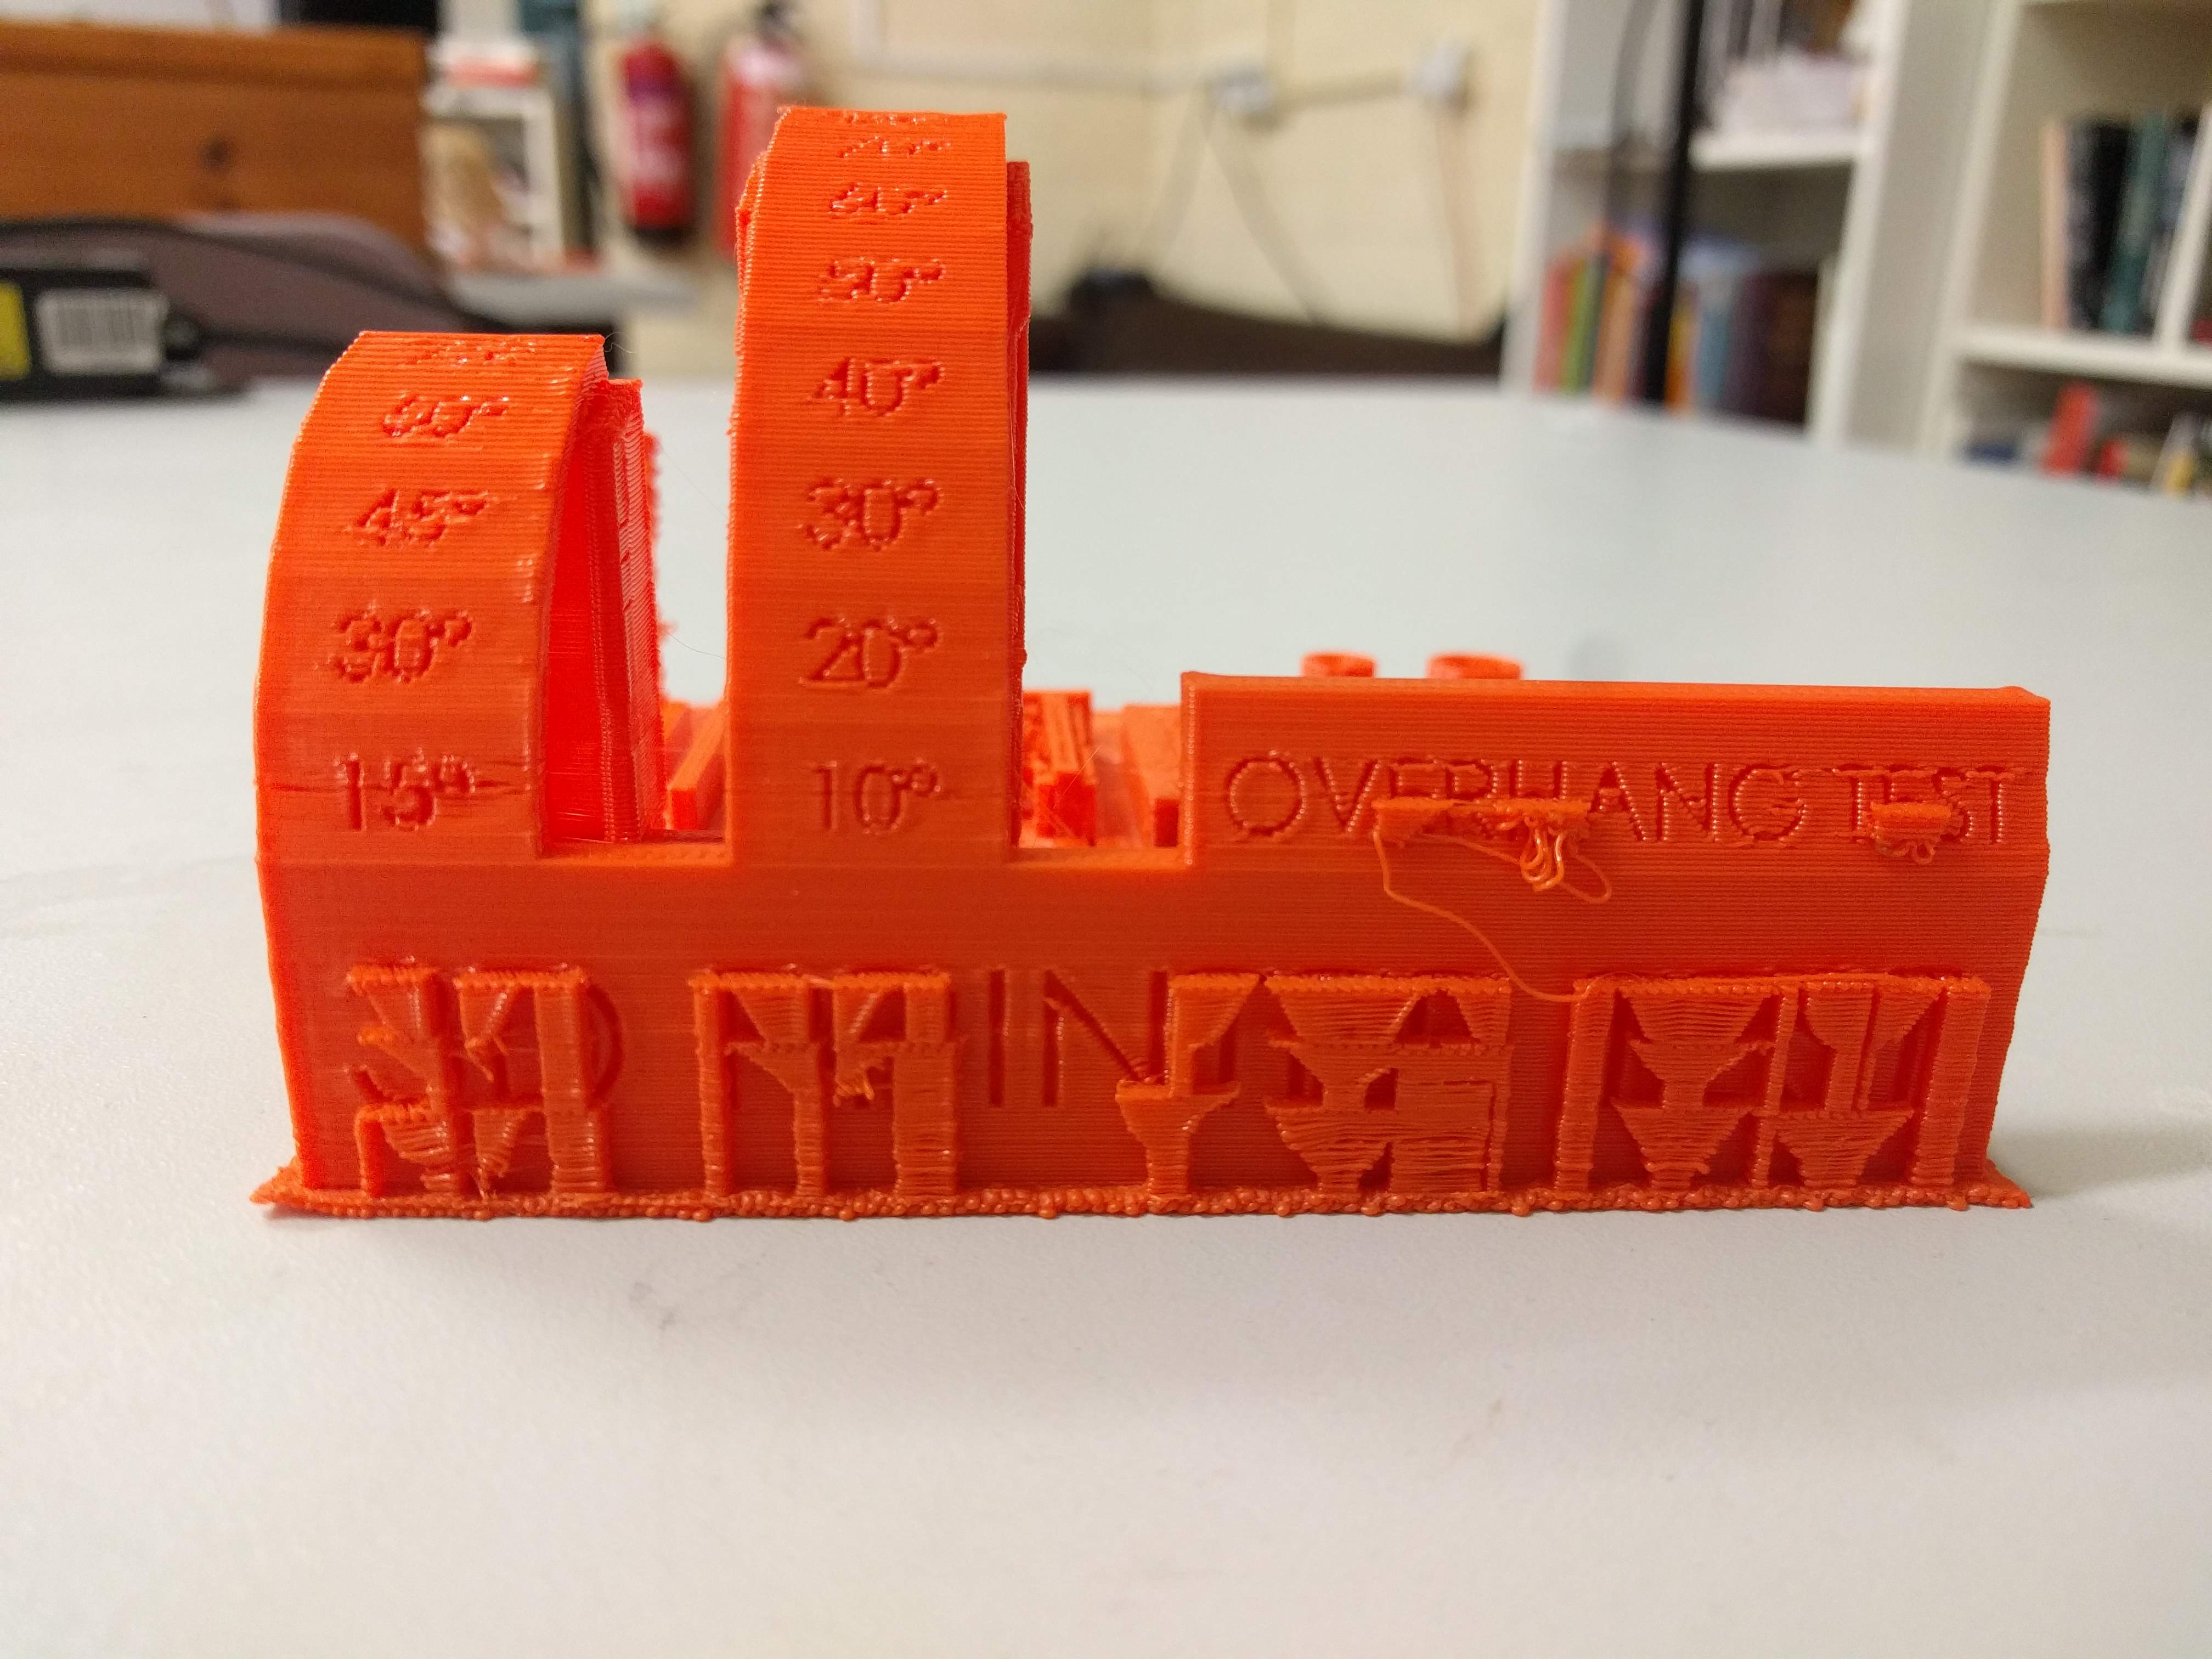
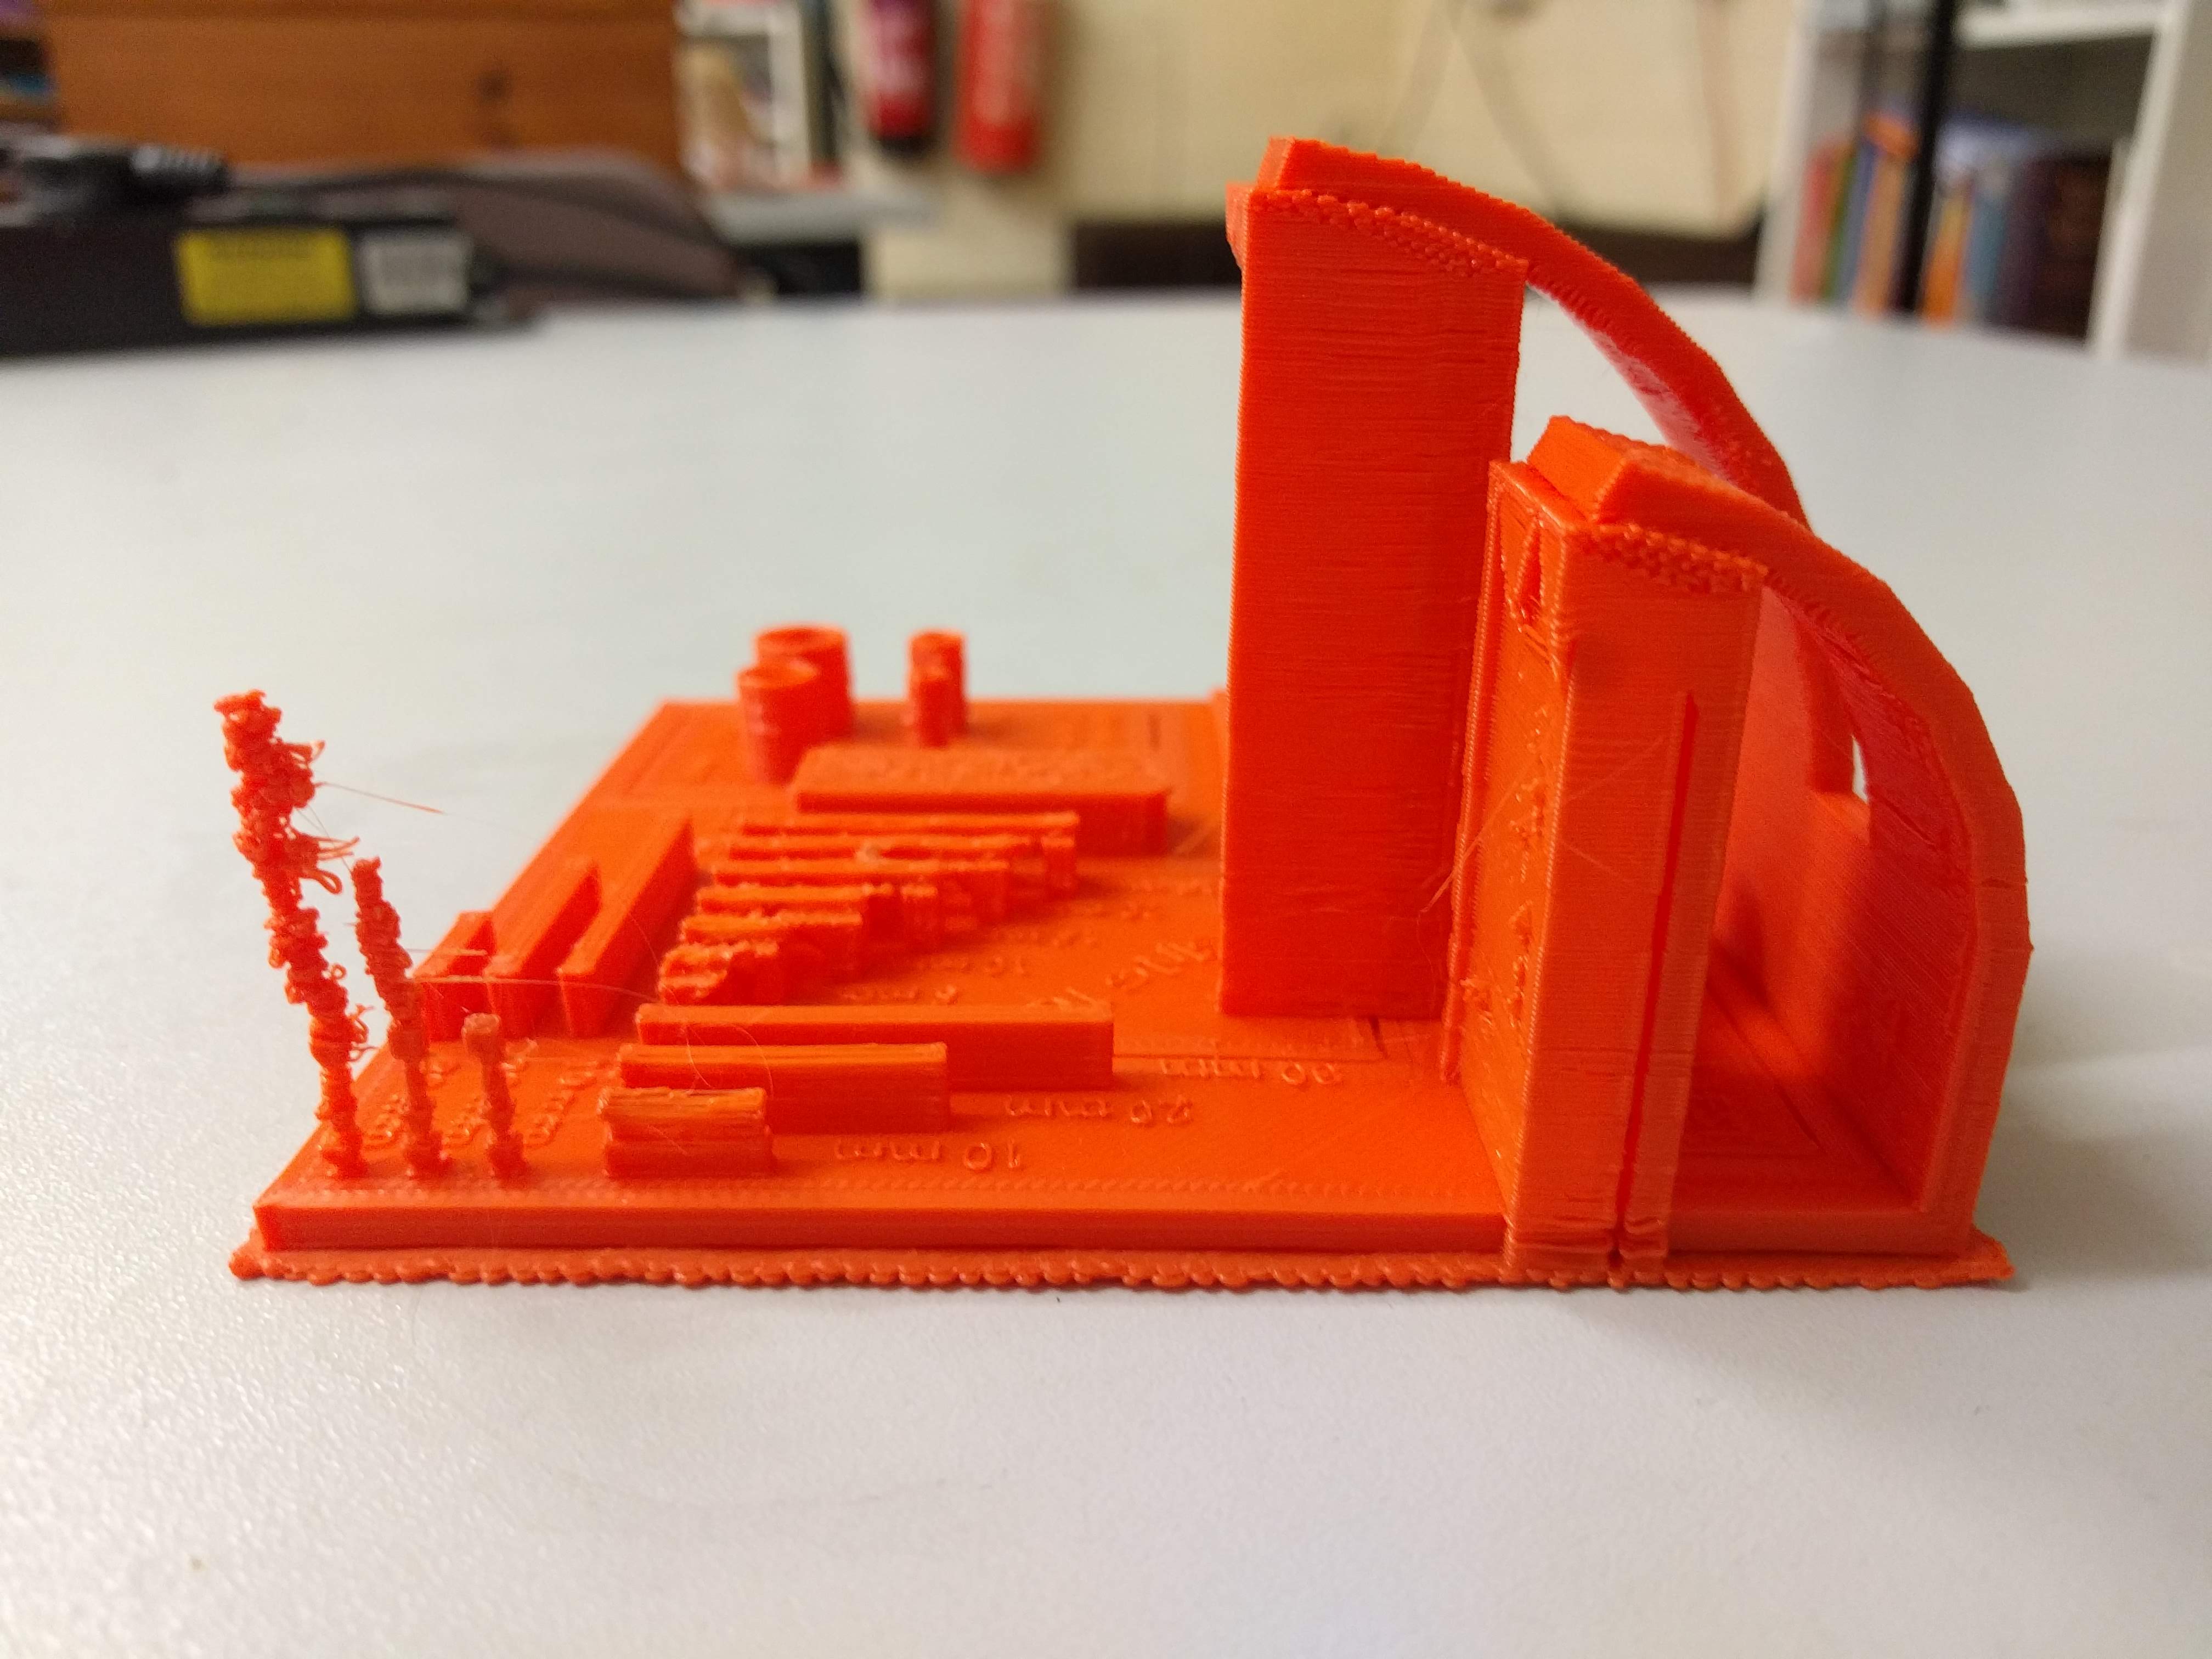
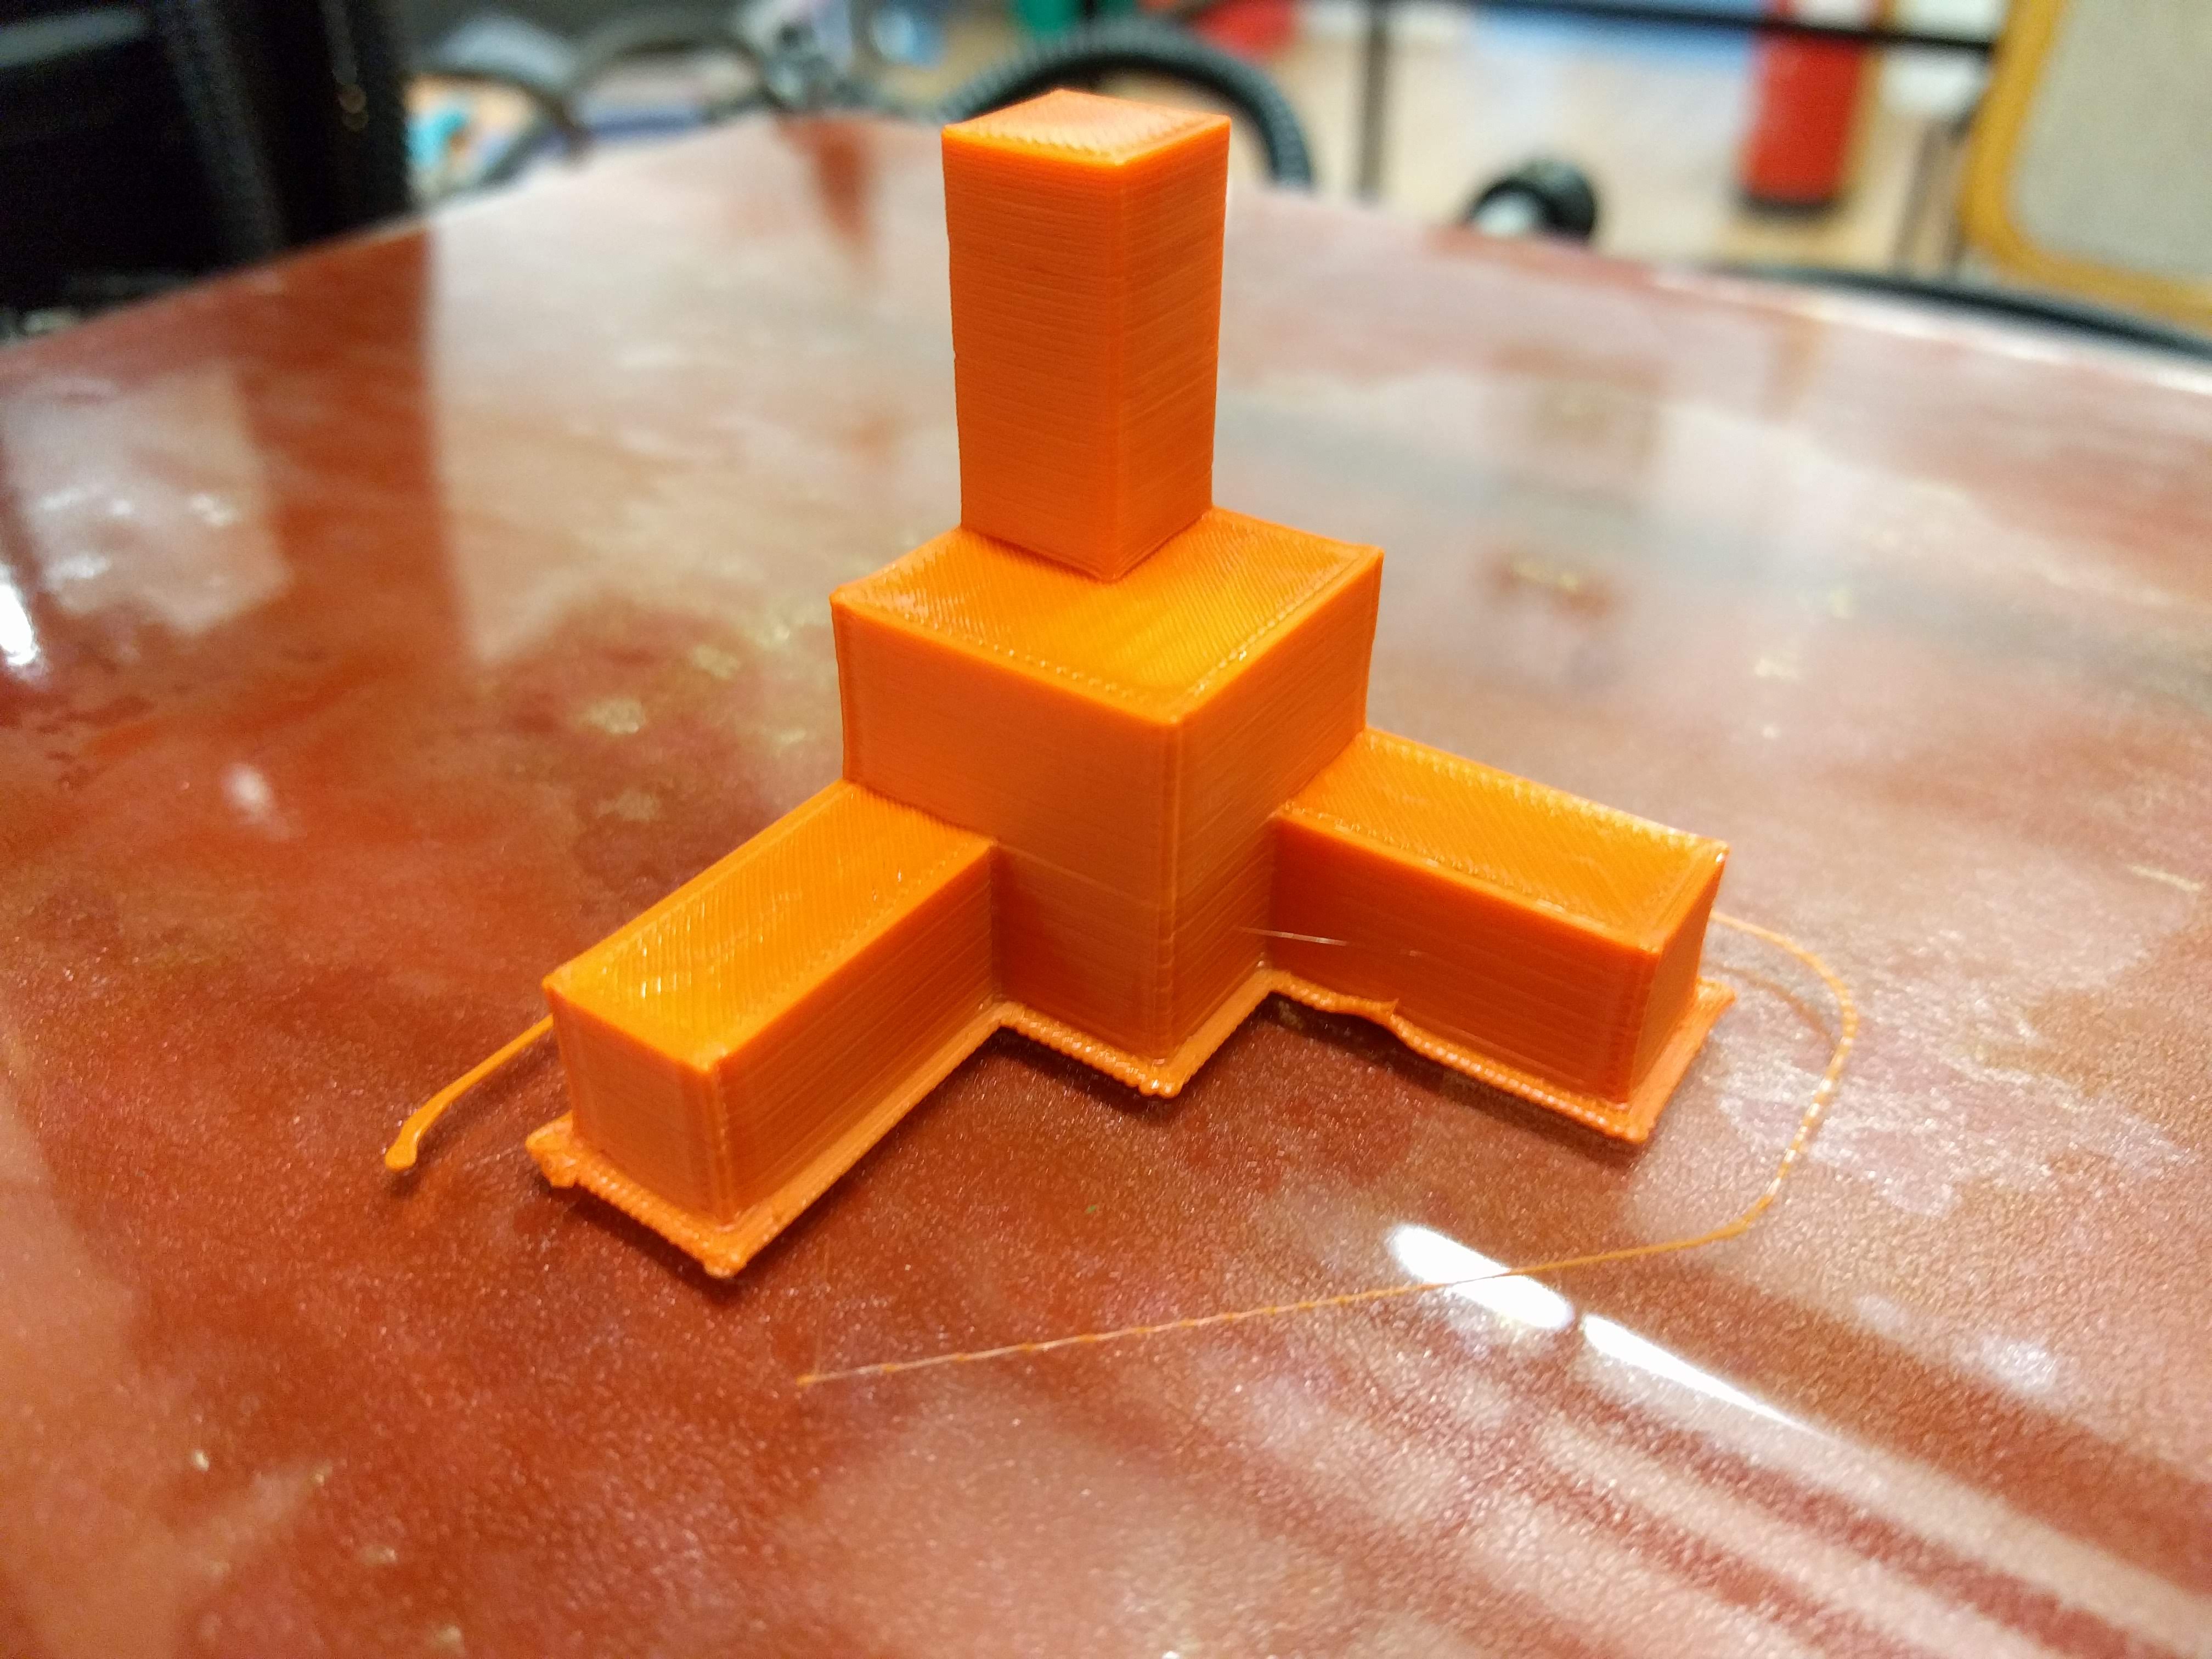
The print bed had years worth of hair spray caked onto it, so a lot of time was spent scraping that off and wiping it clean with isopropyl alcohol (99%). Then doing basic tasks such as levelling the bed, re-homing the z-axis etc. After all that we printed some calibration prints
After a little tweaking, we measured that the prints were +/- within 5% of the expected outcome. So for a 20mm part, it could be anywhere between 19 and 21mm. This is far from ideal for mechanical fitting parts, but its a good start.
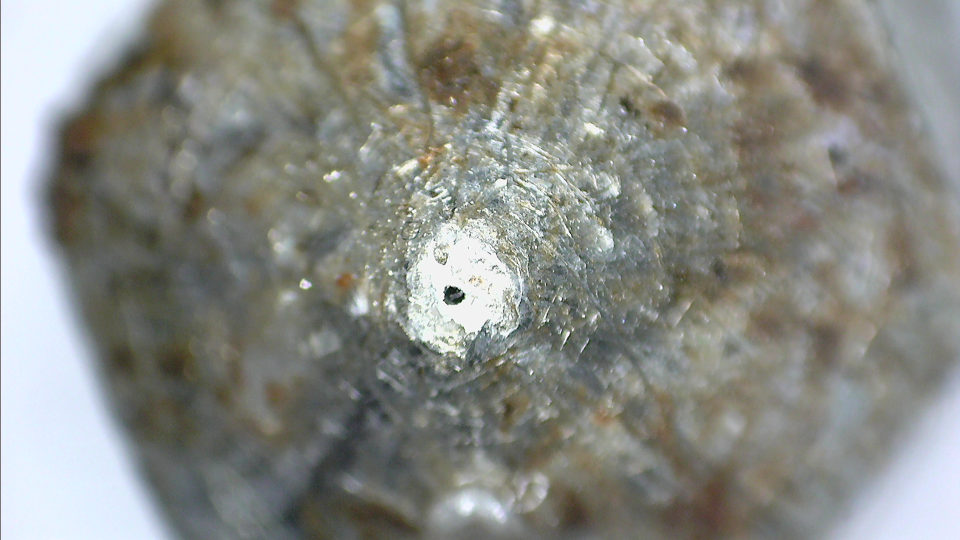
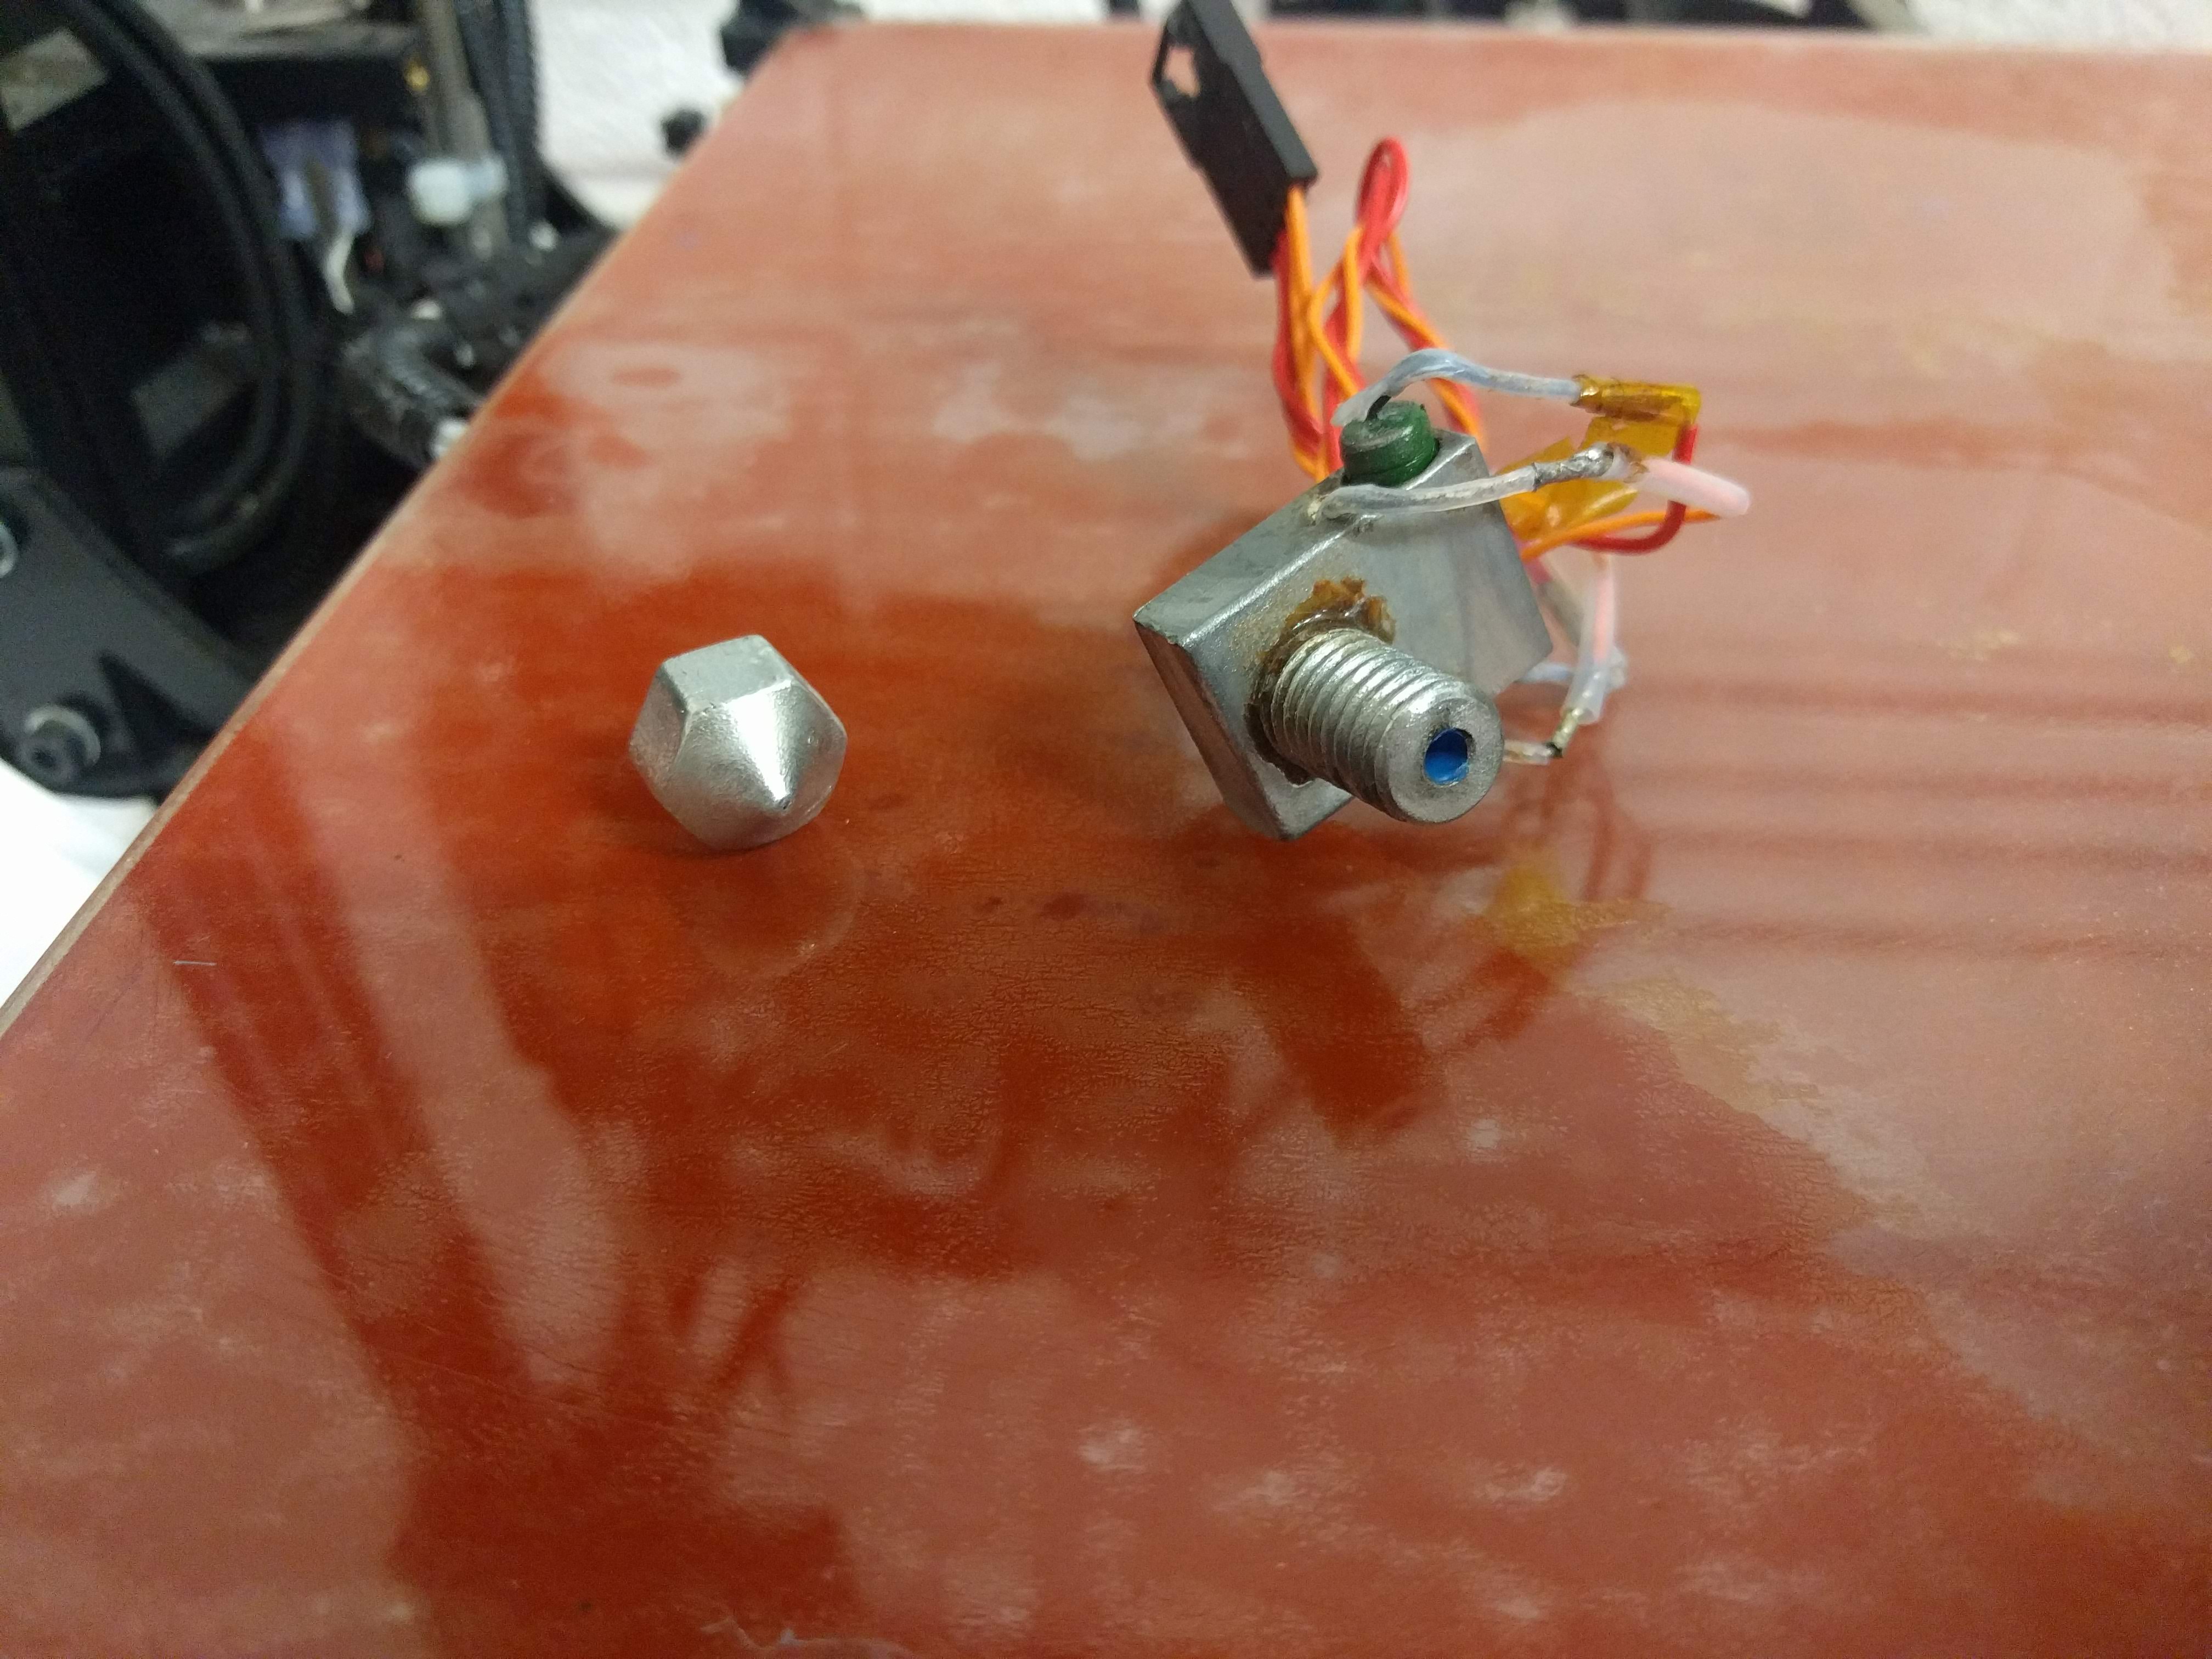
The next task on the docket was to clean up the hot-end. It had accrued quite a lot of grime over the years, so I set to task to cleaning it up. First I tried some acetone, which removed some of the lingering ABS plastic, but the PLA was completely untouched. After inspecting the nozzle, it became clear that it has been seriously worn out after years of use, so I was okay with being a little less delicate with it than I would ordinarily, so I used a wire wheel to clean and polish both the heat brake and the nozzle itself.
This is only the start, we have a lot more maintenance and upgrade tasks.
