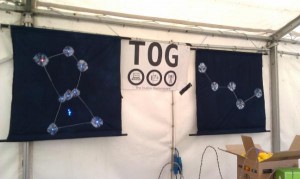
Did you see us at the first Dublin Mini Maker Faire in Trinity on Saturday? We had a blast! We’ll have a round-up of the day itself, and the bbq we had next day in a future post. But first, let’s talk about the projects we made especially for Maker Faire!
A call went out among the TOG fullmember mailing list; to make new projects for Maker Faire. We noble crafters stepped up to the plate and came up with the idea of Constellation Quilts! After several weeks of prototyping and experimentation, and only one week left before the Faire, we got started in earnest.
This is only a quick summary, so if you’re curious about specifics feel free to ask us questions, we’ve plenty more to say on the subject!
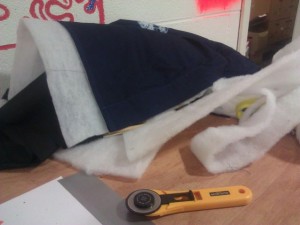
Step 1; take a white cotton square, hem the edges and sew sleeves at the top and bottom. Hang it from the ceiling and project an image of your chosen constellation onto it. Mark the position of the major stars.
Step 2; mix some night-sky colour dye with hot water.
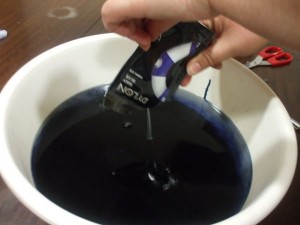
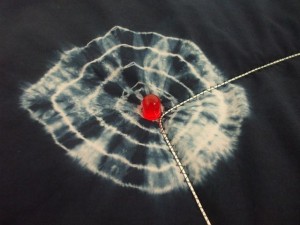
Step 3; tie up some beads at the marked star positions, stacked to get concentric circles. Note: duck heads are not good for tie-dying.
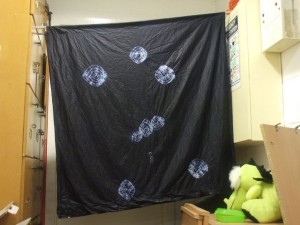
Step 4; submerge and stir the sheet in the dye for about 15 mins. Remove, rinse, and release the string and beads. Hang to dry.
Step 6; couch stretchy silver cord with the sewing machine along the outline of the constellation between the stars. Take a sharp stabby thing and make holes in the centres of the tie-dye stars for each leg of the LEDs.
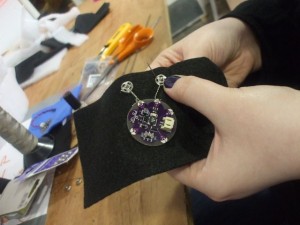
Step 7; make conductive-thread bias-binding strips (about 3 metres). Layout the circuits on the back and hand-sew the LED legs into their respective positive and negative strands. At the power-pack end add a resistor to each positive channel, and combine all the positive traces and negative traces into one positive and one negative connection. Add your battery. In this case a Lilypad LiPower unit, and a lithium battery.
Step 8; sand and paint some wooden dowels, hang with some nice curtain cord, and cross your fingers as you turn it on!
We chose the size and colours of the LEDs to accurately reproduce the intensity and colours of the actual stars. For Orion (did you get it?) Betelgeuse in top left is a large (8mm) red, Rigel in bottom right is a large (8mm) blue. The Orion Nebula is a nebulous slow auto-changing RGB regular (5mm) LED, and all the others are regular (5mm) blues. This meant that there were different voltages to contend with and we ended up with six separate strands for eleven LEDs.
The other constellation Cassiopeia (did you get it? Don’t worry, not many did…) wasn’t quite finished in time, but it’s ready for the final step; connecting up the LEDs with conductive thread. With only five LEDs (of two different types) we’ll need only two separate strands, so it should go quicker than Orion. What’s in store for them then? Well, we reckon they’d look smashing hanging on the walls in TOG!
